
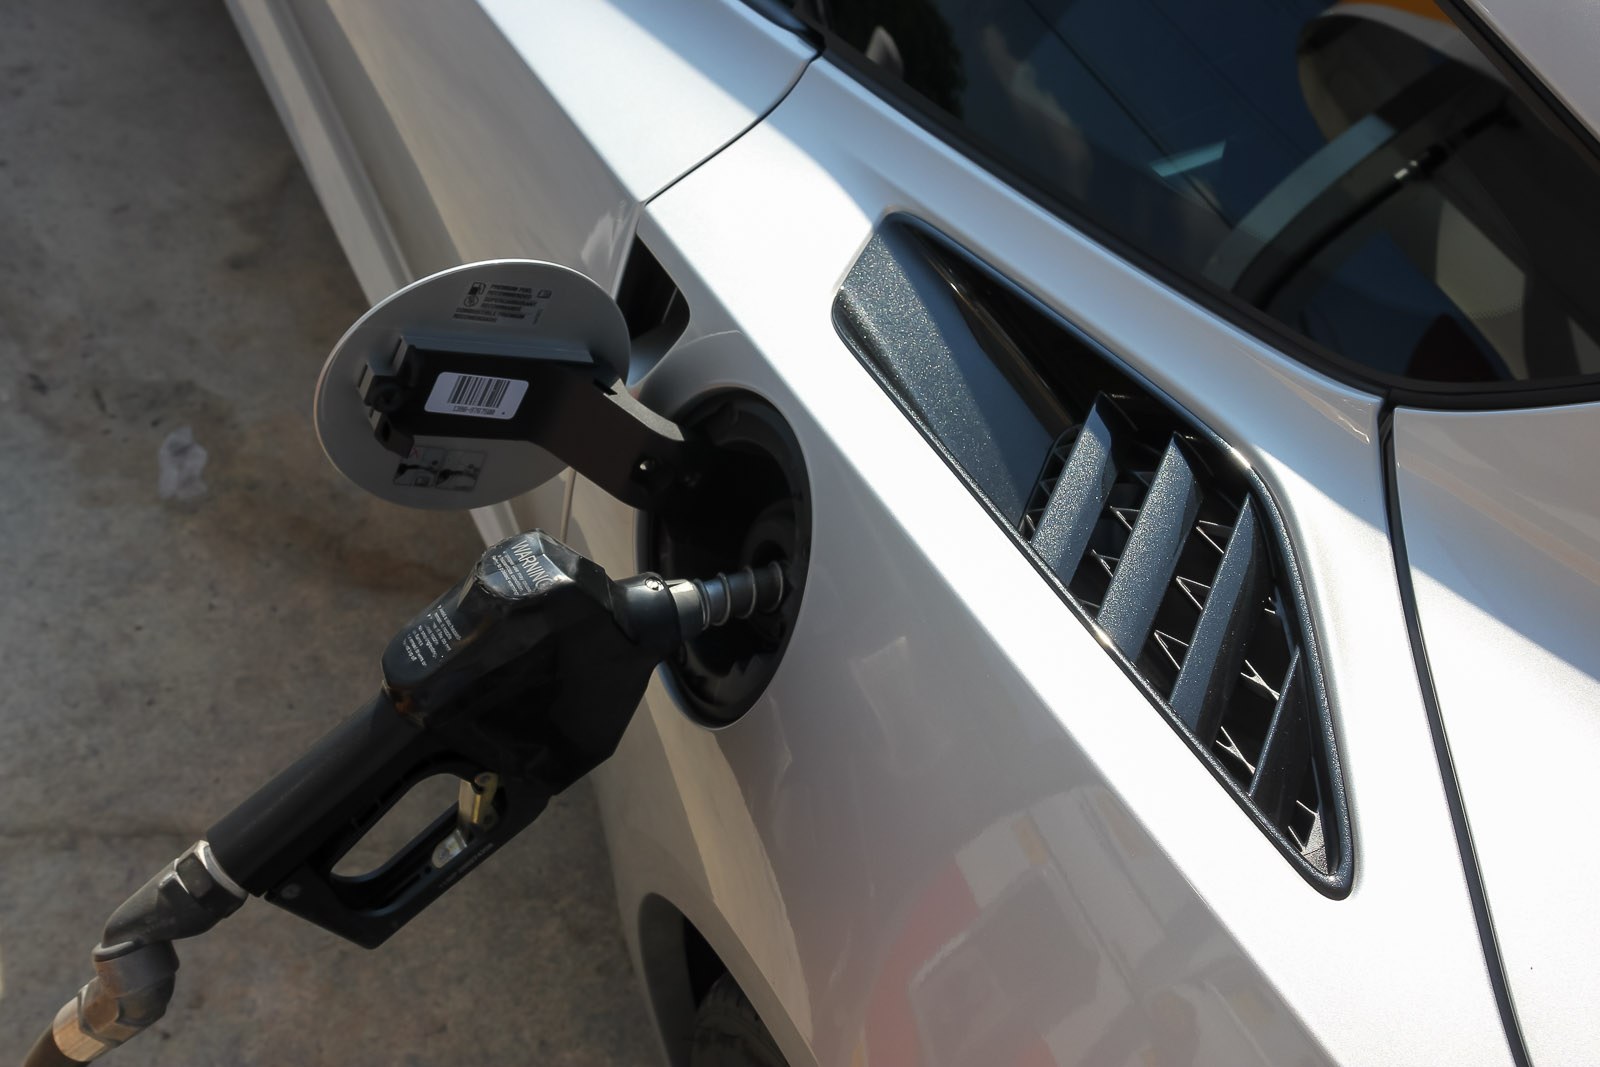
Even if you don’t have the slightest idea about the internal mechanics of vehicles, you know about the fuel gauge. It’s one of the basic concerns when you own a car. As the gas gauge lets you know when your car needs refueling, keeping an eye on it is essential. After all, you don’t want your car to stop in the middle of a highway with no workshop for miles. So, learning how to fix gas gauge can be handy.
Much like anything on a car, a gas gauge is susceptible to wear and tear. Let’s say you’ve driven 100 miles and your gas gauge still says the car is full-on gas. Needless to say, there’s a problem and you need to know how to fix the gas gauge.
Wouldn’t we like to live in a world where you could drive the same car your entire life with just one gas refill? Alternatively, your gas gauge reads empty but you’ve just left the gas station – another obvious problem.
Without much delay, let’s get on to the main event which is how to fix the gas gauge. Resetting your odometer every time and tracking miles vs. gallons isn’t the most efficient way to drive a car.
- How it works
- Identifying the Gas Gauge
- Common Gas Gauge Issues
- Self-Diagnosis Procedure
- Fuse
- Safe to Drive?
- Take Reading
- Cost
- Conclusion
Fuel Gauge

The gas gauge system is basically differentiated into three parts: sender, gauge, and circuit. A fault in any of these parts will cause a failure in the system.
Generally, the fuel sending unit is a part of the fuel pump module. That’s a combination of parts including the fuel strainer, fuel pump, fuel float, and a fuel filter. The fuel sender modifies the ignition circuit.
The fuel float operated on a potentiometer, also known as a variable resistor. The resistance of the potentiometer depends on the level of the float, deciding a shift in output voltage.
Some systems are extremely wired. In those, the high fuel level connects to the low-resistance section, slowly increasing resistance with the fuel drop. Thus, the system outputs extra voltage at a higher fuel level, simultaneously dropping voltage.
The gas gauge circuit contacts the sending unit, gas gauge, battery, and ground. Most modern sending units have a ground connection to their electrical system whereas a few older models were grounded to the frame or body.
Voltage feedback can control gas gauges in some cars from the sending unit while others are linked to the instrument cluster.
Are you reading the gas gauge right? Here’s how to do it properly.
Gas Gauge Not Working
To know how to fix a gas gauge, you must first learn how to identify the signs that the gas gauge is broken. Not so surprisingly, the signs are pretty straightforward. If the needle of the sensor moves much quicker than you feel your car is burning gas or just ticks erratically, there is an issue in the gas gauge system.
Alternatively, the sensor might read E and F all the time regardless of refills. There is an easy solution to the “Always E gas gauge” in some cases. All you have to do is turn the car off and then back on. A problem like this is likely caused by a sending unit or wiring issue.
Why Is My Gas Gauge Not Working
Fortunately for the newbie car owner, the gas gauge is one of the simpler circuits of a vehicle. While simplicity means you don’t need a degree to handle the system, it also means that the components are crucial for the functionalities.
There may be five components of the gas gauge system that are broken and you will have to fix or replace those. An incorrect gas tank reading is usually caused by an erroneous sending system.
Issues can also be due to blown fuses, corroded wiring, or a bad gauge. The best part is that you can self-check each of these parts at home with a few tools. Here are four ways to do it:
1. Sending Unit Failure
It’s definitely one of the most common reasons behind a malfunctioning gas gauge. The sending unit is constantly moving when your car is moving, contacting the potentiometer.
Over time, the wear and tear can eat away at the contact, opening up a circuit. The gas gauge could register voltage feedback as FULL or EMPTY from a dead sender.
2. Gas Gauge Failure
Although less common, a gas gauge failure is still possible. Due to a faulty internal circuit, only one section of the gas gauge may function, like between FULL and HALF or between HALF and FULL. If there is an open circuit, the sensor will likely sit at E and just stay there.
3. Circuit Problems
Depending on the fault’s location, the fuel sender may or may not have a voltage source, the ground for any of those could be interrupted, or the gas gauge could have no fuel sender voltage. Corrosion and loose connections are also the roots of some problems, mainly in the fuel pump module.
4. Instrument Cluster Failure
An instrument cluster failure is the rarest and most expensive-to-fix issue. Most modern instrument clusters feature fully integrated circuits, sometimes devoid of replaceable parts. You have to replace the whole unit if the gas gauge malfunctions as part of these clusters.
How To Fix Fuel Gauge
As we said, self-diagnosis of such problems is pretty easy. You only need a handful of tools: a digital multimeter (DMM), an electrical wiring diagram (EWD), and a set of basic tools. Then, run the following tests to identify the source of the problems.
1. Instrument Cluster Self-Test
Today’s trucks and cars often come with instrument cluster self-test features to observe instrument clusters controlled by computers. You could find this in your owner’s manual. Alternatively, there might be useful information on the internet.
Pay close attention to the sweeping motion of the gas gauge from E to F. Is it smooth? Keep in mind that a few self-tests could stop the fuel gauge halfway or at ¼ or ¾. More on instrument cluster self-test later.
2. Fuel Sender Test
You have to conduct the fuel sender test when the tank is more than HALF empty to prevent splashing fuel everywhere. Start by ensuring that the plug is dry, clean, and corrosion-free. Check the connector – it should be fully seated. The pins have to be straight.
Take the fuel pump module off so you can work with the float arm. At that point, insert your key into the car and shift it into ON mode but don’t start the engine. Check the voltage by back-probing the connector. There should always be 5 to 12 V on one of the pins.
Another pin will act as the voltage feedback. Swing the float arm and observe how the output voltage increases or decreases smoothly. That will depend on whether you’re working float down or up.
If you’re getting an incorrect input voltage measure, check the circuit between the voltage source and the sending unit. With an incorrect output voltage, there’s likely a sending unit problem. If both the input and output voltage is okay, your car is facing some circuit problems between the fuel gauge and sending unit.
3. Gas Gauge Test
For the gas gauge test, redo the sending unit’s voltage check. You should get the exact same voltage reading again. In case it’s different, there is likely poor wiring between the gas gauge and the sending unit. Or it could be a corrosion-related problem.
These steps should be more than enough to reveal the problem. That being said, modern gas gauges and computer-controlled clusters are confusing to diagnose and fix. We suggest consulting with a professional when you come across such complicated systems so you don’t end up doing more damage than there was at the start.
How To Test A Fuel Gauge
The instrument cluster self-test is quite simple and anyone could do it. Here’s how to.
1. Which Self-Test Process?
Figure out which instrument cluster self-test process is needed. Have a look at your owner’s manual. Depending on the model and age of the car, the procedure will vary. Once you know how to activate the instrument self-test process, it’s time to conduct it. For an older vehicle – pre-’90s, chances are, the procedure can’t be performed.
However, if you have a newer car, the process would typically be turning the headlights on and off a certain number of times while pressing the odometer button. If you can run the test on your older car, you probably have to turn the ignition on and off a few times.
During this process, the fuel gauge needle ideally should do a full sweep. If it doesn’t, there’s an issue with the fuel gauge. But, if there is a sweep from the other end, you have to perform more tests to correctly diagnose the error.
2. Check The Fuses
If there is an issue with multiple gauges on the car, the fuse might be the culprit. Make sure to replace the fuse for the instrument panel if it’s blown. Go ahead and start the car. Run the cluster test once more if the gas gauge doesn’t start working properly automatically.
3. Inspect The Wiring
It’s not that difficult but definitely takes time and patience. Start at the gas tank. Most vehicles feature a wiring harness located near the gas task that delivers power to the fuel pump and sending unit.
Older vehicles devoid of the electric fuel pumps will generally feature a single wire as well as a ground wire attached to a screw from the sending unit, grounding close to the frame.
It’s absolutely crucial that you inspect the ground connections first. Since salt, rain, snow, and other debris gets splashed on the back of cars, failure of the sending unit is a common phenomenon. This happens even after the wire is still intact.
Take out the ground connection and give it a good cleaning before reattaching it. Make sure to really check the wiring because any damage or break to the sending unit or ground wire will cause issues with the gauge.
In the majority of cases, you’ll have to drop down the gas tank to gain access to the fuel pump mounting hole/gas tank sending unit mount. Remember to siphon the gas out of the car before doing this.
4. Visually Inspect
If the gas gauge system has passed the fuse and wiring test, it’s time to check the fuel pump assembly. Remove that from the tank and inspect. The float or arm could be broken, or the wiring connected to the sending out would be damaged.
These cars are mostly a “0-30” or “0-60” ohm sending unit. This essentially means that when the tank is empty, the reading for resistance will be 0 ohms whereas at full, the reading will either be 30 ohms or 60 ohms.
Older vehicles equipped with a one-wire sending unit are easier to test. To test it, put the multimeter to ohms (resistance) setting, connect one probe sending terminal and the other to the ground. Move the float up and down slowly. There should be a change in resistance. If not, the sending unit is broken.
Newer sending units incorporating fuel pumps, this procedure is tougher, if not impossible to conduct. But you could always find test procedures online. If you suspect the sending unit is bad on a newer vehicle, we have bad news for you: the whole fuel pump assembly has to be replaced.

5. Use A Multimeter To Test The Gauge
On boats or older vehicles, the fuel gauge will likely have two terminals. On one of these, there is a 12v power when the ignition is turned on. The other terminal acts as the sending wire. The gauge is then grounded.
If the power wire doesn’t have 12V, the deficit will have to be troubleshot. Moreover, you can check the continuity between the connection of the sending terminal at the back of the tank and at the dash. No continuity means a break in the wire somewhere.
You can also test the fuel gauge itself. Use the multimeter directly on the instrument cluster once you’ve removed it from the dash. Different gauges can be checked using various methods, so make sure to check the repair manual for proper instructions.
As mentioned before, it’s almost close to impossible to test the fuel gauge and gauge cluster. You will have to remove the entire instrument cluster from the dash and even disassemble it to extract the gauge. Pro tip: Rule out all other possibilities before moving to the gauge itself.
Fuse For Gas Gauge
There is, in fact, a fuse for the fuel gauge. Any part of your vehicle that needs electricity to run will have some form of contact with the fuse boxes inside the vehicle. So, a car has multiple fuse boxes. Traditionally, one is located under the steering column. Most vehicles also have a fuse box under the hood.
Your owner’s manual should give you a better perception of what the fuses are in there. Blown fuses can surely be a reason behind gas gauge failure. Luckily, this is one of the cheapest and easiest repairs to do.
Driving With A Bad Gas Gauge
Yes, you can certainly drive your car even when it has a bad gas gauge. However, we don’t recommend it at all, unless you’re very diligent about filling your car up regularly and tracking gas consumption.
Fixing the gas gauge sensor is generally inexpensive and fast, but if you’re in a pinch and can’t repair it on the spot, the worst thing possible would be running out of gas in the middle of the road. Of course, that could raise many more problems. Make sure you replenish the engine oil from time to time to keep the car running properly.
A broken gas gauge could mess up your driving. Remember, safety first! If you’re a new driver with a secondhand car that has a broken sensor, you have to practice safe driving.
How To Read A Gas Gauge
Just because the gas gauge is broken you don’t have to worry about being stranded on the roadside with an empty gas tank. All you need to know is how to take a reading from the broken state. So if you’re delaying on how to fix gas gauge, this is a doable alternative.
Here’s how you can estimate how much gas you have left in the tank when the sensor isn’t working…
Any time you face a problem with your car, refer to the owner’s manual first. Many times the simple troubleshooting steps and repairs are given right there but people ignore them. It should also let you know about the size of the gas tank. Normally, the average car features a capacity of 12 to 20 gallons on the fuel tank and will go up to 300 – 400 miles.
Then, you will have to estimate your vehicle’s fuel efficiency so you can determine the approximate odometer reading you should be filling up on your next refill (so long as you don’t accidentally put diesel in your gas car).
How Much Does It Cost To Fix The Gas Gauge
The price is going to vary based on what issue you’re there to get fixed. A simple issue associated with a fuse could be solved for as cheap as $10 because all you will need is a new fuse. Or, if you have to replace the entire fuel gauge sender, expect to pay up to $800 after labor. So, the answer truly depends. Here’s a rough breakdown of the more common bits that need replacing plus their cost.
1. Gas Gauge Sender
Most of the time it is the fuel gauge sender that’s causing the problem. Based on the model and make of your vehicle as well as the particular sender you buy, costs will range between $250 to $800. Once you learn how to fix your gas gauge properly and get comfortable with it, you can do it yourself to save a lot of money.
2. Gas Gauge Fuse
The fuse is undoubtedly the easiest part to fix. And it’s cheap too (typically). On average, you have to spend between $10 to $20 to replace a fuse. But there are specialty fuses that run for $100.
3. Gas Gauge
Depending on the model and make of your car, the cost will be between $50 and $200, making it a cheaper part to replace. Make sure to count the labor of replacement if you’re having a professional do it. In general, the total costs average $200 to $400.
How To Fix Gas Gauge: In Conclusion…
That was all! Hopefully, you learned a thing or two about how to fix gas gauges. Remember, the owner’s manual is your biggest friend. Also, go to a mechanic if you’re not comfortable handling complicated diagnoses. Also, have a look at this article if you want to achieve better fuel economy for your vehicle.
FAQs On How To Fix Gas Gauge
If you’re still curious to learn more about how to fix gas gauge, our FAQs here might help…
How To Reset Gas Gauge Needle
There may be times when your fuel gauges read erratically, such as seeing it indicating that you’re low on fuel, even though you’ve just fueled up. Thankfully, it’s very easy to reset the gas gauge needle if it’s gone awry to re-calibrate it to read correctly. First, you’ll need to slot your key into the ignition and twist it to the ON position. Then, find the trip odometer button, and set the odometer into its ODO mode. Now, twist the ignition key back into the OFF position. Next, press and hold that trip odometer button again, and while you’re holding the button down, turn the key back into the ON position. Then, press and release the trip odometer button three times, before holding it down for the last time. Once the odometer reads 1, it’s begun the reset process. Keep holding, and release when the odometer reads as normal.
What Fuse Controls The Dashboard Gauges
If your dashboard isn’t working right, like when you notice the lights flickering or certain gauges not turning on at all, you can try checking the fuses. Blown fuses for any one of the dashboard gauges can cause these issues. Therefore, instead of having to shell out for a pricey new dashboard, you can simply swap out burnt fuses. However, you’ll first have to locate the fuses that specifically control the dashboard gauges. This does vary from one car to another, so it’s a good idea to check the owner’s manual to see which is which. For example, in an old Honda Civic, fuse no. 15 and 19 are known to cause some or all dashboard gauges (or the lights) to stop working if they blow out. This will differ in your car though, so you should refer to the fusebox diagram.
How To Wire Aftermarket Fuel Gauge
When you’re wiring in an aftermarket fuel gauge, there are four wires that you should first acquaint yourself with. There’s the S Wire (fuel sender signal wire, connecting to the fuel pump), Positive Wire (connects to the wiring and fuses), Negative Wire (acts as a ground), and Gauge Light Wire (powers up any lights on the gauge itself). After you mount the gas gauge, you can start by wiring the Negative Wire to a metal surface on your vehicle for grounding. Once that’s done, you can connect the Positive Wire to your car’s fuse box. This may require using a test lamp to find the right power-carrying wire or fuse. Then, you can connect the S Wire to the fuel pump sending unit. Finally, you can wire in the Gauge Light Wire to the fuse that handles your dashboard lights.
Why Is My Gas Gauge Not Working
There are several reasons why your fuel gauge isn’t working, and you have to know how to fix gas gauge. The most common point of failure is a faulty or worn-out sending unit. Beyond that though, you should also look at the gas gauge itself, likely due to a burnt-out internal circuit. Next, you should consider taking a closer look at all the wires between the gas gauge and the fuel sender. If there are any loose connections, frayed or damaged wiring, corrosion, and whatnot, it may cause the gas gauge to stop working. One more possible cause of a non-functioning gas gauge is if your entire dashboard instrument cluster has failed. If there’s ever an internal circuit failure, you’ll have no choice but to replace the entire panel.
Why Is My Fuel Gauge Stuck On Full
There could be multiple reasons why your gas gauge is stuck on full or is even reading past full. Oftentimes, it could be that the fuel sending unit doesn’t have a ground. Or, if there’s an open circuit between them, or if there’s a break in the wiring that leads from the gas gauge to the fuel sending unit. Another possible culprit is the gas gauge’s resistor sending full voltage to the fuel gauge at all times. In stark contrast, the voltage reading should vary as the fuel levels change, thus altering how a fuel gauge’s needle travels. As the needle goes from Empty to Full, the resistance in the circuit should increase. Therefore, you should carefully take a look at the circuitry or wiring connecting to the gas gauge to spot any issues.