
Working on a car is challenging enough, but what’s even more annoying is when things choose to not want to come off when they otherwise should. So then, how do you remove a constant tension hose clamp?
It’s a conundrum that’s puzzled me more times than I can count, given how ubiquitous they are in your car. They’re used on various hoses and tubes, either carrying refrigerant for your A/C, or hot engine coolant.
Thankfully, removing a stubborn constant tension hose clamp is fairly easy. All you need are some pliers, and a bit of patience, while applying steady pressure on the clamps, and heating the clamps can also get it loose.
With that in mind, here are all the easy steps and processes that you need to follow to finally remove that stubborn constant tension hose clamp on your car:
- Safety tips & initial prep work
- Finding the right tools for the job
- The right techniques to remove it
- Removing the clamp
- Inspecting and replacing the clamp
- Tips for re-installation
STEP 1: Safety Tips & Initial Preparations
Constant tension hose clamps are widely used in automotive applications due to their ability to maintain a consistent hold on hoses and tubes, adjusting to the hose’s expansion and contraction.
This feature is particularly useful in engine environments where temperature fluctuations are common. It’s typically used for systems of your car such as the air-conditioning unit, or the engine’s cooling system.
Removing a stubborn constant tension hose clamp can be quite challenging. These clamps are designed to maintain a firm grip and can be difficult to release, especially in tight or hard-to-reach areas.
So, before starting, make sure that your car is turned off and cooled down. This is crucial to avoid burns or other injuries. Also, make sure you have clear access to that constant tension hose clamp. Sometimes, you can make things a bit easier by removing other components temporarily, to help provide better access.
STEP 2: Picking & Choosing The Right Tools
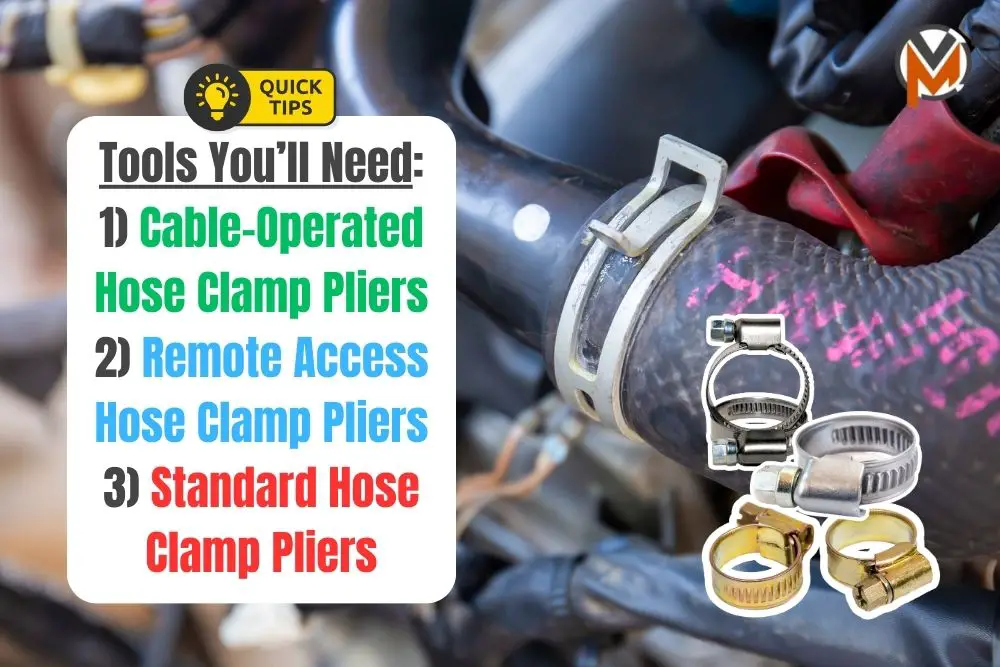
I’d recommend these 3 tools, as they massively help to expedite the process of removing your car’s constant tension hose clamp (and they’d make the job far easier):
- Cable-Operated Hose Clamp Pliers – These pliers are ideal for reaching hose clamps in confined spaces. The flexible cable allows the jaws to be positioned around the clamp while you operate the handle from a more accessible location.
- Remote Access Hose Clamp Pliers – Similar to the aforementioned cable-operated pliers, these are designed for hard-to-reach areas. They often come with some sort of locking mechanism to hold the clamp open for easier removal.
- Standard Hose Clamp Pliers – These are useful for those hose clamps on your car that are more accessible. They typically have a scissor-like design and are straightforward to use. Although, they do require a bit of space for you to apply pressure and clamp it down with your hands.
STEP 3: Simple Techniques To Remove The Hose Clamps
If you’re unable to easily get that constant tension hose clamp out, there are some techniques that you can follow to provide more leverage to help loosen it. Here’s what I’ve found to work best:
- Position the Pliers – First, carefully position the pliers’ jaws on the ears of the hose clamp. Ensure the grip is firm but not overly tight to avoid damaging the clamp. That latter point is crucial, if you intend on re-using that constant tension hose clamp.
- Applying Pressure – Next, gently squeeze the pliers to open the hose clamp. The goal is to expand the clamp just enough to slide it along the hose without straining the material. Be wary, as adding too much pressure could inadvertently damage whatever tubing or hoses that the clamps are attached to.
- Dealing With Stubborn Clamps – If that constant tension hose clamp is particularly resistant, a gentle, slight heating of the area can help. Use a heat gun or a hairdryer to gently warm the clamp, expanding the metal slightly. However, make sure that you avoid excessive heat to prevent damage to the hose or surrounding components.
STEP 4: Carefully Removing The Hose Clamps
Once that constant tension hose clamp is finally loosened, it’s important to slide it along the hose with care. Use a gentle twisting motion if the clamp is sticking to whichever hose or tube that it’s attached to.
Doing this could help break any seals formed by time and heat without causing damage to the hose. As you move the constant tension hose clamp along, keep a close eye on the condition of the hose or tube.
If the hose or tube is old or shows signs of cracking, it might be wise to replace them along with the clamp. A damaged hose can lead to leaks and other engine problems, so you may as well get this done, too.
STEP 5: Inspecting And Replacing The Hose Clamp
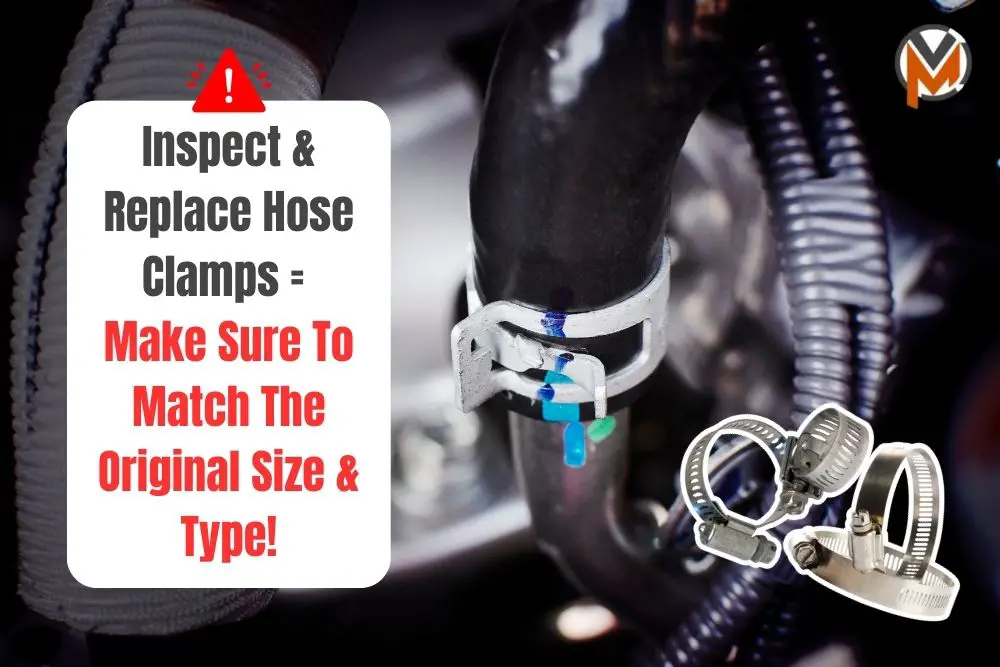
With the old one removed, it’s worth getting a new one. Look for signs of wear, like rust or loss of elasticity in the spring. A hose clamp that doesn’t spring back into shape or has visible damage should be replaced.
When selecting a new constant tension hose clamp, make sure you match the size and type to the original. Consider its working environment (temperature, vibration, exposure to fluids) to choose a suitable clamp.
Tougher materials can withstand these conditions. Also, you need to ensure the new clamp is compatible with the hose material. Some are better suited for silicone hoses, while others are designed for rubber.
STEP 6: Re-Installing A New Hose Clamp
Once you’re ready to re-install the old hose clamps or get a new one entirely, here are some extra tips that I’d recommend for where to go from here:
- Cleaning And Preparing – If you’re reusing the old hose clamps, clean them thoroughly to remove any debris or corrosion. This helps to ensure a good seal and prevents potential damage to the hose or tubing.
- Correct Positioning – When reinstalling the clamp, position it at the same location where it was originally fitted. This ensures an optimal seal, as the hose may have been compressed slightly under the clamp.
- Avoiding Overtightening – Tighten the clamp until it is secure but not overly tight. Overtightening can deform the hose, leading to weak spots and potential leaks. It’ll also make future removal more difficult.
- Double-Checking for Leaks – After reinstallation, it’s good practice to check for any leaks. Start your engine and let it reach operating temperature, then inspect the hose and clamp area for any signs of leakage.