Mowing your lawn used to be quite a chore, but with some robotic assistance, these days, it couldn’t be any easier. Still, with so many choices out there, which robot mower should you get, anyway? Well, perhaps this might be a decent start to your shortlist – the Flymo EasiLife Go 250. Ah, you might be thinking… What’s so special about this particular robot mower versus the umpteen others like it, and is it even worth considering?
Probably the most unique bit of Flymo’s line-up of robot mowers would be the sheer variety of it, varying mainly in terms of battery size, which consequently affects how large a lawn it could cover. The bigger the battery, the bigger the plot of grass it could mow at a time. As its name suggests, the Flymo EasiLife Go 250 is designed to cover a lawn as big as 250 m², which is just about large enough to cover my back garden.
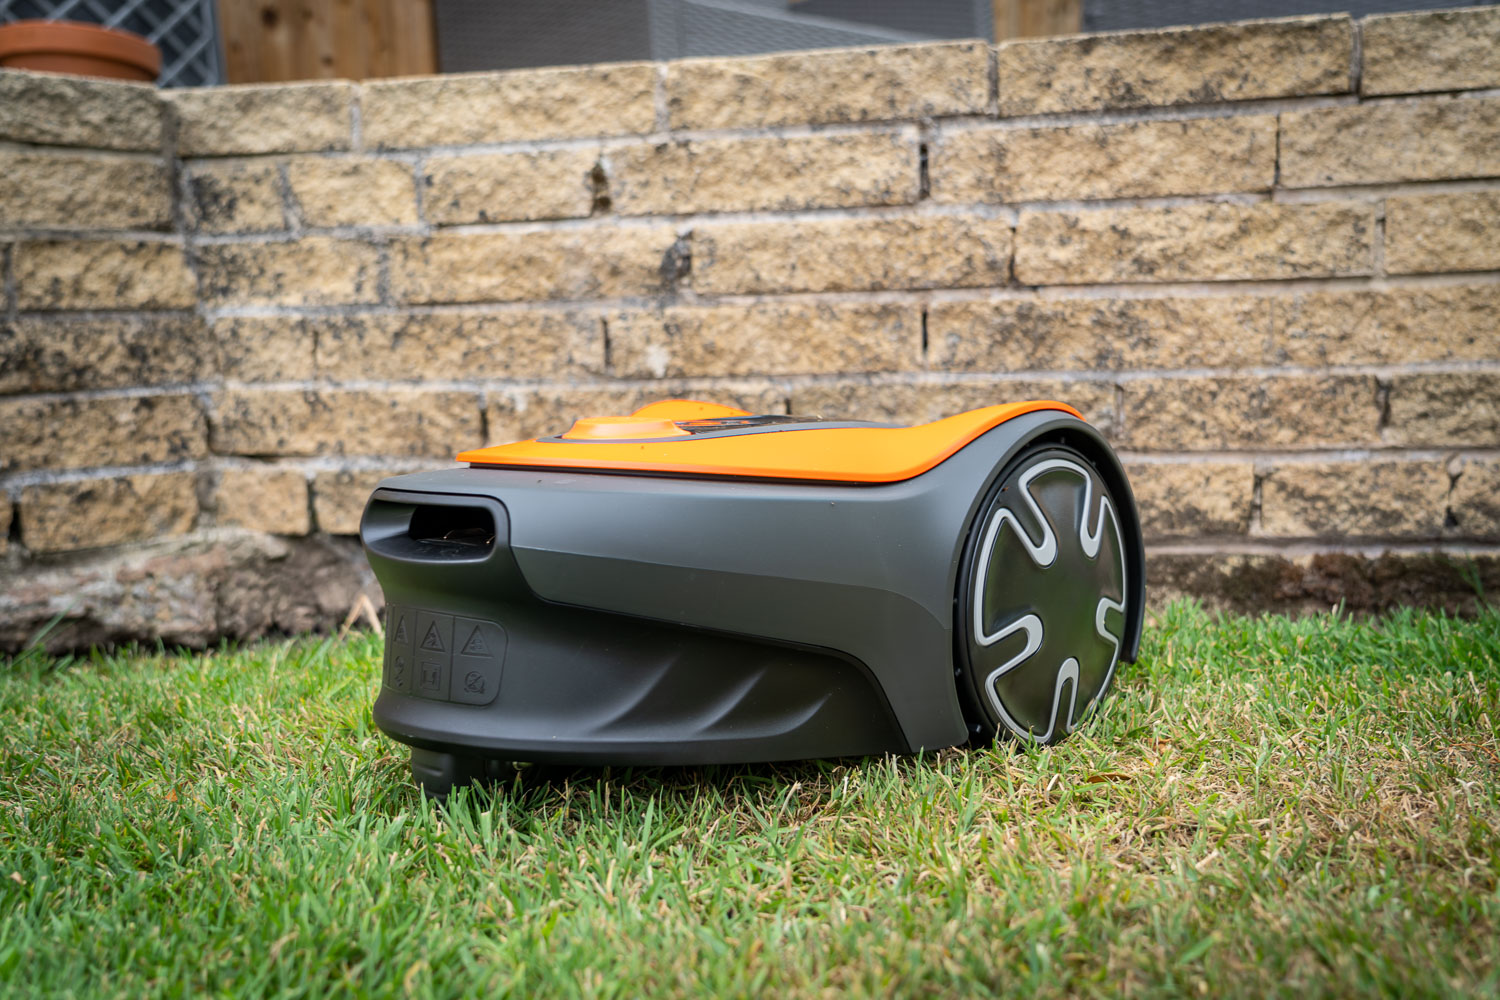
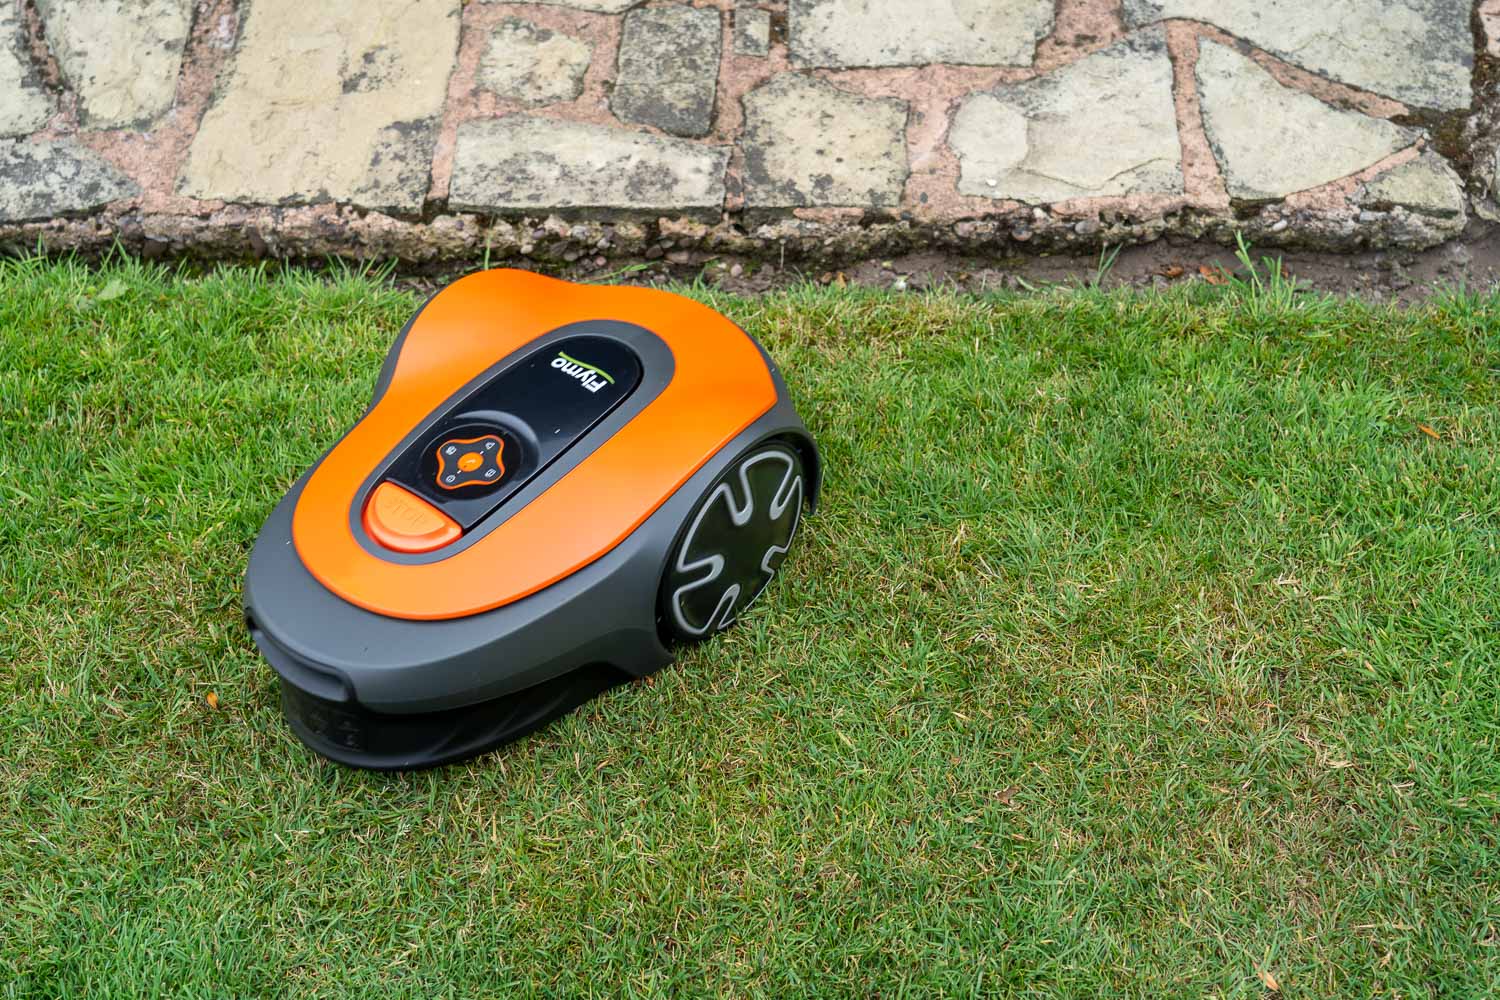
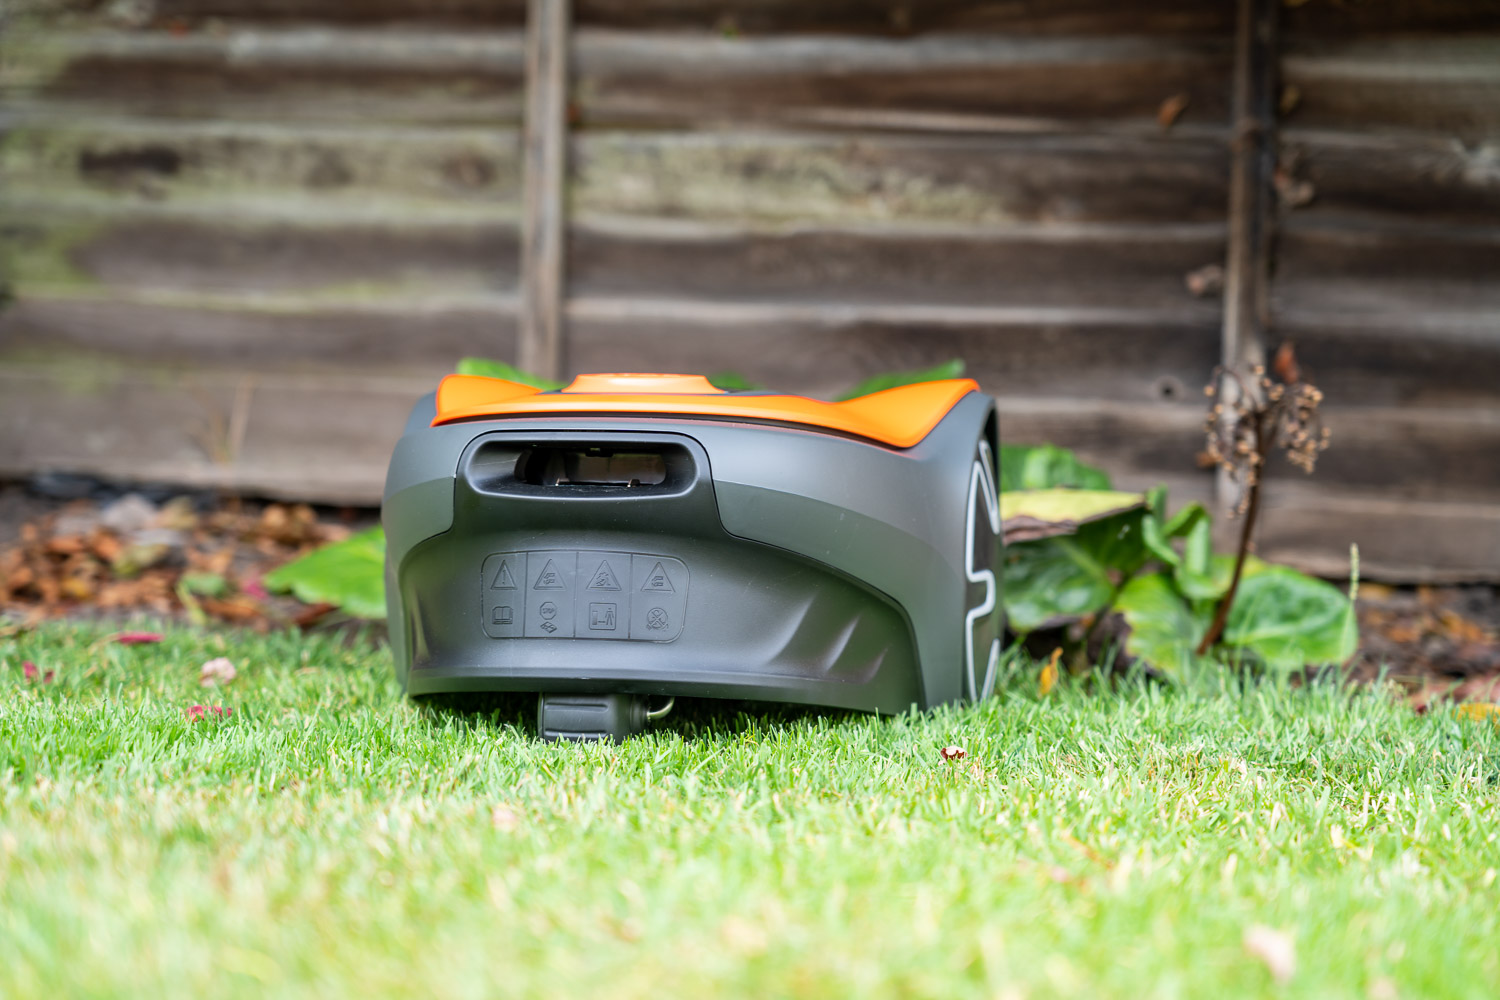
On top of that, compared to some of the other robot mowers that I’ve used in the past, the Flymo EasiLife Go 250 has one more thing going for it, and that would be its compact form factor. Packaging-wise, it’s a tiny and sleek bit of kit, yet it packs quite a lot of features. As with any robot lawn mower, however, some installation is required, and that mainly revolves around the charge station (or the ‘base’ station, as it’s sometimes called).
Sorting Out The Wiring & Charging Station
Having plopped this charge station in a good spot in my back garden, I then needed to run some wires to give it power, so I’d have to run power back to the charge station to keep the Flymo EasiLife Go 250 topped up when it returns home to the base station. Meanwhile, there’s another set of wires that would then run from the charge station, all the way around your garden, placed away from the grass edge, and remember to give it space.
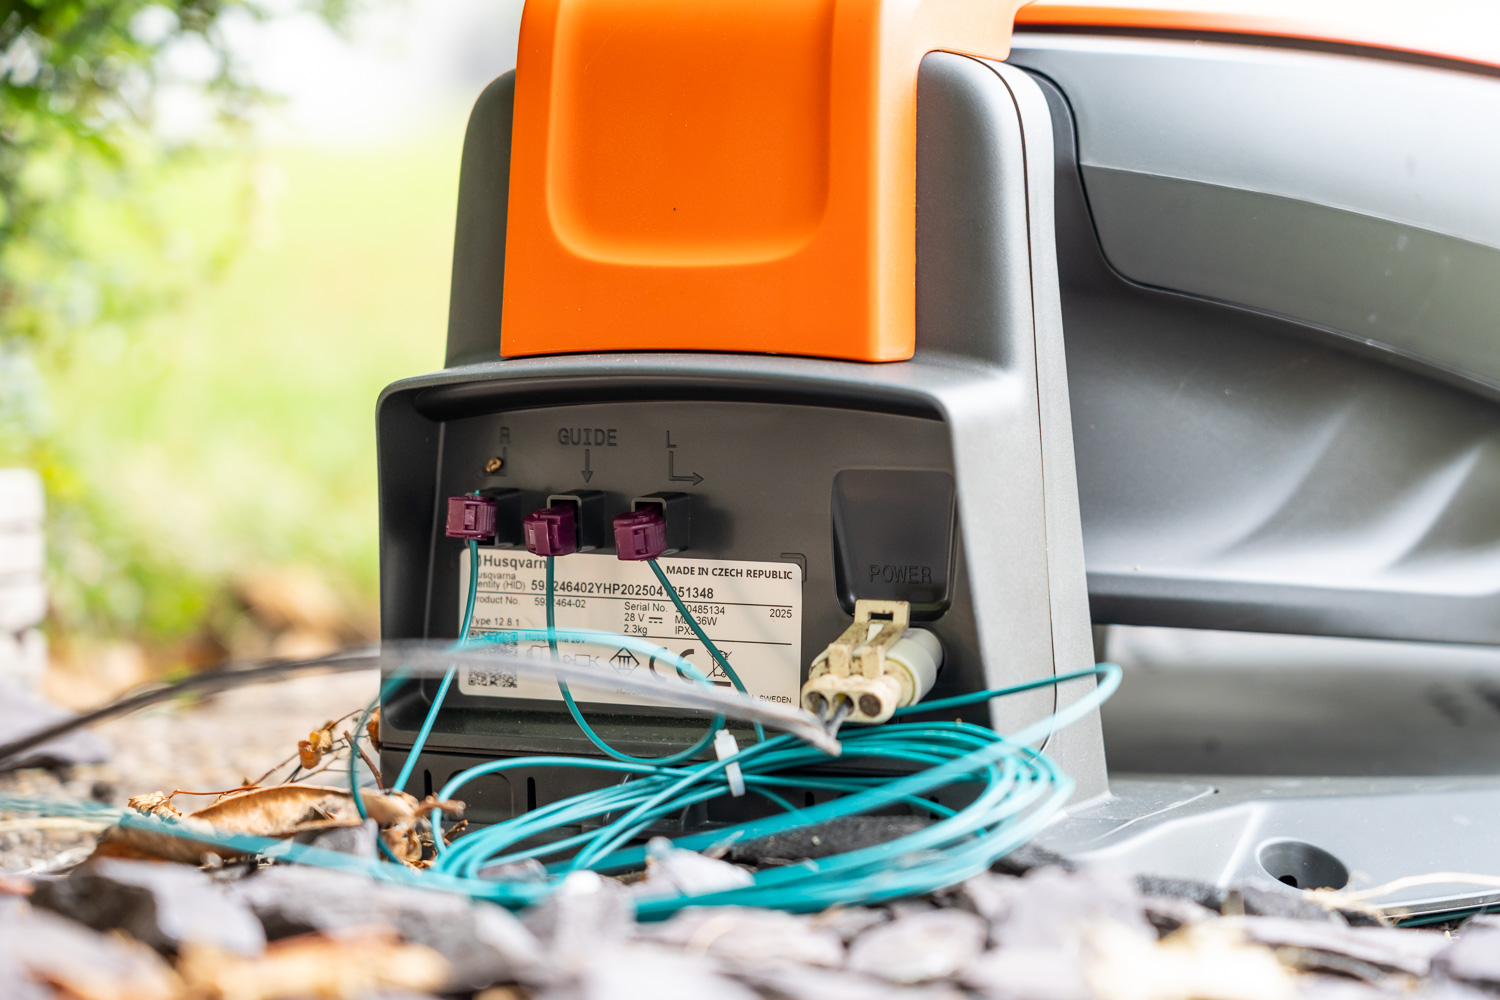
In my case, it’s around 30 cm away from the border of my lawn, as otherwise, it might fall off the edge, which now forms your boundary wire. Looping around my garden and leading back to the base station, this boundary wire basically gives the Flymo EasiLife Go 250 a way to define the parts of your lawn and garden where it needs to mow, while also using it to navigate its way autonomously back to base when it needs to top up its battery, using a home guide wire.
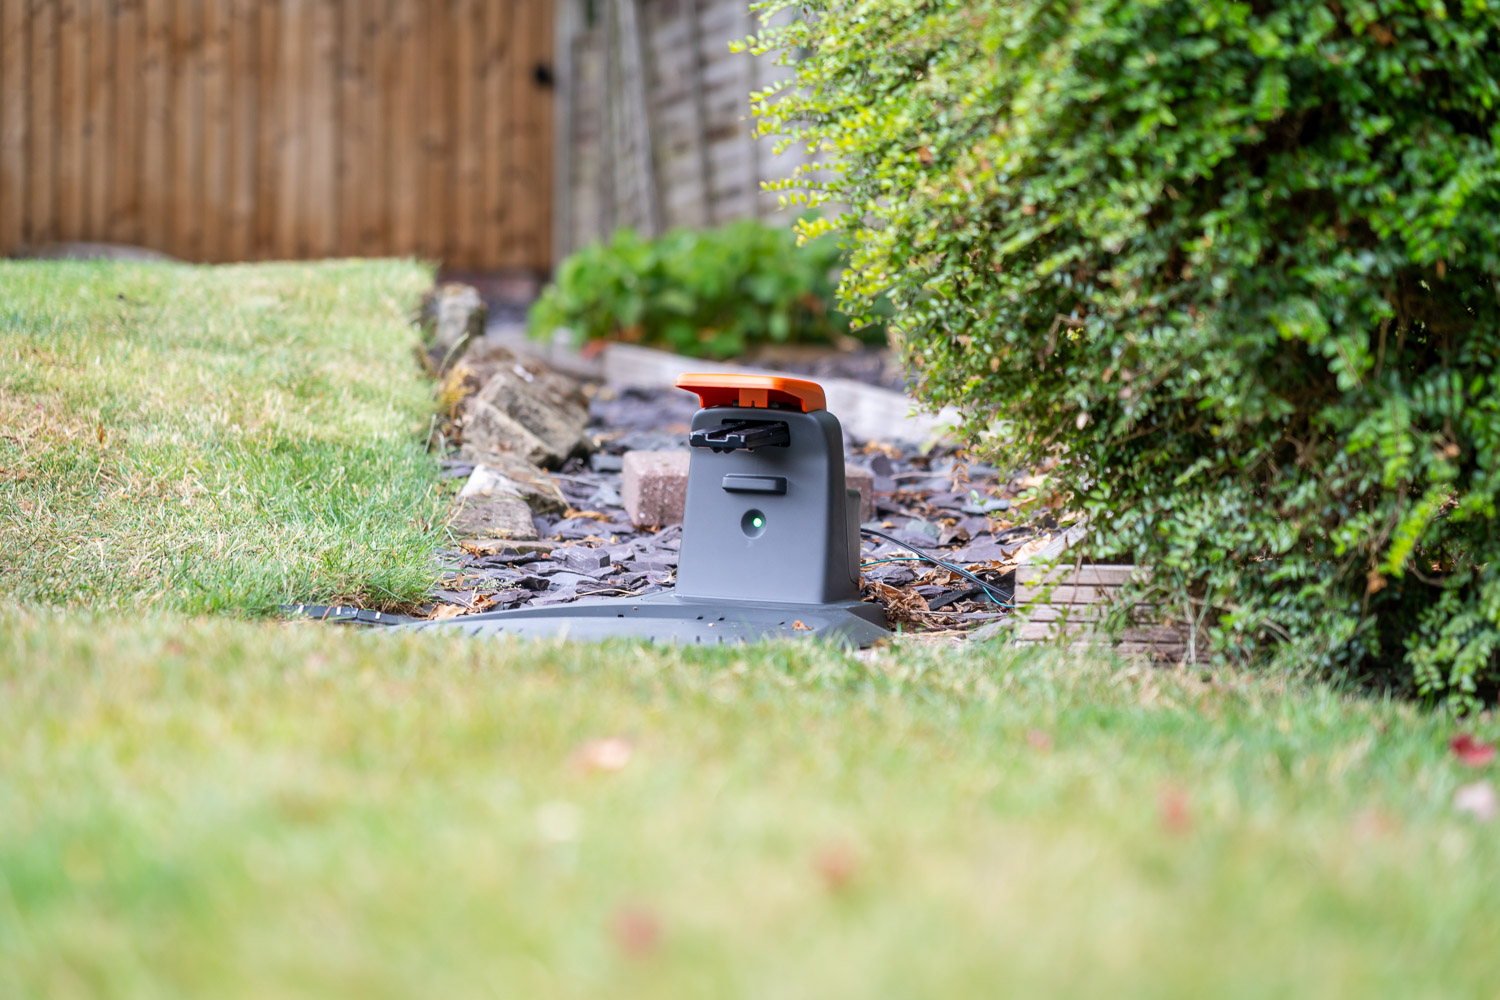
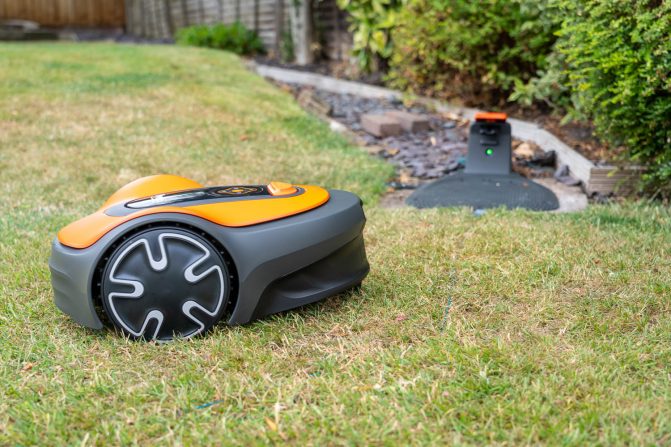
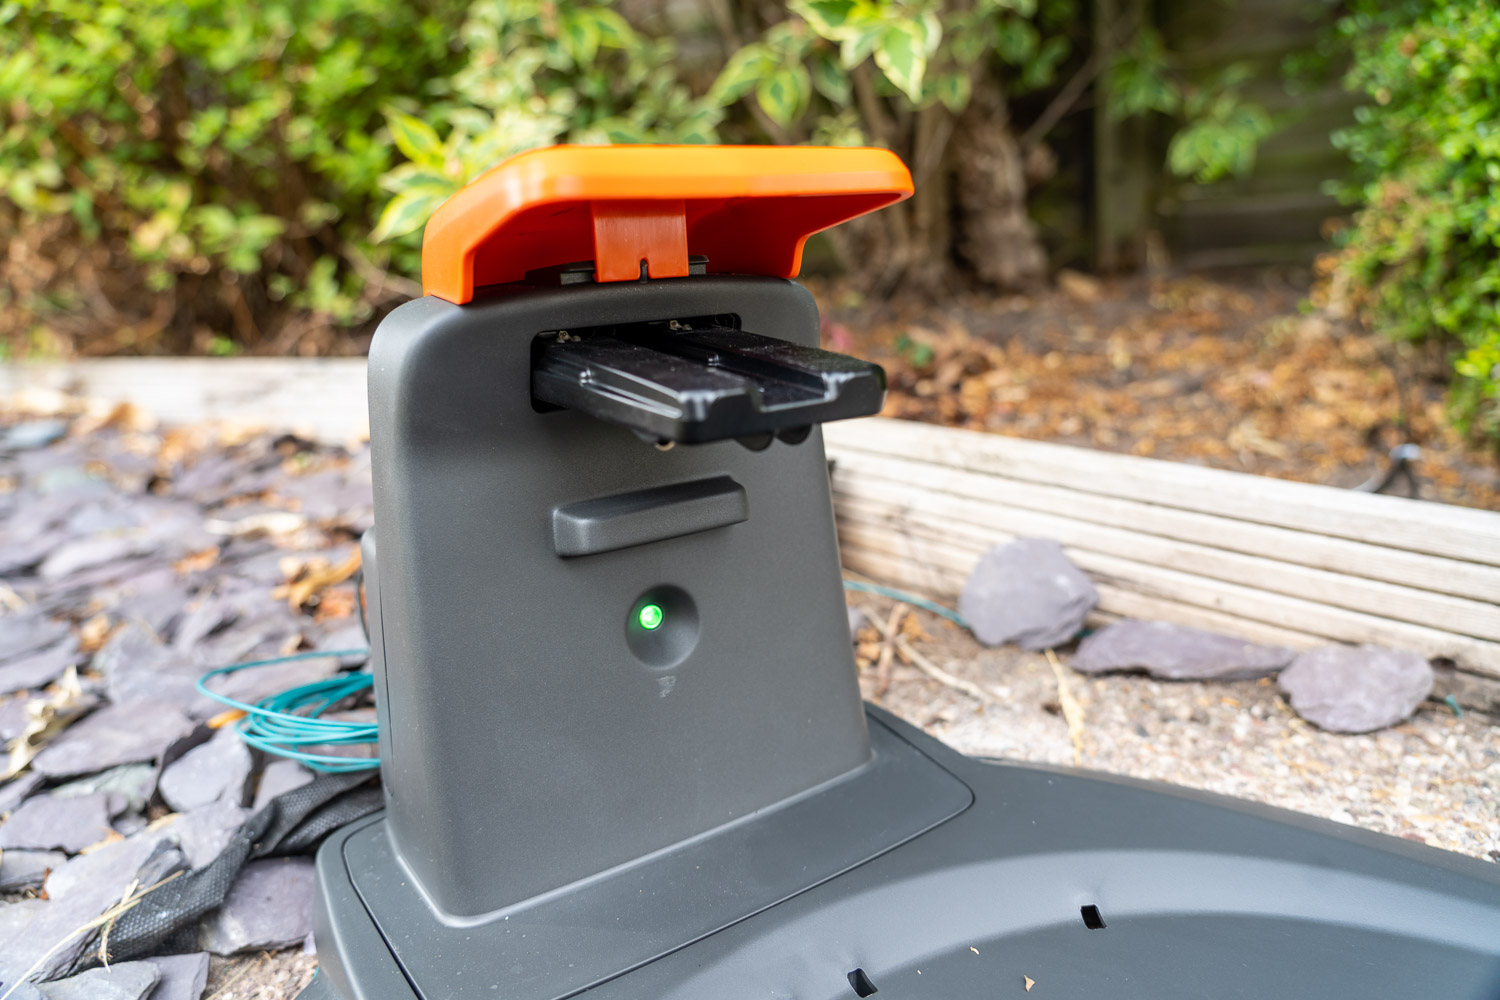
It should take over an hour or so to fully charge it once you plug it in for the first time. It all sounds rather complicated, but thankfully, the included manuals should help you figure out how to sort out all that wiring. In case you’re not entirely sure whether you’ve installed the boundary wire correctly, the base station does have a green status LED light to give you the all clear.
This may come in handy in the future, as boundary wires can break over time, be it you accidentally cutting it or if you’ve had the misfortune of inadvertently putting a spade through it. If your boundary wire breaks, then that LED status indicator would instead flash blue. Personally, I’ve handled a few robot mowers before, so I’ve gotten quite good at placing the boundary wire just right, but it does take a bit of practice to have it sorted 100%.
Precise And Accurate Autonomous Mowing
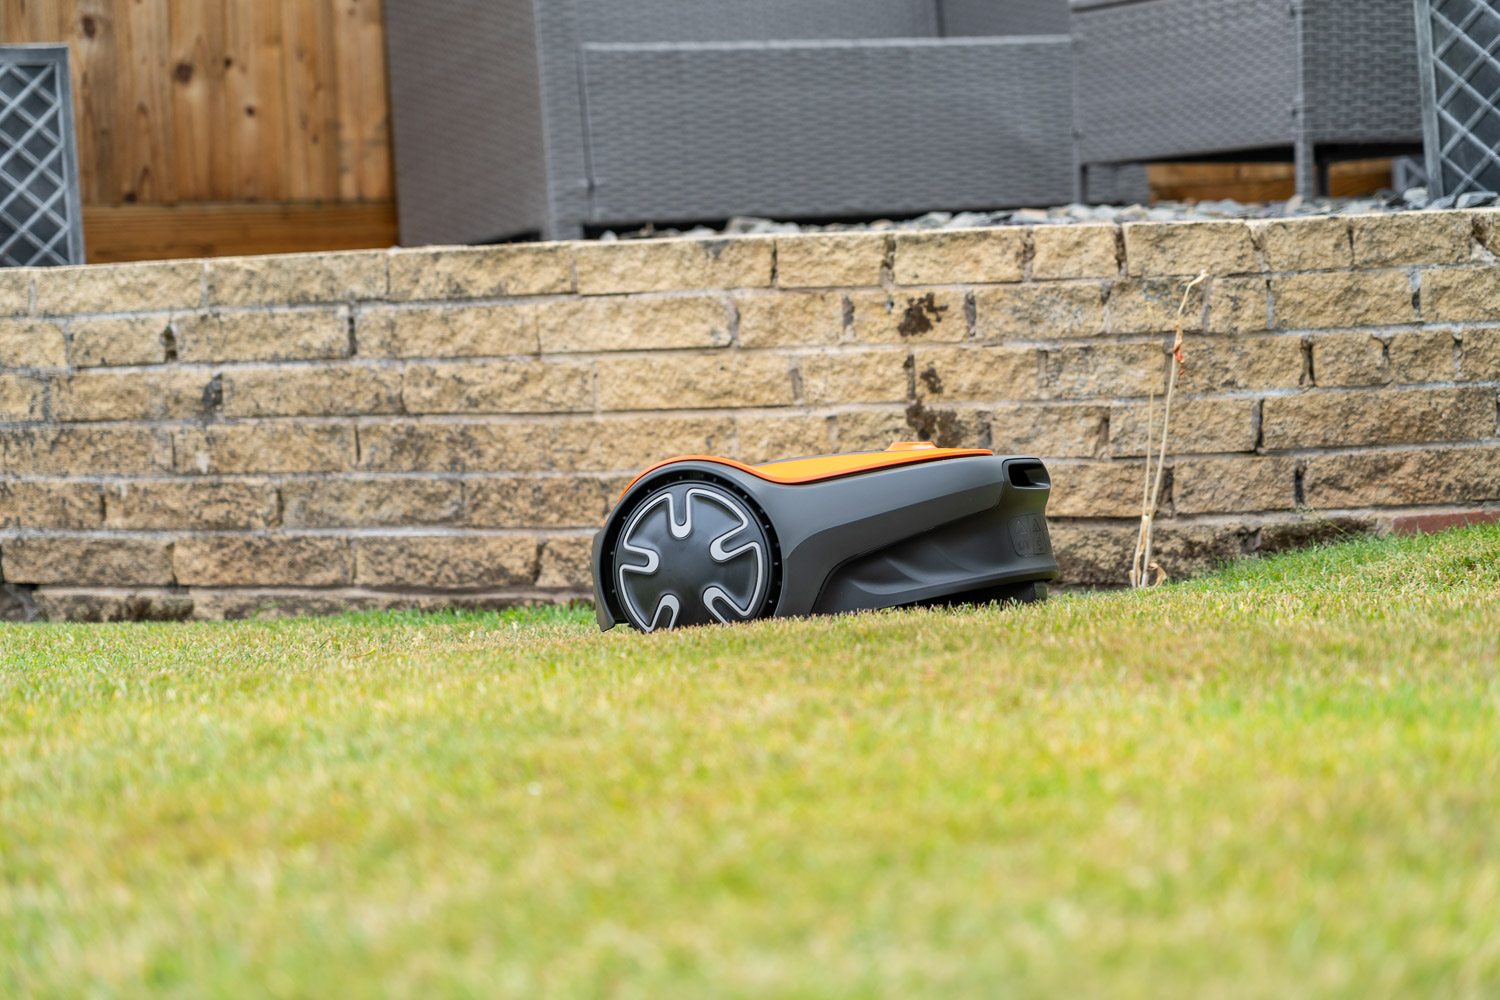
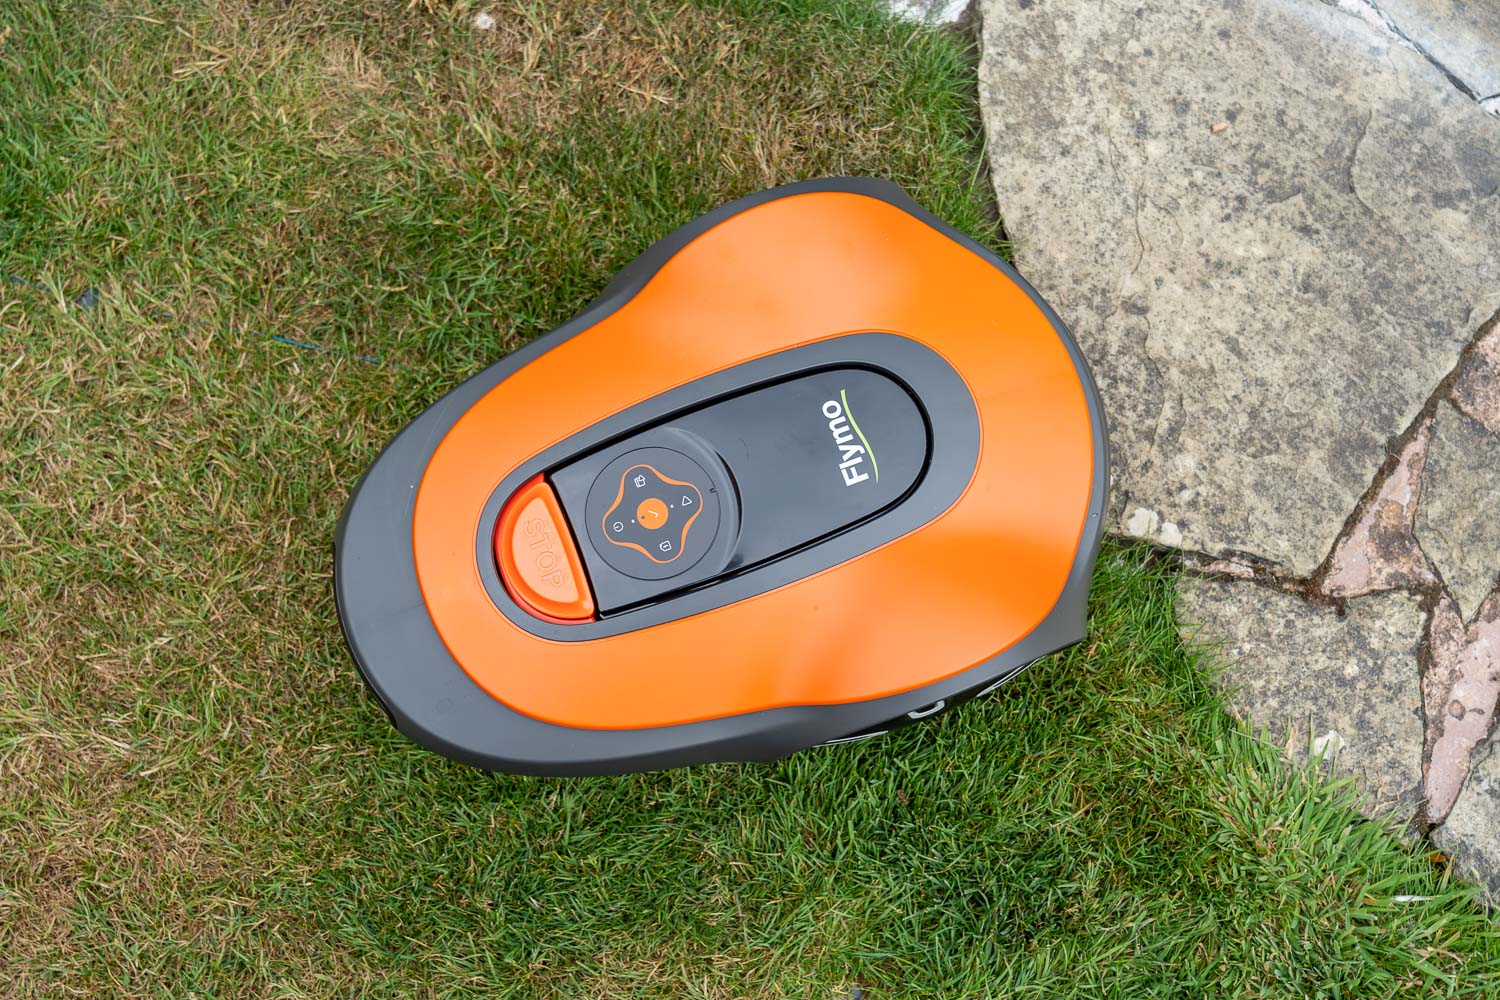
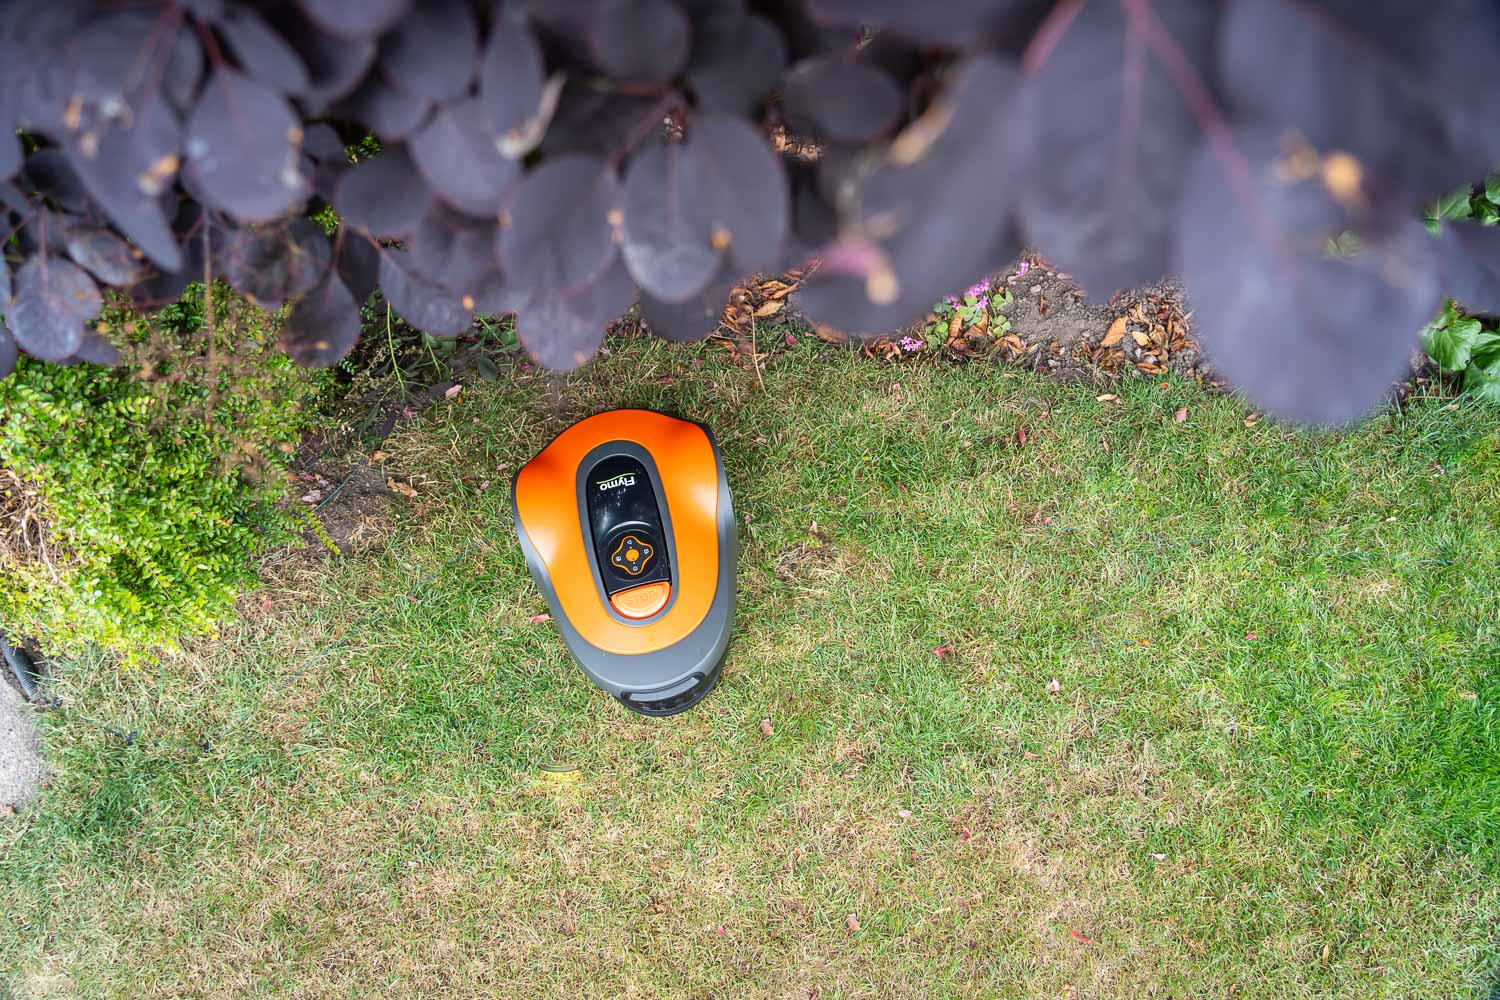
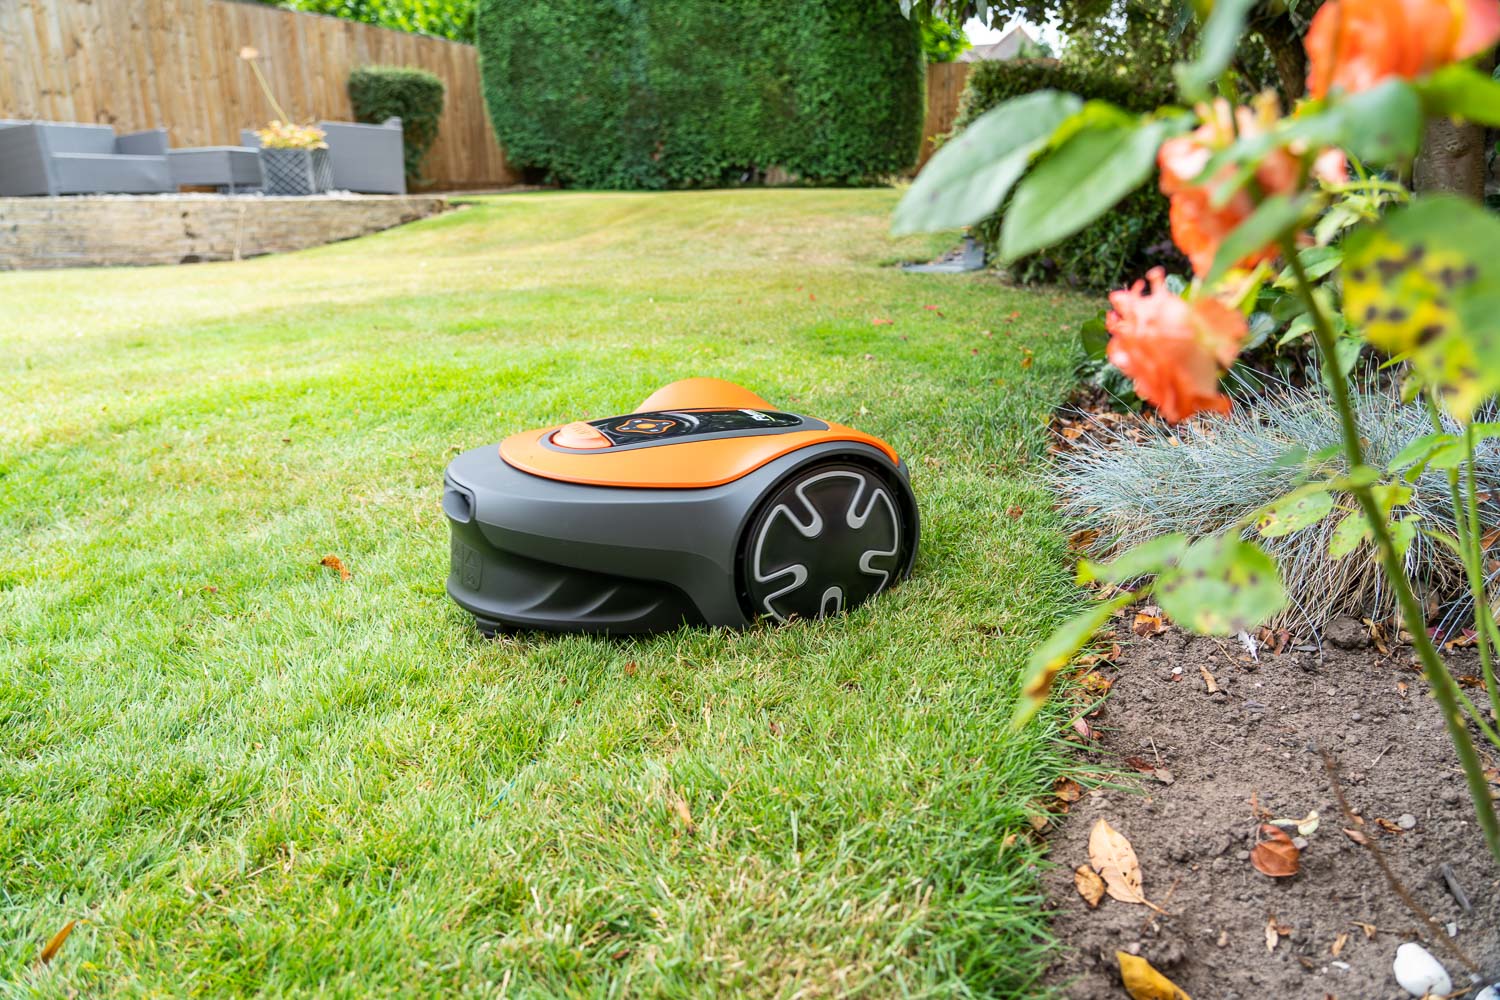
Get it right, and as you can see here with the Flymo EasiLife Go 250 running around my lawn, it could even be made to cut grass right on the edges of the grass with a good bit of precision, without touching any of the pavement or concrete walkway, nor would it fall down a small ditch, and it’ll do all this without leaving behind any tyre tracks. This is thanks to the 30 cm gap from the edge of the grass, so remember to bear that in mind.
That said, once you’ve installed the charge station and boundary wire accordingly, the Flymo EasiLife Go 250 is super clever and precise when it’s mowing the lawn, given how its logic was defined. With some robot mowers, they might continue running until they hit a boundary wire, stop dead, double back a random amount as they pirouette in place, then return in a straight line, before hitting another boundary wire, and then repeat.
In doing so, they may sometimes miss out on entire sections of grass, or at the very least, it’s not a very efficient or elegant way to mow your lawn. On the bright side, that’s not the case here with the Flymo EasiLife Go 250, and it’s surprisingly elegant with how it moves. Once it hits a boundary wire, it will gradually slow down, then reverse backwards, before doing a neat little J-turn pivot, and finally continuing onwards with another part of your lawn.
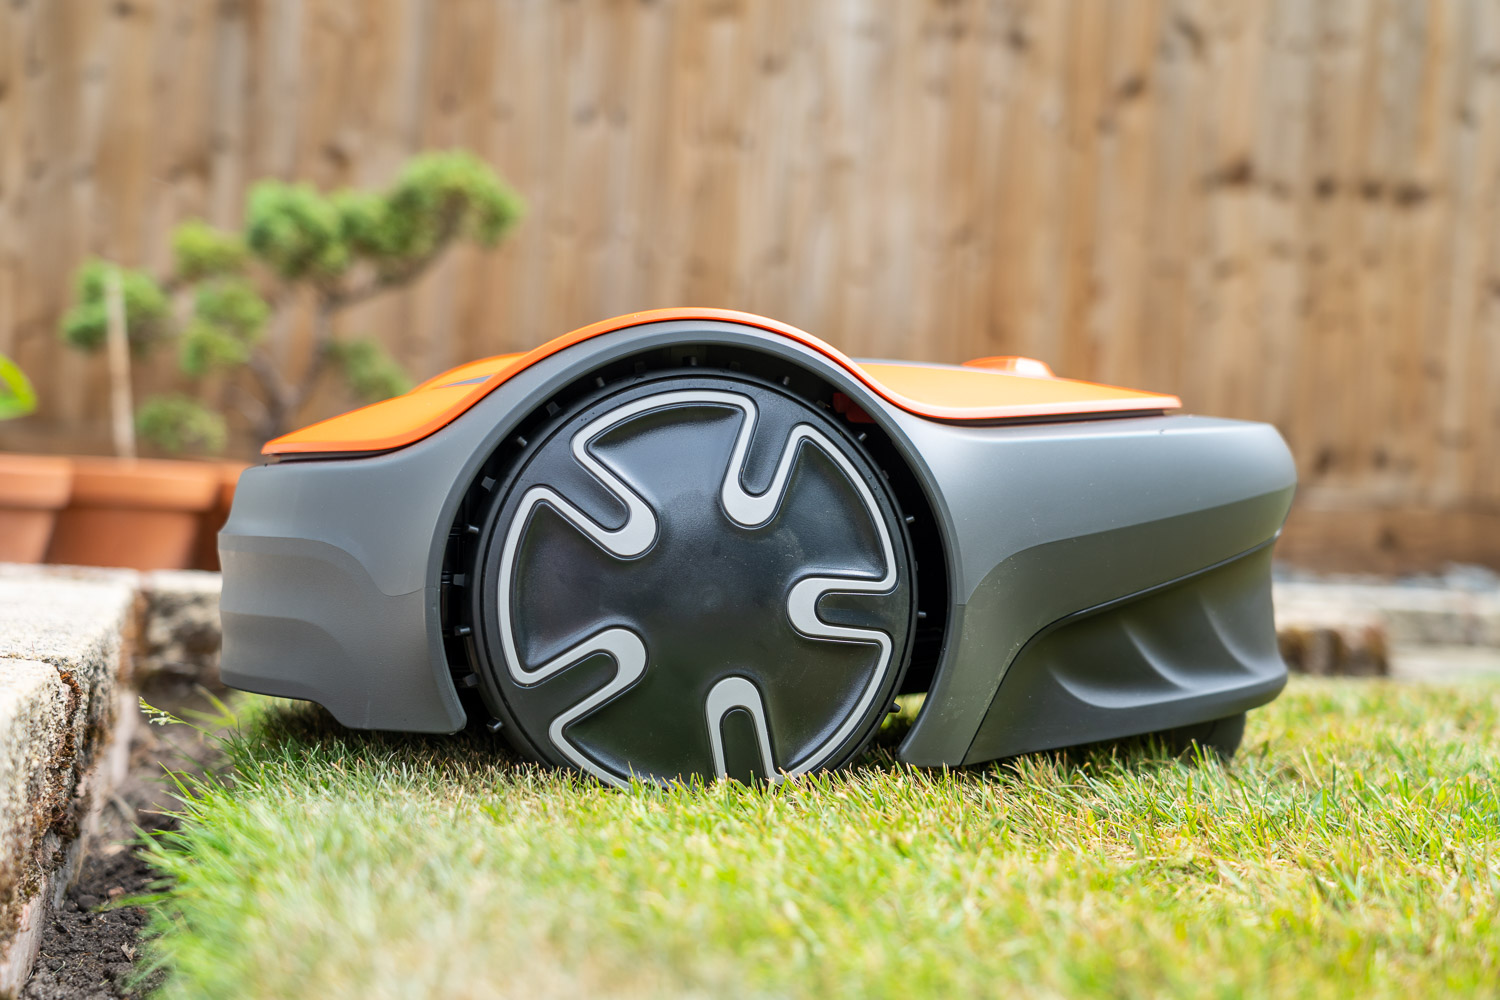
It’s a pretty minor little detail, but it works really well, underscoring how smart the programming is that Flymo’s been able to code into the EasiLife Go 250. Equally, it could also traverse down narrow passages, and it’s smart enough to dock itself into the base station, even if you place it in a corner. Of course, aside from the charging station, there’s the actual robot mower itself, the rather cute and sleek-looking Flymo EasiLife Go 250.
Great Design And Super Intuitive Controls
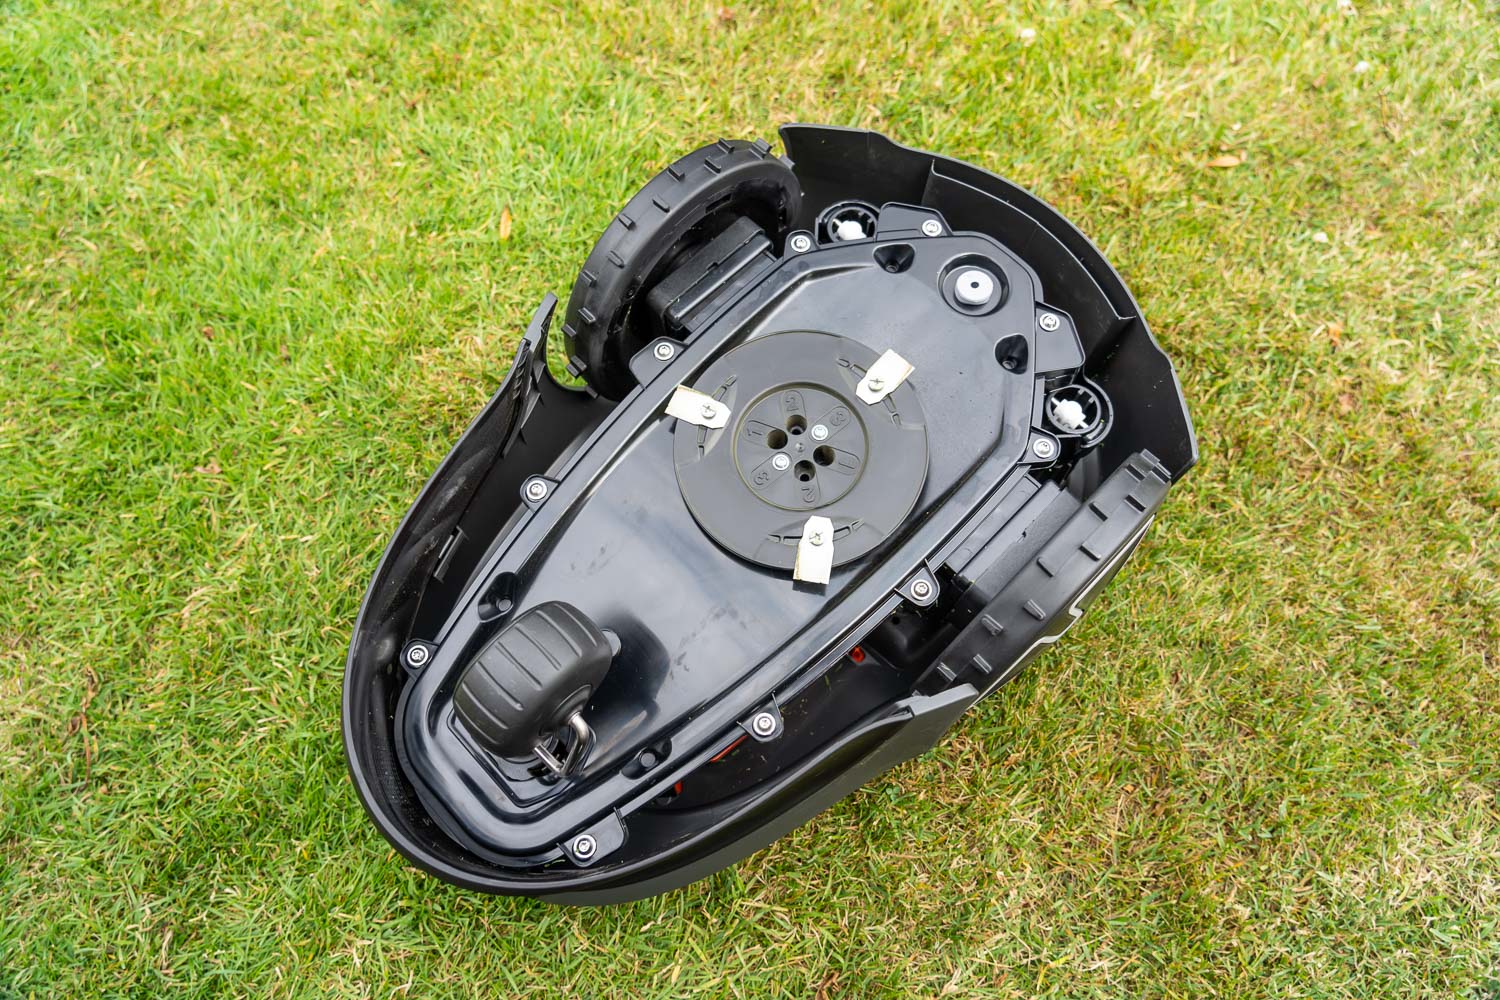
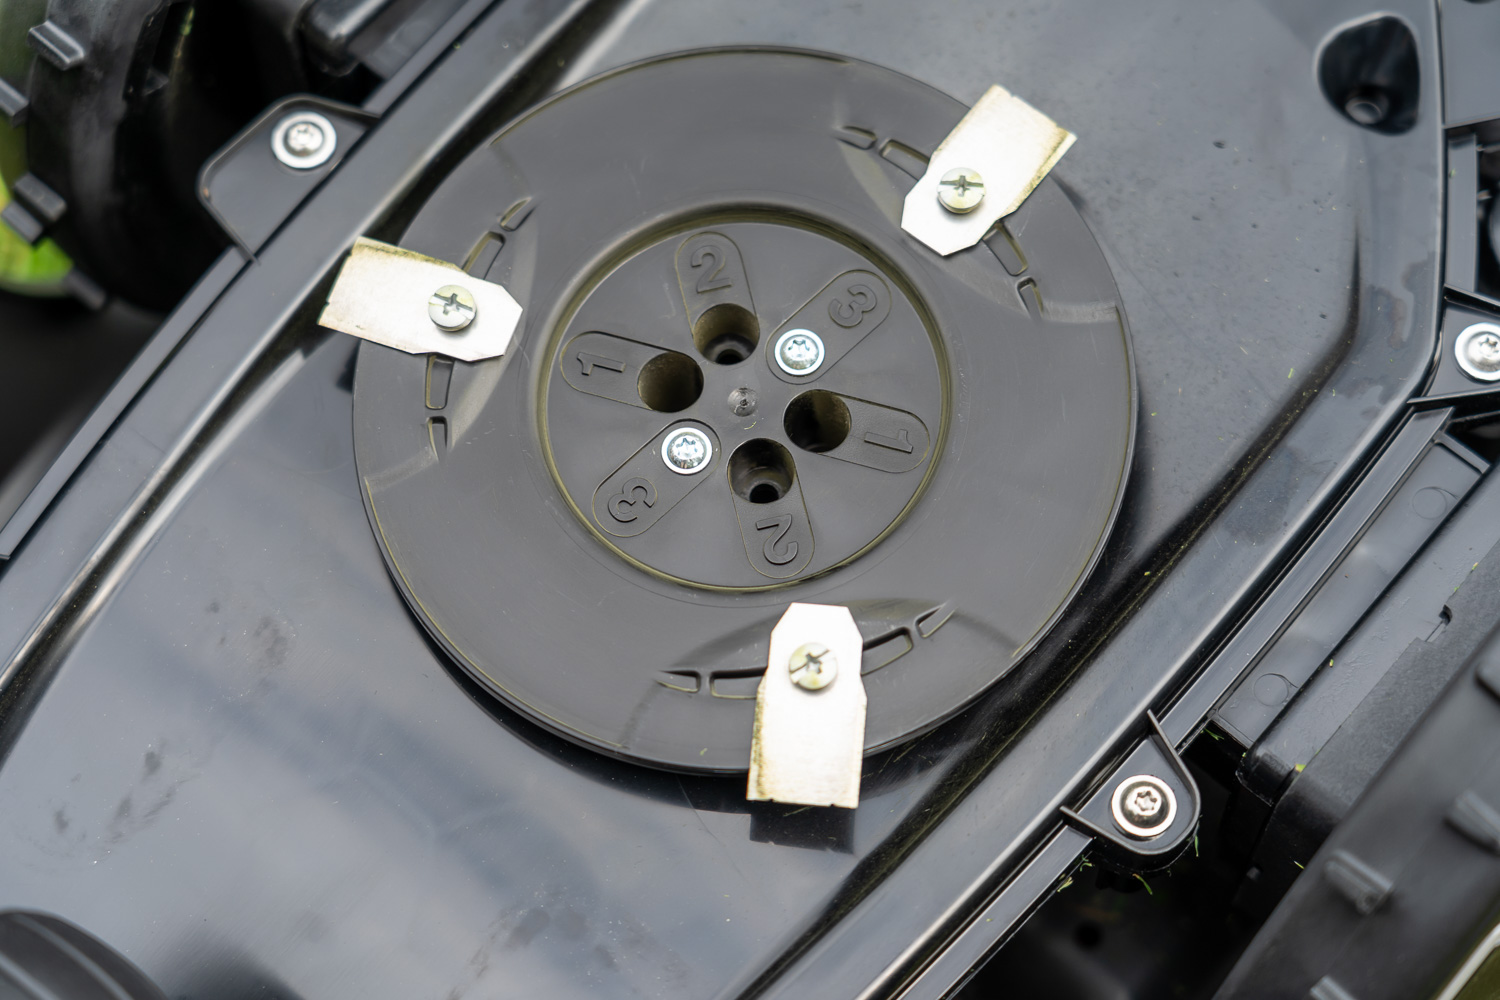
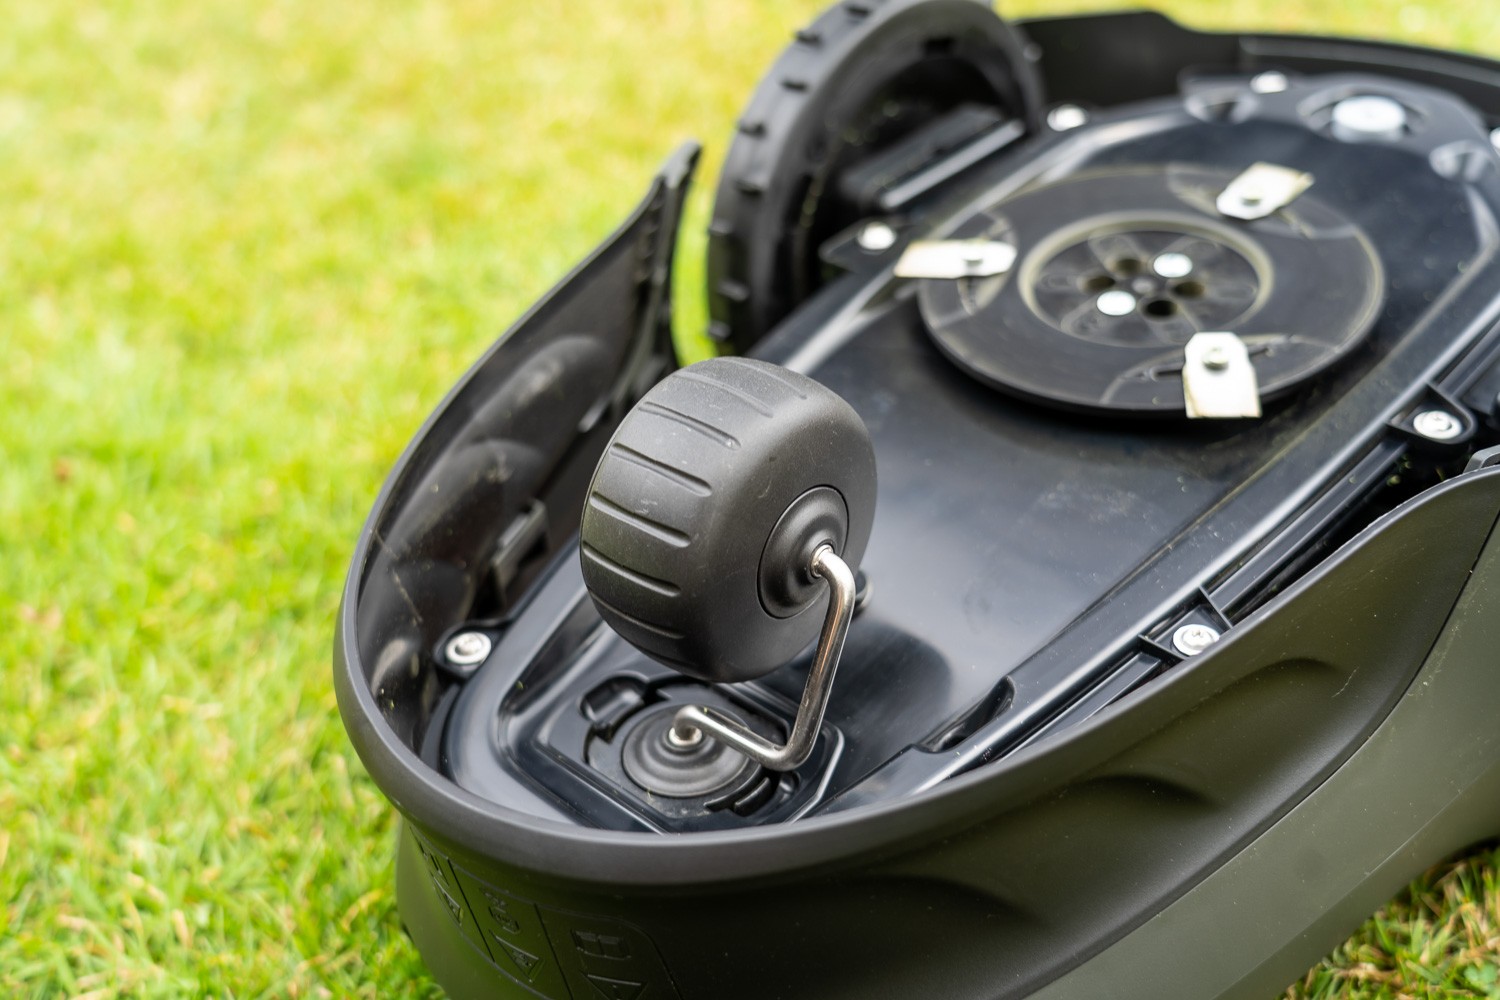
If you’ve never seen the bottom of a robot mower before, then here’s how it works… Underneath, there’s a large spinning disc, and on the edges will be where you’ll find a set of razor-sharp blades, normally double-sided. So, as your robot mower pootles around your backyard, that sharp disc spins around and cuts down any tall grass. On that front, there are also additional height adjustments for how tall of a blade of grass you’d like to trim.
On the Flymo EasiLife Go 250, it’s as easy as unscrewing the spinning disc and then adjusting the height settings in one of three ways, cutting grass as low as 20 mm or as high as 45 mm. Either way, one other upside that sets the Flymo EasiLife Go 250 apart from other robot mowers is just how quiet it is. Those cutting blades are barely audible, with only the slightest sound of them cutting grass, without disrupting the serenity of my garden.
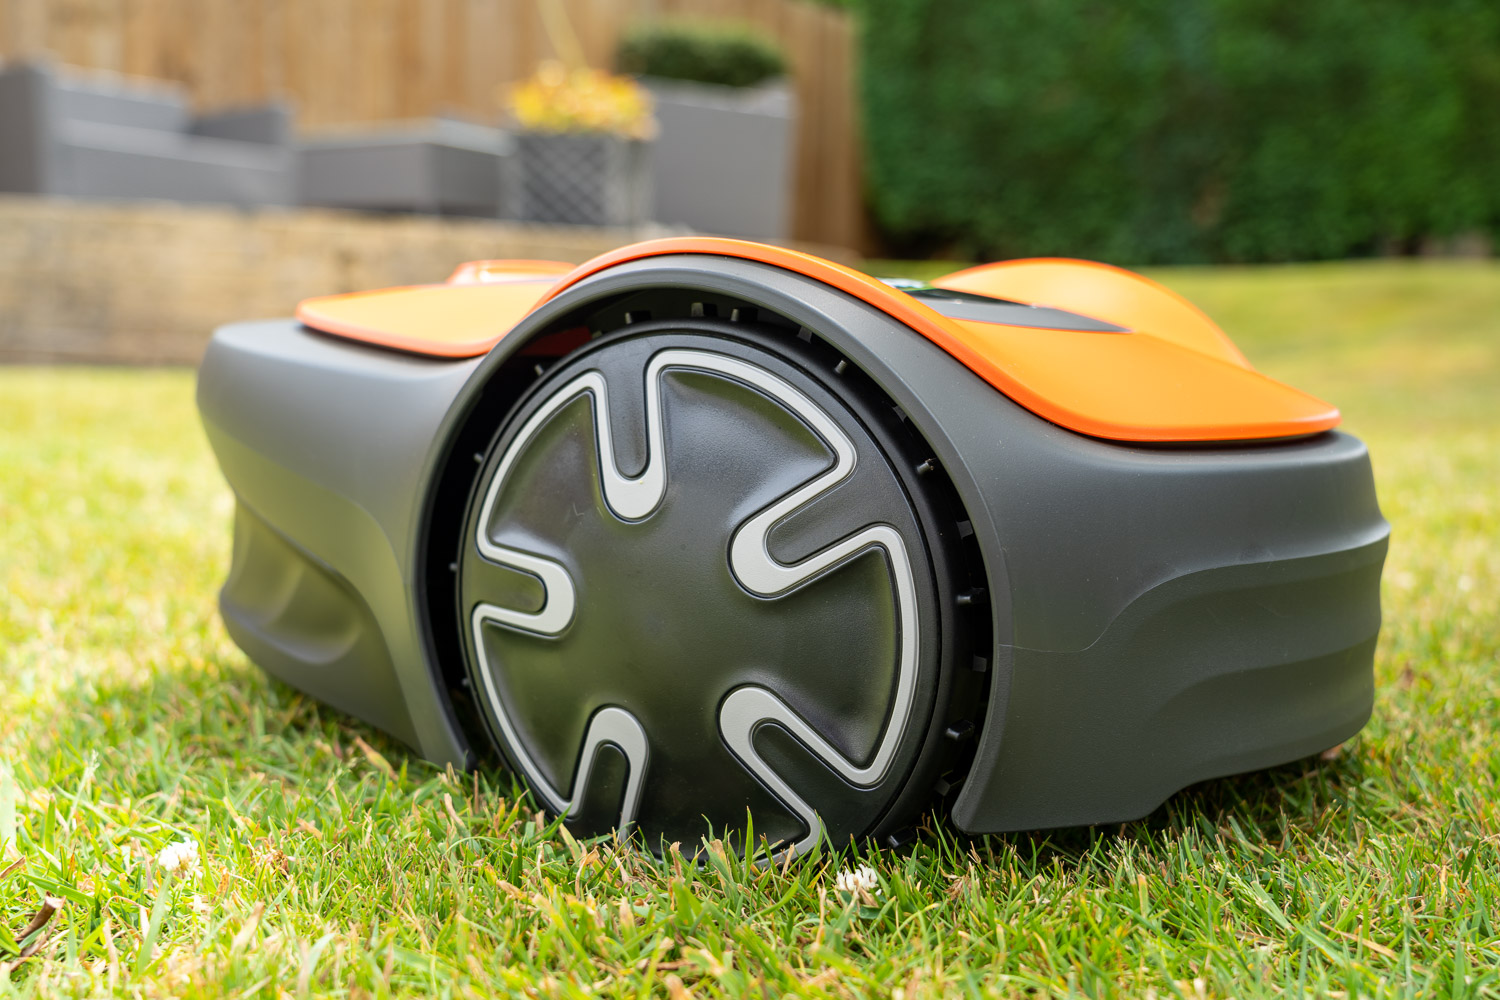
Besides that, the motors that run the drive wheels are equally as silent, and they lack that churn and whine that you’ll normally hear from a robot mower. Additionally, it does have built-in grass height sensors, as well as a frost sensor, too. Together, working in tandem with one another, both of these should be able to better adjust the mower’s cutting schedule and adapt it automatically depending on the weather and the state of your lawn.
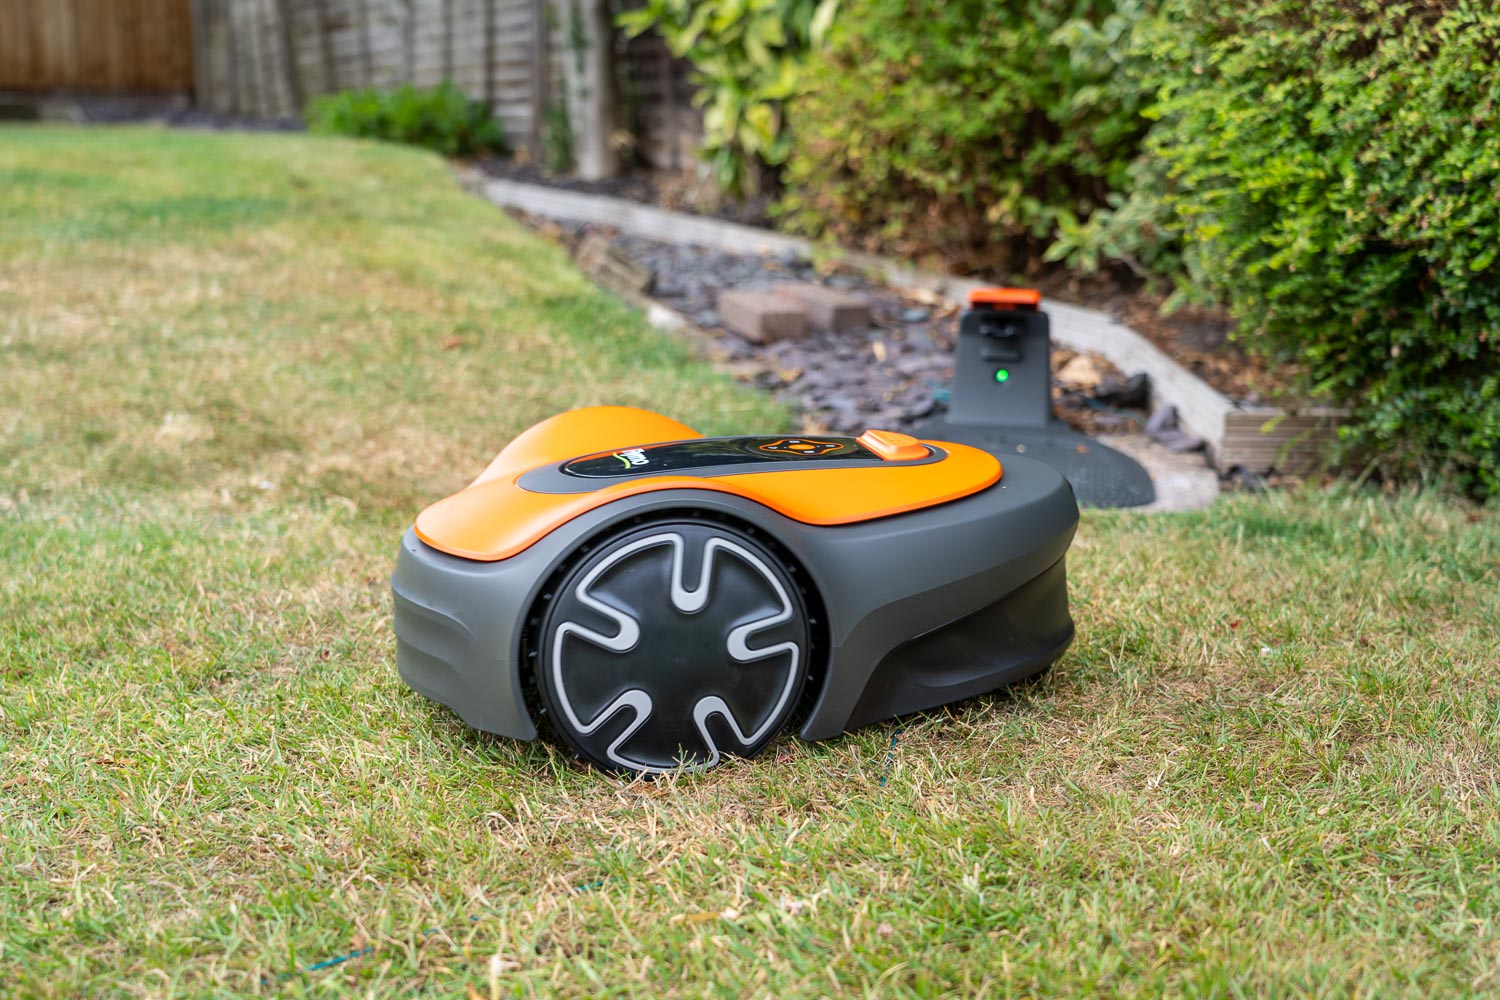
For example, if it detects that your lawn hasn’t grown fully yet and it’s not necessary to trim the grass now, the Flymo EasiLife Go 250 is clever enough to simply skip that session. And, if you’re wondering about which of its three wheels is the drive wheel, that’d be the front two wheels on the Flymo EasiLife Go 250, and it even works well in slight gradients and hilly areas, too, probably thanks to those massive, grippy wheels.
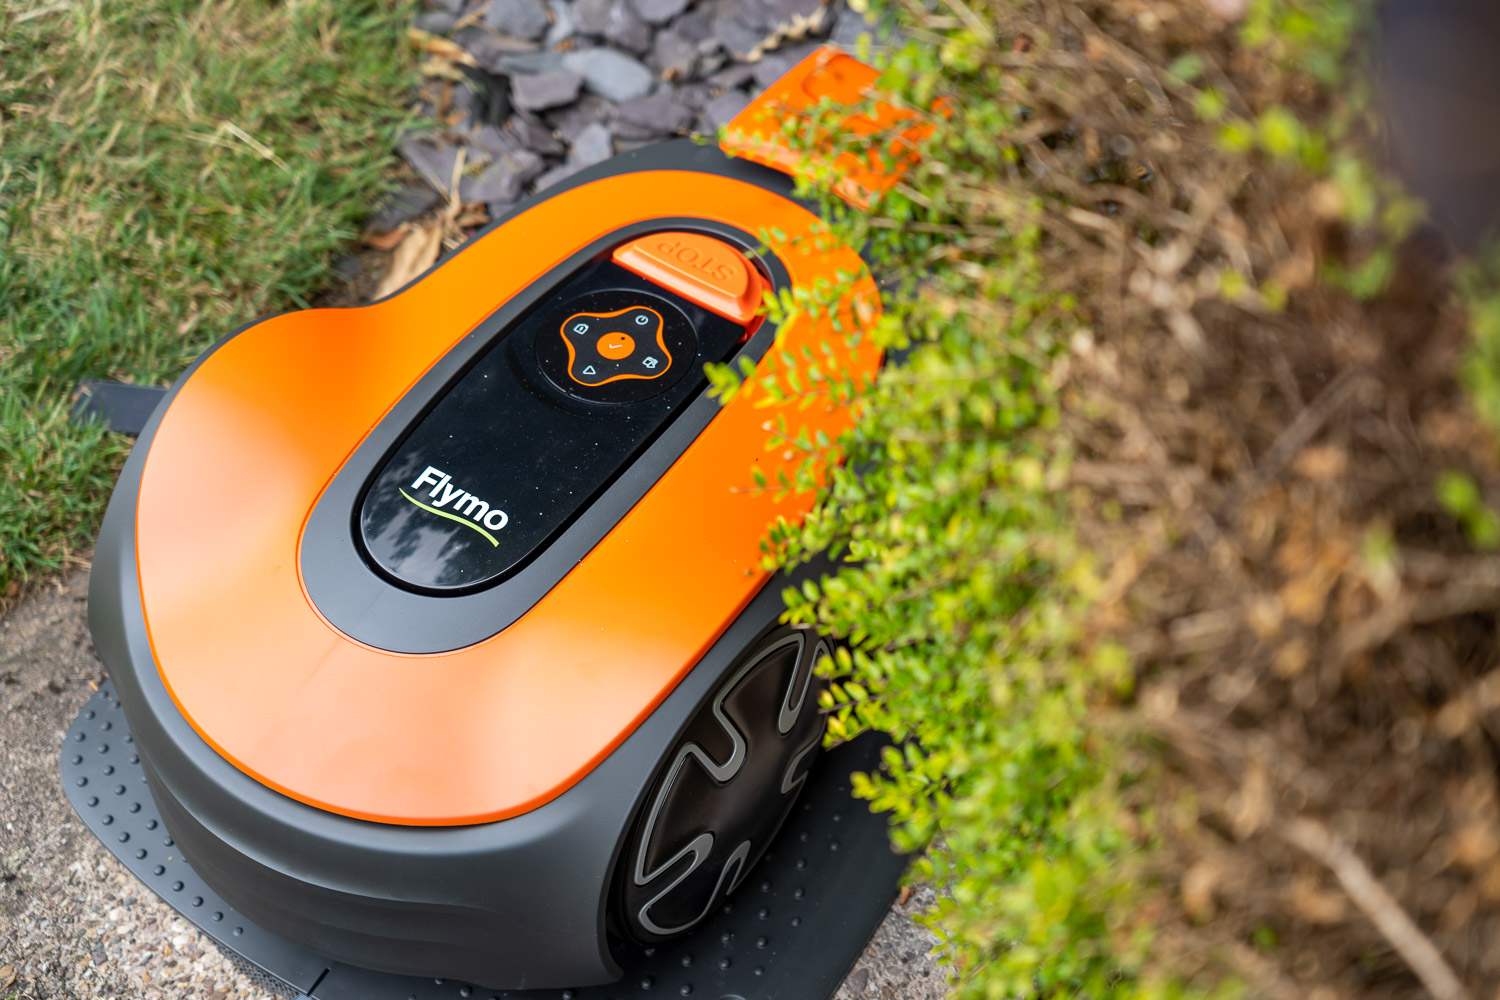
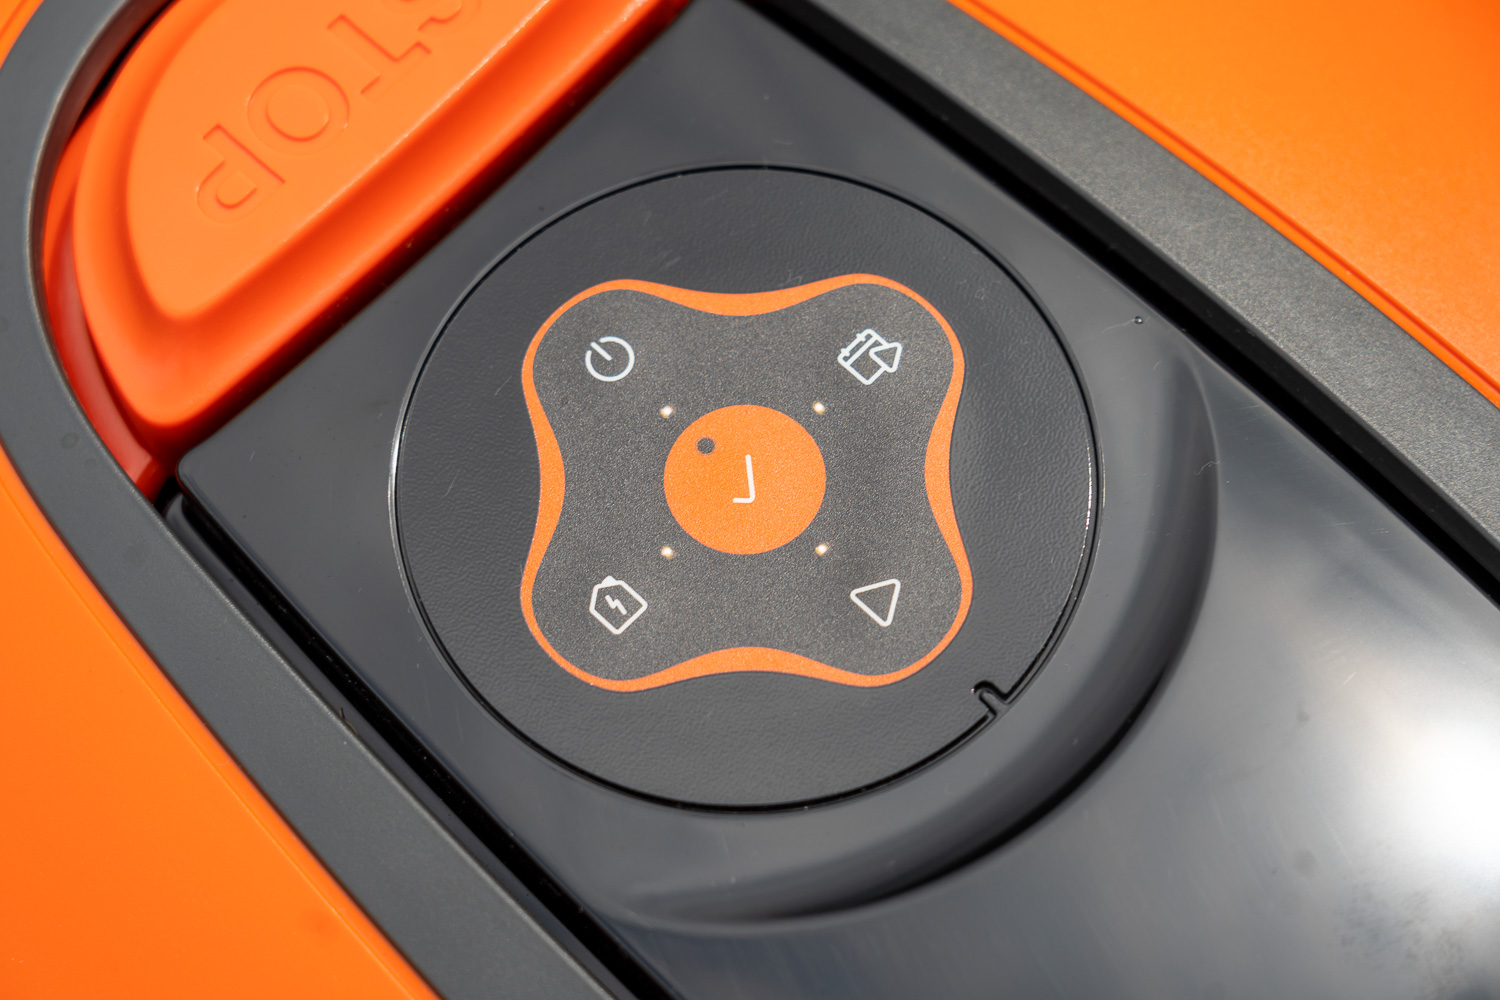
Meanwhile, at the top of the Flymo EasiLife Go 250, you’ll find four control buttons, where you could turn the mower on or off, activate and run the mower now, have it run on the next scheduled session, as well as another button to prompt the mower to return home to its base station. There’s one more button at the top to confirm your inputs, and there’s another, gigantic stop button, just in case you need to quickly stop it dead in its tracks.
Plenty Of Features In A Compact Package
If this interface isn’t simple enough, you could even control the Flymo EasiLife Go 250 using an app on your phone. This app gives you access to additional, more in-depth settings, such as setting a schedule, telling the mower to go home, or even troubleshooting any potential problems with the mower. Of all the robot mowers that I’ve used, this is by far the best execution of a Bluetooth-enabled, app-based solution I’ve seen thus far.
It has responsive controls, loads of easy-to-use options, and is coupled with an intuitive user interface. Plus, seeing how well it disperses grass clippings across my lawn for mulching, you also needn’t worry about needing to rake or manually collect and dispose of any grass. For now, these are my first impressions of the Flymo EasiLife Go 250, and I’m going to keep testing it as the months roll on by and gauge its performance over the long term. With that in mind, be sure to check in again, and we’ll see if it could really hold its own by then.