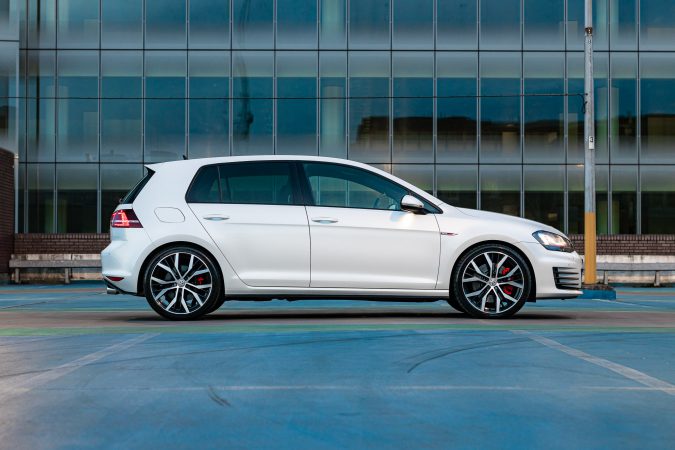
There are several hot hatches that use the same MQB platform as the Mk7 GTI. Some are All wheel drive (Audi S3/Golf R) some are Front Wheel Drive (Leon Cupra/Octavia VRS) but in both cases there have been issues with wheel hop or axle tramp. If you’re unfamiliar with the term then it can be best described as jumping/banging felt through the front of the car during heavy acceleration, most commonly from a standstill.
The sensation comes from the wheels losing grip and then gaining grip over and over again, this results in a “hop” which puts a large load on the chassis and is counterproductive to acceleration. To help overcome this, you can install a polyurethane bush into the lower engine mount.
Powerflex PFF85-830 – Lower Engine Mount Upgrade
We sourced the PFF85-830 Kit from Powerflex who are a reputable brand when it comes to polyurethane bushes. There is also a PFF85-832 which fits most cars from 2015 onwards but please check your own part before ordering. Powerflex detail the difference here.
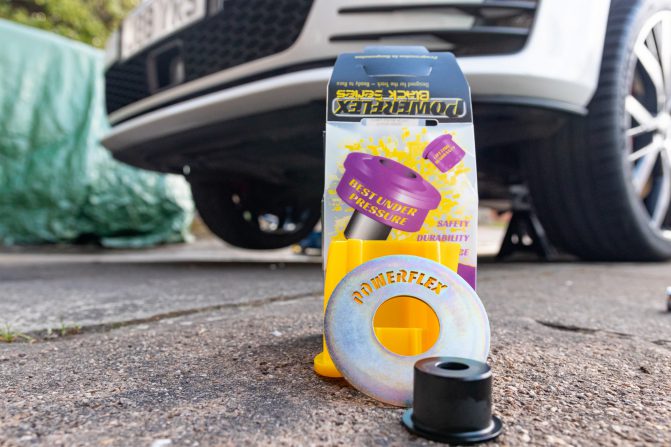
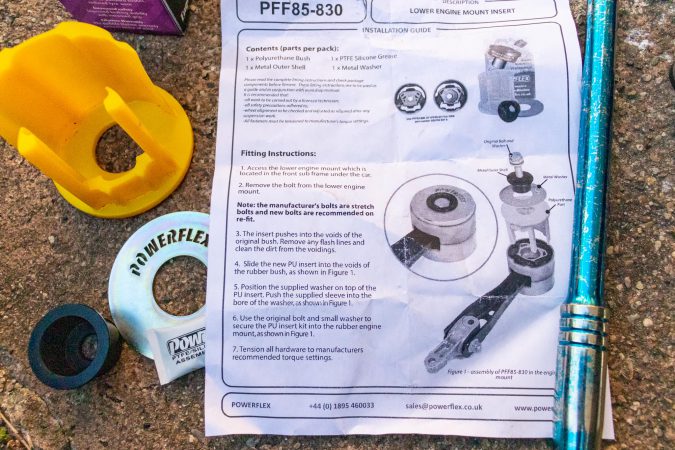
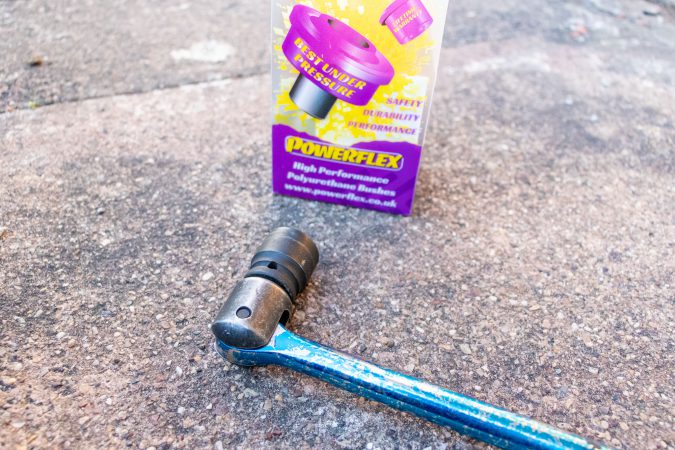
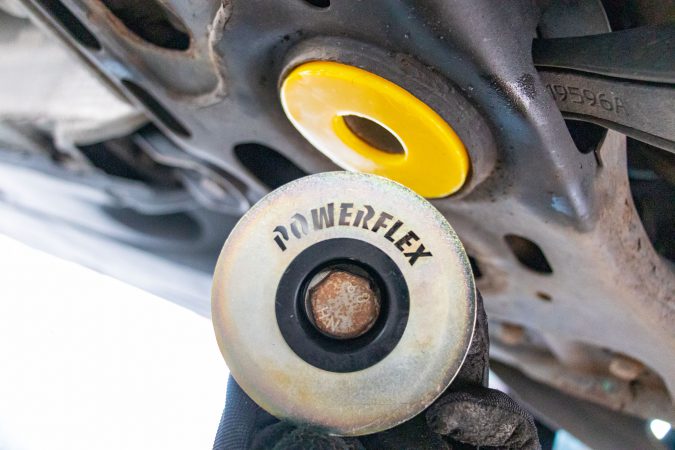
The kit consists of the bush itself, a metal outer shell, a metal washer for the bolt and a tube of PTFE silicone grease.
The tools used for the upgrade were as follows:
- 600mm ½” breaker bar
- ½” Torque Wrench
- 21mm Deep Hex or Impact socket
- 2x Axle Stands
- Trolley Jack
- Rubber Mallet (optional)
Fitting The Engine Insert Mount
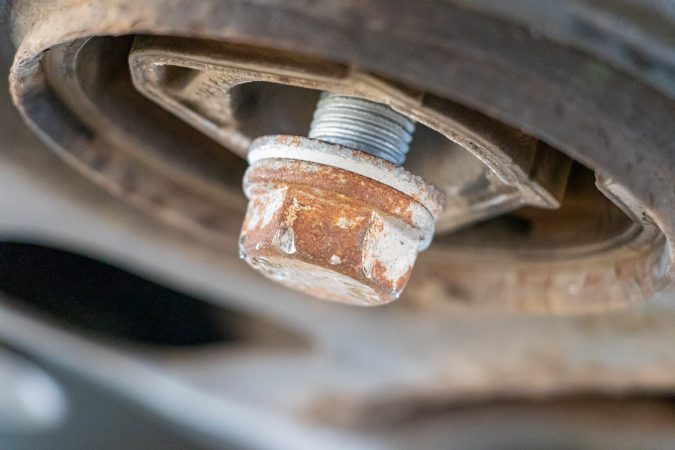
With the car jacked up and suitably supported using axle stands, the bolt can be found and accessed from underneath the car. Use of a breaker bar will make removal much easier. Another recommendation is using a hex socket or impact socket with 6 sides rather than 12 to limit the chances of rounding off the original bolt.
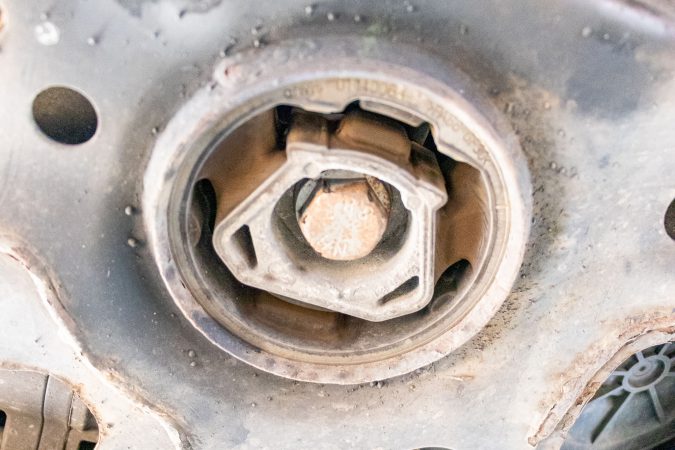
I followed the included instructions to get the insert fitted. Starting off with removing the bolt from underneath the car. The bush that houses the bolt will flex slightly under load but the bolt should come free without too much hassle. Only the bolt needs to be removed at this point. The bolt can be replaced if required, the part number is N-912-010-01.
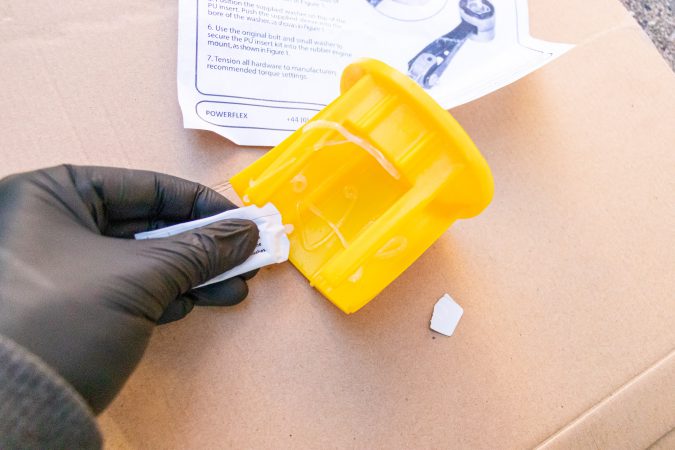
The Powerflex bush can be prepared for fitment. Using suitable hand protection, apply the lubricant evenly over the bush. The grease is quite viscous so is easy to work with.
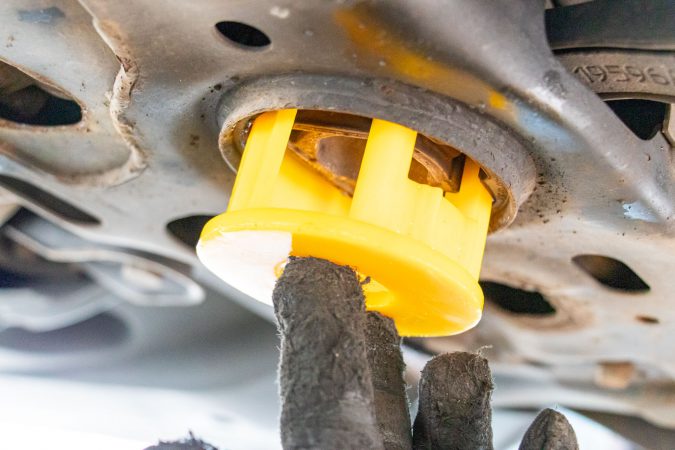
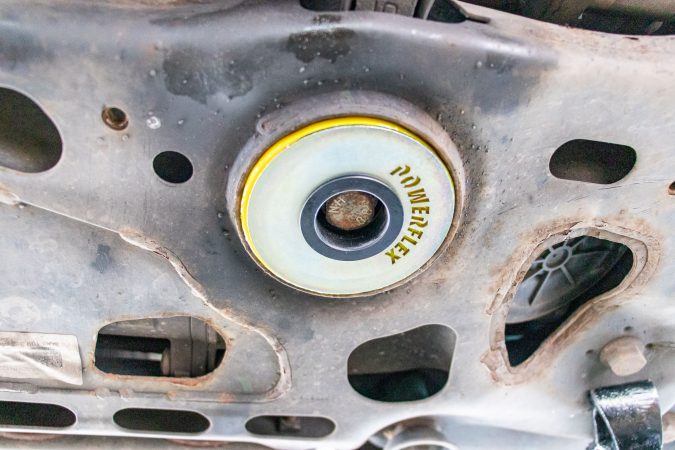
The bush only goes in one way. Familiarise yourself with the shape of the bush and then line it up with the engine mount. It doesn’t require much force to insert and will go in with hand force alone. You can use the rubber mallet to drive it home if you’re struggling.
Place the metal washer inside the metal outer shell and then put the bolt through the centre of the washer. Using your 21mm socket, push the assembly into place and hand tighten the bolt. Follow up with your breaker bar but do not completely tighten it.
As per the Powerflex instructions, use a torque wrench to tighten up your bolt. The recommended setting is 75ft/lbs or roughly 102nm.
The engine mount will take around 1,000 miles to fully wear in. In this time you may experience some extra noise, vibration and harshness (NVH) but most of this will fade away over time.
Initial Results
During the initial drive test the gear movement was tighter, this is most likely due to less movement through the engine and gearbox via the engine mount. There wasn’t any noticeable change in NVH. The biggest improvement was found with hard launches, there was no longer any wheel hop or axle tramping in dry conditions and a significant reduction in the wet. This is a massive improvement over the factory set up which would cause issues even with moderate acceleration.
It is worth mentioning the car has no performance upgrades and is running standard power. If you are running higher power then you may opt for the Track Series (Purple) or Black Series (Black) versions of the same part. These are stiffer than the fitted Road Series (Yellow) and offer greater improvements but at the sacrifice of some NVH.
Extra Information
Fitting instructions can be found here.
Replacement Engine Mount Bolt Part Number – N-912-010-01
Manufacturers torque for Engine Mount Bolt – 75ft/lbs or ~102nm
PFF85-830 Product Link
The article is applicable to all of the following vehicles on the MQB platform:
- A3 Mk3 up to 125PS – Rear Beam – 8V – 2013-
- A3 & S3 Mk3 125PS+ – Multi-Link – 8V – 2013-
- Q2 2WD – Rear Beam – 2017-
- Q2 4WD Quattro Multi-Link – 2017-
- TT Mk3 – 8S – 2014-
- Leon Mk3 150PS+ – Multi-Link – 5F – 2013-
- Leon Mk3 upto 150PS – Rear Beam – 5F – 2013-
- Kodiaq – 2017-
- Octavia 150PS+ – Multi-Link – 5E – 2013-
- Octavia to 150PS – Rear Beam – 5E – 2013-
- Superb – 3V – 2015-
- Golf Mk7 2WD 122PS+ – Multi-Link – 5G – 2012-
- Golf Mk7 2WD upto 122PS – Rear Beam – 5G – 2012-
- Golf Mk7 4WD inc R – 5G – 2012-
- Passat – B8 – 2013-
- T-Roc – Rear Beam – 2018-
- Tiguan Mk2 – 2017-
- Touran – 5T – 2017-
Video guide for fitment of a similar part:

