
Oil changes are, as simple, routine, or mundane as they may appear at times, are a crucial habit that every car owner has to practice. That thick, golden, oozing liquid is what’s responsible for keeping the engine well lubricated, cooled, and rust-free. Without motor oil, it’s fair to say that even the toughest engines would barely last a few minutes. As is the case when you have a stripped oil drain plug.
Draining out your old and blackened motor oil for a replacement is as easy as ABC. For most, this is a process that shouldn’t take any more than a minute. However, unexpected circumstances can be big enough of an obstacle, that it might prevent you from being able to change the oil at all. Having a stripped oil drain plug is one great example of this. It’s a much bigger problem than it seems at first.
Without opening this plug, you can’t drain out your old oil. If you can’t manage this, you can’t change the oil. There could be a myriad of reasons why your drain plug has smoothed out. It may be due to a sense of recklessness, brute force, or aging. In any case, it’s a good thing there are solid guides as to how you can get past and repair a stripped oil drain plug. So, here’s what you’ll need to do…
What Causes A Stripped Or Stuck Oil Drain Plug?
The purpose of an oil drain plug is self-explanatory enough. Located at the bottom end or around the side of the oil pan, this plug keeps oil in place inside of the oil pan. It might seem like an unimportant component. However, the oil drain plug has to work hard in making sure your motor oil doesn’t spill out. It must combat the forces of gravity, oil pressure, as well as debris and driving over speedbumps.
In addition, this plug is what you’ll have to twist open to, as its name suggests, drain out the oil for an oil change to proceed. Given this importance and simplicity, how have you been forced to deal with a stripped oil drain plug, in the first place? Well, there are a few reasons why your car’s oil drain plug is stripped or stuck…
- Most oil drain plugs these days are made from soft metals, such as aluminum. These are much more malleable than metal and could deform or strip quite easily.
- Overtightening of the oil drain plug during routine oil changes. Doing so could very easily damage the threads, likely causing them to not be as well-sealed or secured enough.
- Recklessness or lack of care by mechanics (or yourself) in handling the oil drain plug’s removal. It can lead to the heads being rounded off, making them harder to remove.
- The oil has turned into a thick sludge and has formed a lot of gunk around the oil drain plug. It acts sort of like concrete, as it somewhat glues together the oil drain plug.
- Corrosion is quite common with older cars that use metal oil drain plugs. A build-up of rust can easily form an oxidation bond between the oil drain plug, and the oil pan.
What Are The Different Types Of Stripped Oil Drain Plugs?
When talking about stripped oil drain plugs, you might refer to two different conditions and types of stripped plugs. If we look at the design of oil drain plugs, you’re either talking about the treads (that screws into the oil pan). Or, the head (that you’ll secure a wrench or socket with to tighten or loosen). Looking at either the threads or heads could lead to requiring distinct solutions at fixing them…
- Thread – Damaged threads will prevent the oil drain plug from being torqued sufficiently enough so a good seal can be formed. As such, stripped threads could have gaps large enough whereby engine oil could very easily leak out from. Threads could be stripped due to overtightening, and going over the recommended torque settings during removal and reseating of the oil drain plugs.
- Head – ‘Stripped’ is another way to refer to the rounded-off nature of the oil drain plug heads. All drain plugs have a hexagonal head that can be loosened or tightened with a wrench or socket. When you use wrongly sized wrenches or sockets, it leaves marks on the heads that eventually round them off. As a result, it’ll be challenging for wrenches or sockets to get a good fit on them.
You’ll observe here that the most common causes of stripped oil drain plugs are attributed to human error. For instance, not torquing the plugs carefully, and with the suggested torque settings. Or, the use of incorrect tools that may be too small. The latter is quite common when you’re going back and forth between plug and wrench or socket sizing listed in either metric and imperial.
How Can You Remove Stripped Oil Drain Plugs?
Seeing how there are two different scenarios that you might be caught in when it comes to stripped oil drain plugs, we’ll split our guide for how to remove them into two. Therefore, we’ll soon look at how you can solve them when:
- The treads of the oil drain plug are stripped out to a point where you can’t unscrew them, or it might be challenging to loosen them all the way.
- The heads of the oil drain plug are smooth and rounded off, making it hard for you to put pressure to loosen them with a wrench or socket.
1. Removing Stripped Oil Drain Plug (Threads)
Thankfully, stripped oil grain plug threads are quite easy to loose and remove compared to rounded-off heads. Here’s what you need to do:
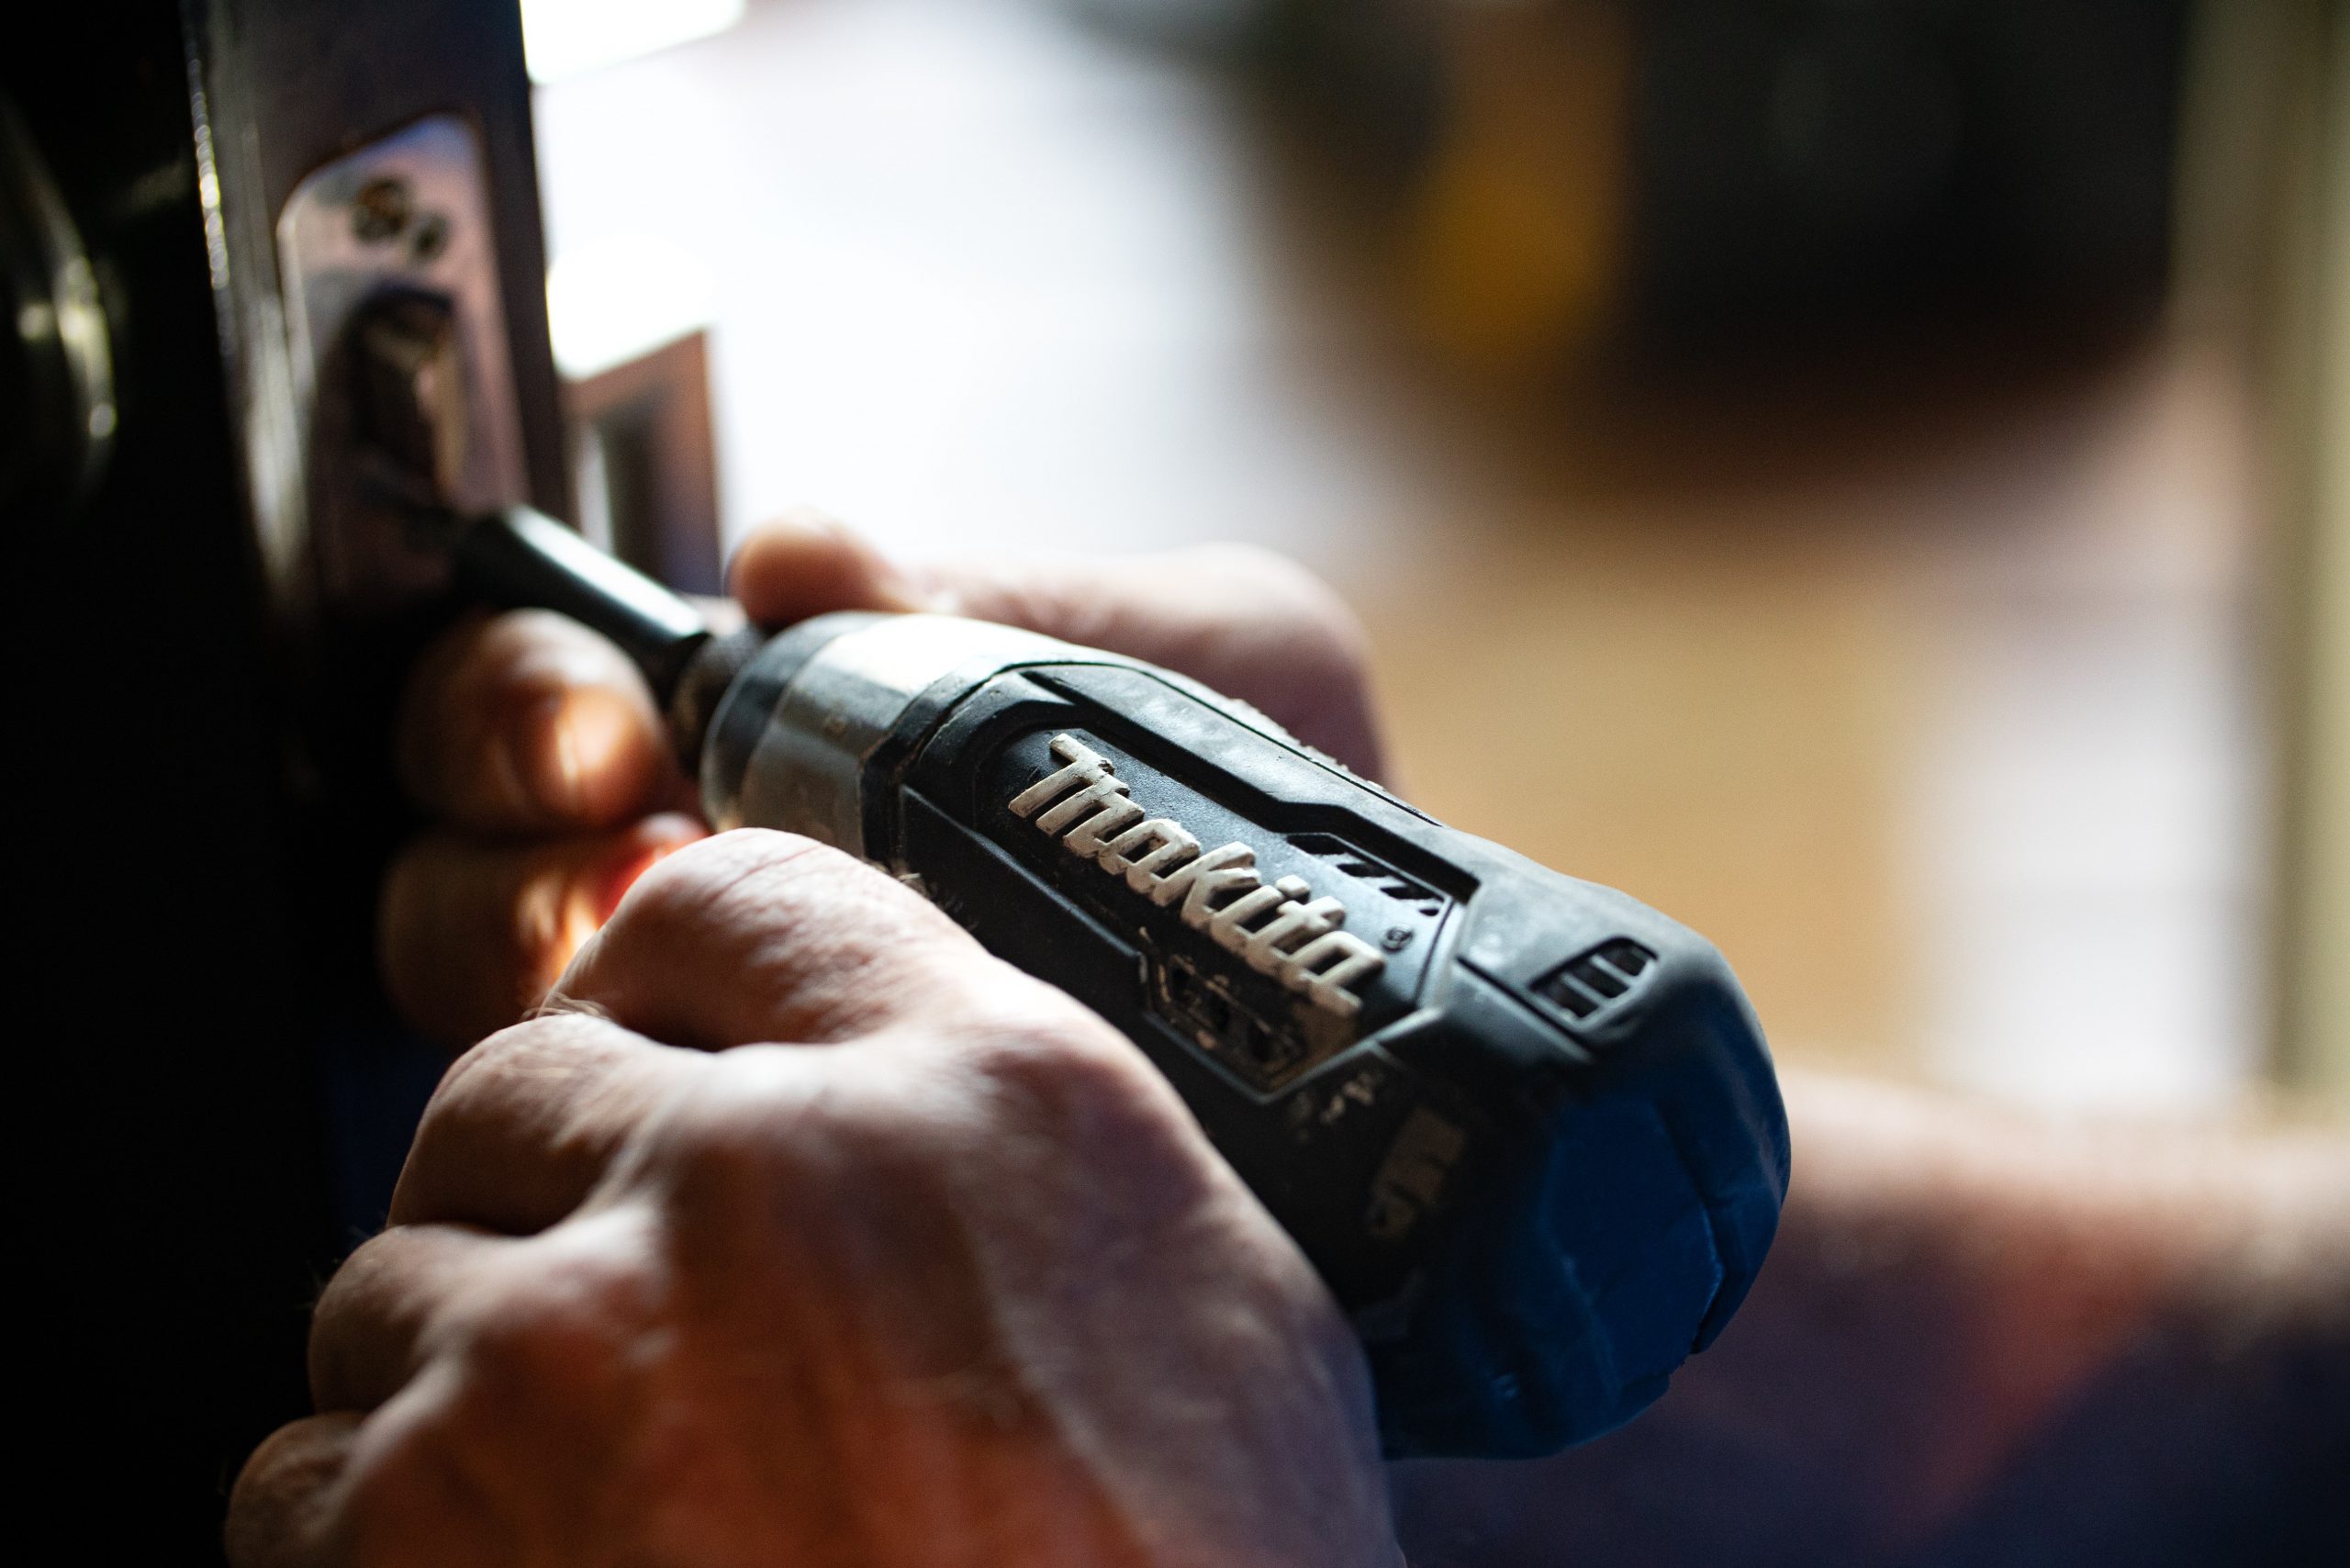
- Find a fitting wrench or socket that precisely meets the heads of the plug. Then, carefully try to twist your wrench or socket counter-clockwise to loosen the oil drain plug.
- If the plug refuses to budge, it might be necessary for you to put some outward force while loosening it. This should help the threads get as much grip as possible onto the threading around the oil pan.
- To do this, grab a flathead screwdriver. You can then wedge the tip between the oil pan, and the plug head’s underside.
- With one hand firmly on the socket or wrench, try to untighten the oil drain plug from its threading. At the same time, use the flathead screwdriver to gently pull it out, driving a wedge between the plug and the oil pan.
- Reposition the flathead around if you need to, as long as you can apply more force on the drain plug to give it some grip.
1.1 Option 2 (Using Pliers Instead Of A Wrench/Socket And Flathead)
Caution Note: When you’re trying to put force on the plug head with the flathead, never brute force it. Attempting to pry it out without also carefully loosening the threads is a bad idea. For starters, it can significantly damage the threading on the oil pan itself. Secondly, there’s the risk of punching a hole in the pan with the flathead if you slipped. Both will require replacing the entire oil pan.
But… What if the drain plug is sitting flush against the oil pan, and there isn’t enough clearance on the underside of the head to wedge a flathead? If that’s so, there’s an alternative:
- Grab a plier. Preferably, channel-lock pliers, as they can seat more firmly against the drain plug head.
- Grip the head with the pliers, and rotate it counter-clockwise, while simultaneously pulling outward on the drain plugs.
- Go slowly and gently, as you wouldn’t want to cause further damage to the threads or plug head.
2. Removing Stripped Oil Drain Plug (Head)
In this scenario, it’s much trickier to extract the drain plug from the oil pan since you’re not able to firmly grip the head at all. Here’s what you need to do:
- Grab a set of vice-grip pliers or any other round-jaw pliers that’ll accommodate the diameter of the plug head. It’s better than flat-jaw pliers, as the latter may not be able to lock onto the heads tightly enough.
- Using your vice-grip pliers, put a tight grip around the heads. Then, carefully try to turn it counter-clockwise, while also putting biting force to lock onto the heads.
- If the plug heads aren’t moving at all, you can use a hammer to tap onto the end of the pliers to bond it with the plug heads. Be careful, as you don’t want to cause further damage to the oil pan.
2.1. Alternative Options (Bolt Extractor, And/Or Drill)
Should the stripped oil drain plug still not budge owing to difficulties with attaining a solid grip over the rounded heads, you have two other options:
- Option 2 (Use A Bolt Extractor) – These tools have spiraled grooves that could firmly latch onto the head. All you need is to position the bolt extractor over the head and tap it lightly with a hammer. This helps the extractor to bite onto the head, where you can then use a ratchet to simply loosen up the stripped oil drain plug.
- Option 3 (Drill The Plug Out) – While much riskier, this will be necessary if the oil drain plug isn’t fazed thus far. Grab a drill, and drill a small hole straight down the middle of the drain plug. Once you’ve drilled deep enough, drilling it in reverse might loosen or pull the stripped oil drain plug out. If that doesn’t work, you can use that drill to create a more secure hole for the bolt extractor.
To try and expedite the process of removing a stripped oil drain plug, here are a few other tips and tricks to bear in mind…
Any Other Tips For Removing A Stripped Oil Drain Plug?
- Warming Up Your Car – Rather than trying to loosen a stripped oil drain plug while it’s cold, get your car to warm up. Either let it idle for a little while or drive it around the block. This should get the oil to warm up quite nicely. The reason? Aluminum (or metal) expands and is slightly softened when a bit of heat is applied. This might convince it to grip more readily against the threads or your tools.
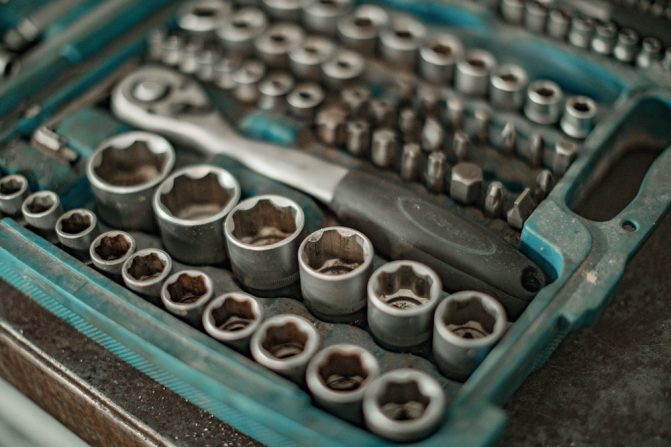
- Socket Wrench – Compared to a regular wrench, a socket wrench is a much more capable tool that may provide a tighter grip on the plug heads. Make sure you swap out the socket size to best match the head diameter. Also, it would be handy to use socket wrenches with longer handles. This allows you to position yourself better to apply more torque.
- Gator Grip – It’s sometimes known as a ‘universal socket wrench’. It features a highly adjustable pin system that enables you to freely alter the size of the socket end. This might come in handy if your sockets or wrench don’t seem to fit snugly against the plug heads. A gator grip, on the other hand, may be able to fill in those gaps a bit better, enabling a tighter grip over the head.
- Rust Remover Or Lubricant – Something like WD-40, for instance. They’re a great additive to loosen up practically anything, including stripped oil drain plugs. Plus, using them might aid in getting rid of any rust, sludge, or other debris that might get in the way. Spray the lubricant or rust remover onto the plug, especially around the tread holes. Give it a few minutes, and try to loosen it now.
How Can You Repair A Stripped Oil Pan Drain Hole?
Once you’ve successfully removed a stripped oil drain plug, you’re left with another issue… How could you repair the threading on the oil pan itself? After all, a stripped drain hole with no threading won’t allow for new plugs to even form a secure seal once it’s tightened. This can lead to oil possibly leaking through the stripped drain hole, before eventually emptying out your entire motor oil reservoir.
The only other alternative would be replacing the entire oil pan. Nevertheless, this is extremely costly. A brand new oil pan could cost you as little as $100. Although, depending on the make and model of your car, it could sometimes cost you upwards of $1,000 for a new pan. It sounds ludicrous, given the fact the only damage left behind is with the drain holes preventing you from torquing it properly.
The good news here is that there is a bountiful selection of drain plug repair kits on the market. They can be purchased for tens of dollars, yet save you so much time and money compared to a full pan replacement. Here are some quick steps of how you too can manage a repair like this…
Step 1: Acquire An Oil Drain Plug Repair Kit
In essence, these tools work by first removing all of the remaining and stripped threads on the oil pan drain hole. Later, allowing you to quickly and simply rethread them, which would accommodate a slightly bigger drain plug. Once complete, you could tighten and loosen your new drain plug with no difficulty whatsoever. Here are some of the best repair kits that we’ve found:
-
- Lisle 58850 (contains a drill, tapping tool, and magnetic drain plugs)
- Alltooetools SF0087E (contains a thread repair kit, tapping tool, plugs, and washers)
- WINMAX TOOLS AUTOMOTIVE (contains taping tools, plugs, copper washers, and threading drills)
- Best Q (contains rethreading drill tool, drain plugs, and washer)
- Highking Tool (contains tapping tools, drain plugs, copper washers, and threading drills)
Step 2: Getting Rid Of The Worn Out Threading
Within some of these more comprehensive repair kits, you should find a reaming bit. If you can’t find it included in the box, you can just use a reaming bit on any drill. Use this to smoothen out the drain hole’s threading, and remove all of the worn-out or damaged threading.
Just make sure you’re following closely the sizing and fitment of the new oil drain plugs that you’re going to install on there. Drill away too much, and it might not fit. Keep working away at eliminating all of the damage left behind on the threading, until the surface is smooth.
Step 3: Tap The New Threads Into The Oil Pan Drain Hole
Now, you can continue onwards with tapping and rethreading into the oil pan’s drain hole. Each kit should come with its own tapping tool, as well as a fitting drain plug. All of these rethreading kits come with several dimensions to pick from, depending on your oil pan.
So, grab the tap, and cut it into the oil pan’s resurfaced drain hole. Usually, you’ll have to rotate the tapping bit clockwise for a couple of turns. This is followed by rotating a couple more times in the opposing direction. Just make sure you follow the instructions included in the specific repair kit.
Keep repeating this process until the tapping bit has covered the entire length of the oil pan’s drain hole. Finally, inspect the new threading. Ensure that, first and foremost, the new threading is evenly cut. Secondly, there isn’t an excess of metal shavings to get in the way.
Step 4: Flush Out Your Oil Pan
Continuing with our previous point, you’ll need to make doubly sure that there won’t be any metal shavings in the oil pan. Letting this circulate around with the oil in the engine and crankcase could very easily damage any surface or component the oil touches.
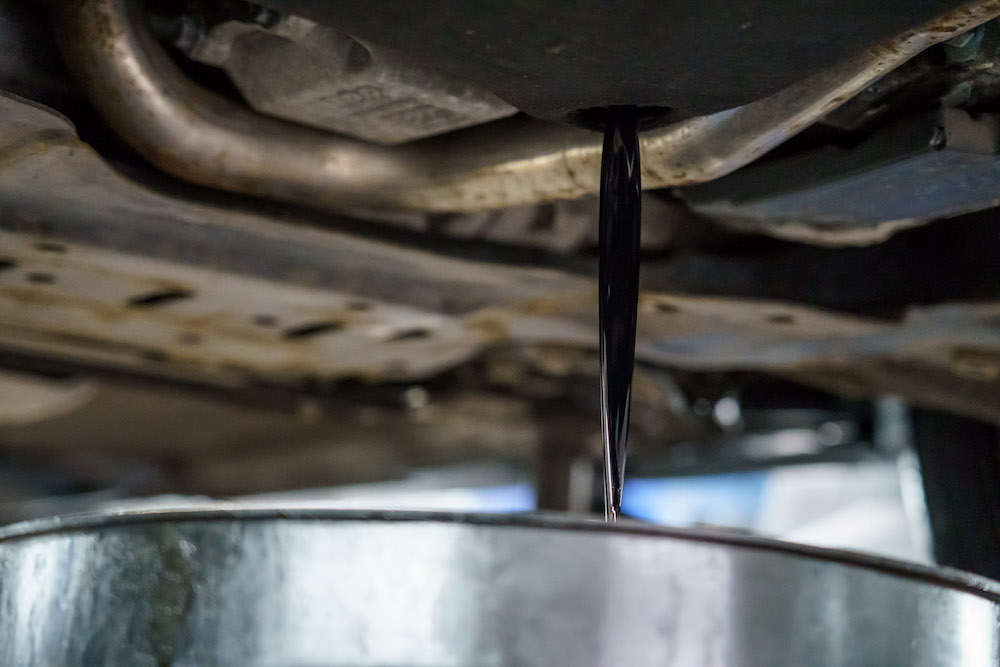
To clean out the system, it’s good practice to flush the oil pan. Add 1/2 to 1-quart of motor oil into the reservoir from the engine bay. Then, let it drain and trickle out. The drained oil will carry all (or at least, most) of the metal shavings with, and out of the oiling system.
Step 5: Install The New Drain Plug
Once that’s complete, you can begin installing the new and oversized drain plug into the rethreaded drain holes. In the repair kit, select the corresponding size, with both the plug and washer together. As you’re installing it for the first time, be wary of the torque settings.
As we’ve mentioned earlier, over-torquing the oil drain plug is what’s caused the threads to strip in the first place. Refer to the instruction manuals included in the repair kit. And, torque the new drain plug accordingly. While you’re here, double-check to make sure the washer is seated evenly.
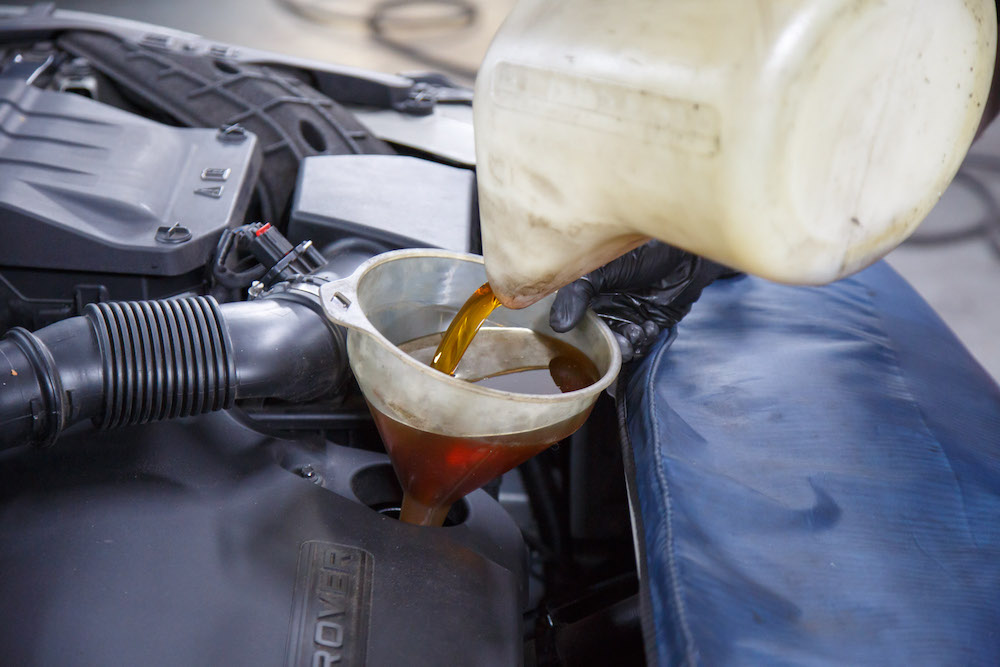
Step 6: Refill The Engine Oil, And Inspect For Leakage
With the new drain plug in place, you can start by refiling your car with fresh engine oil. Refill with whatever oil that suits your vehicle best, with a suitable amount. Before patting yourself on the back, it’s wise to inspect the newly retreated drain holes for any signs of leaking.
If there aren’t any leaks right off the bat, crank your engine and let it run. Look at the drain hole with the engine running, and see if there’s any leakage or oil seeping out. Repeat this process again, but after you’ve gone for a short test drive. Head back, and ensure that the drain hole remains dry.
Facts about Removing a Stripped Oil Drain Plug and Repairing a Stripped Oil Pan Drain Hole:
- Regular oil changes are essential to extend the life of an engine and usually take no longer than 30 minutes to complete. For more insight, check out our guide on why the check engine light comes on after an oil change.
- A stripped or rounded drain plug can lead to oil loss and eventually engine damage.
- Stripping of a drain plug or oil pan’s threads generally comes as a result of prior over-tightening.
- A drain plug with stripped threads can often be removed simply by rotating it in a counterclockwise fashion with a wrench or socket, and a flathead screwdriver may be used to provide a slight amount of outward force on the plug itself.
- Removing a drain plug with a rounded head typically requires the use of a specialty socket called a bolt extractor.
- Oil drain plug repair kits, such as those manufactured by Lisle or Supercrazy Tools, focus on removing any remaining damaged threads within an oil pan’s drain hole before rethreading it to accept a slightly oversized plug.
- To use an oil drain plug repair kit, the remains of any pre-existing threads are removed using a reaming bit, then a specially sized tap is threaded into the oil pan’s drain hole to cut new threads for an oversized drain plug.
- After re-tapping the oil pan’s drain hole, it is always a good idea to flush a ½ quart of oil through the engine to eliminate the vast majority of metal shavings that would otherwise circulate throughout the engine’s oil.
- Installing an oversized drain plug requires torquing it to the value specified by the repair kit’s instructions and checking the drain plug’s sealing washer to ensure it is seated evenly around the drain hole’s outer perimeter.
- To prevent stripping a drain plug, use a properly sized wrench or socket, adhere to the appropriate torque specifications when tightening the drain plug, and consult a manufacturer-specific service manual or the Internet for information regarding drain plug size for a particular vehicle.
Final Thoughts, And Preventing Stripped Oil Drain Plugs
Having now successfully removed and repaired a stripped oil drain plug, you’ll now be left with the task of preserving it. So then, how can you prevent something like this from happening again? Although it can be challenging, especially if your car has gone through countless oil changes over the years, with the oil drain plug being loosened and tightened constantly. There are ways to care for it.
Namely, here are two simple ways to prevent stripping your oil drain plugs:
- Use the correct size of wrench or socket when removing the oil drain plugs. This could avoid rounding off the heads of the plug, subsequently making it tough to remove. Drain plug sizes are standardized, so it can’t be that tough to find a fitting set. Plug head sizes are usually 1/4, 3/8, 1/2, or 3/4 inches in diameter. Most of them are hexagonal, while others are double-square or double-hexagonal.
- When tightening the drain plug back in, stick carefully by the recommended torque settings to avoid over-tightening them. Doing so would damage the threading on the oil pan’s drain holes. You should be able to find the torque specifications, respectively. And for the sake of completeness, use a torque wrench. This could help you nail down the perfect torque settings, neither too tight nor too loose.