

Looking after paintwork on your car can be tricky business and over time it is expected that you will pick up chips and scratches on the car. Repairing damage to paintwork can be very expensive and often means that whole panels need to be sprayed.
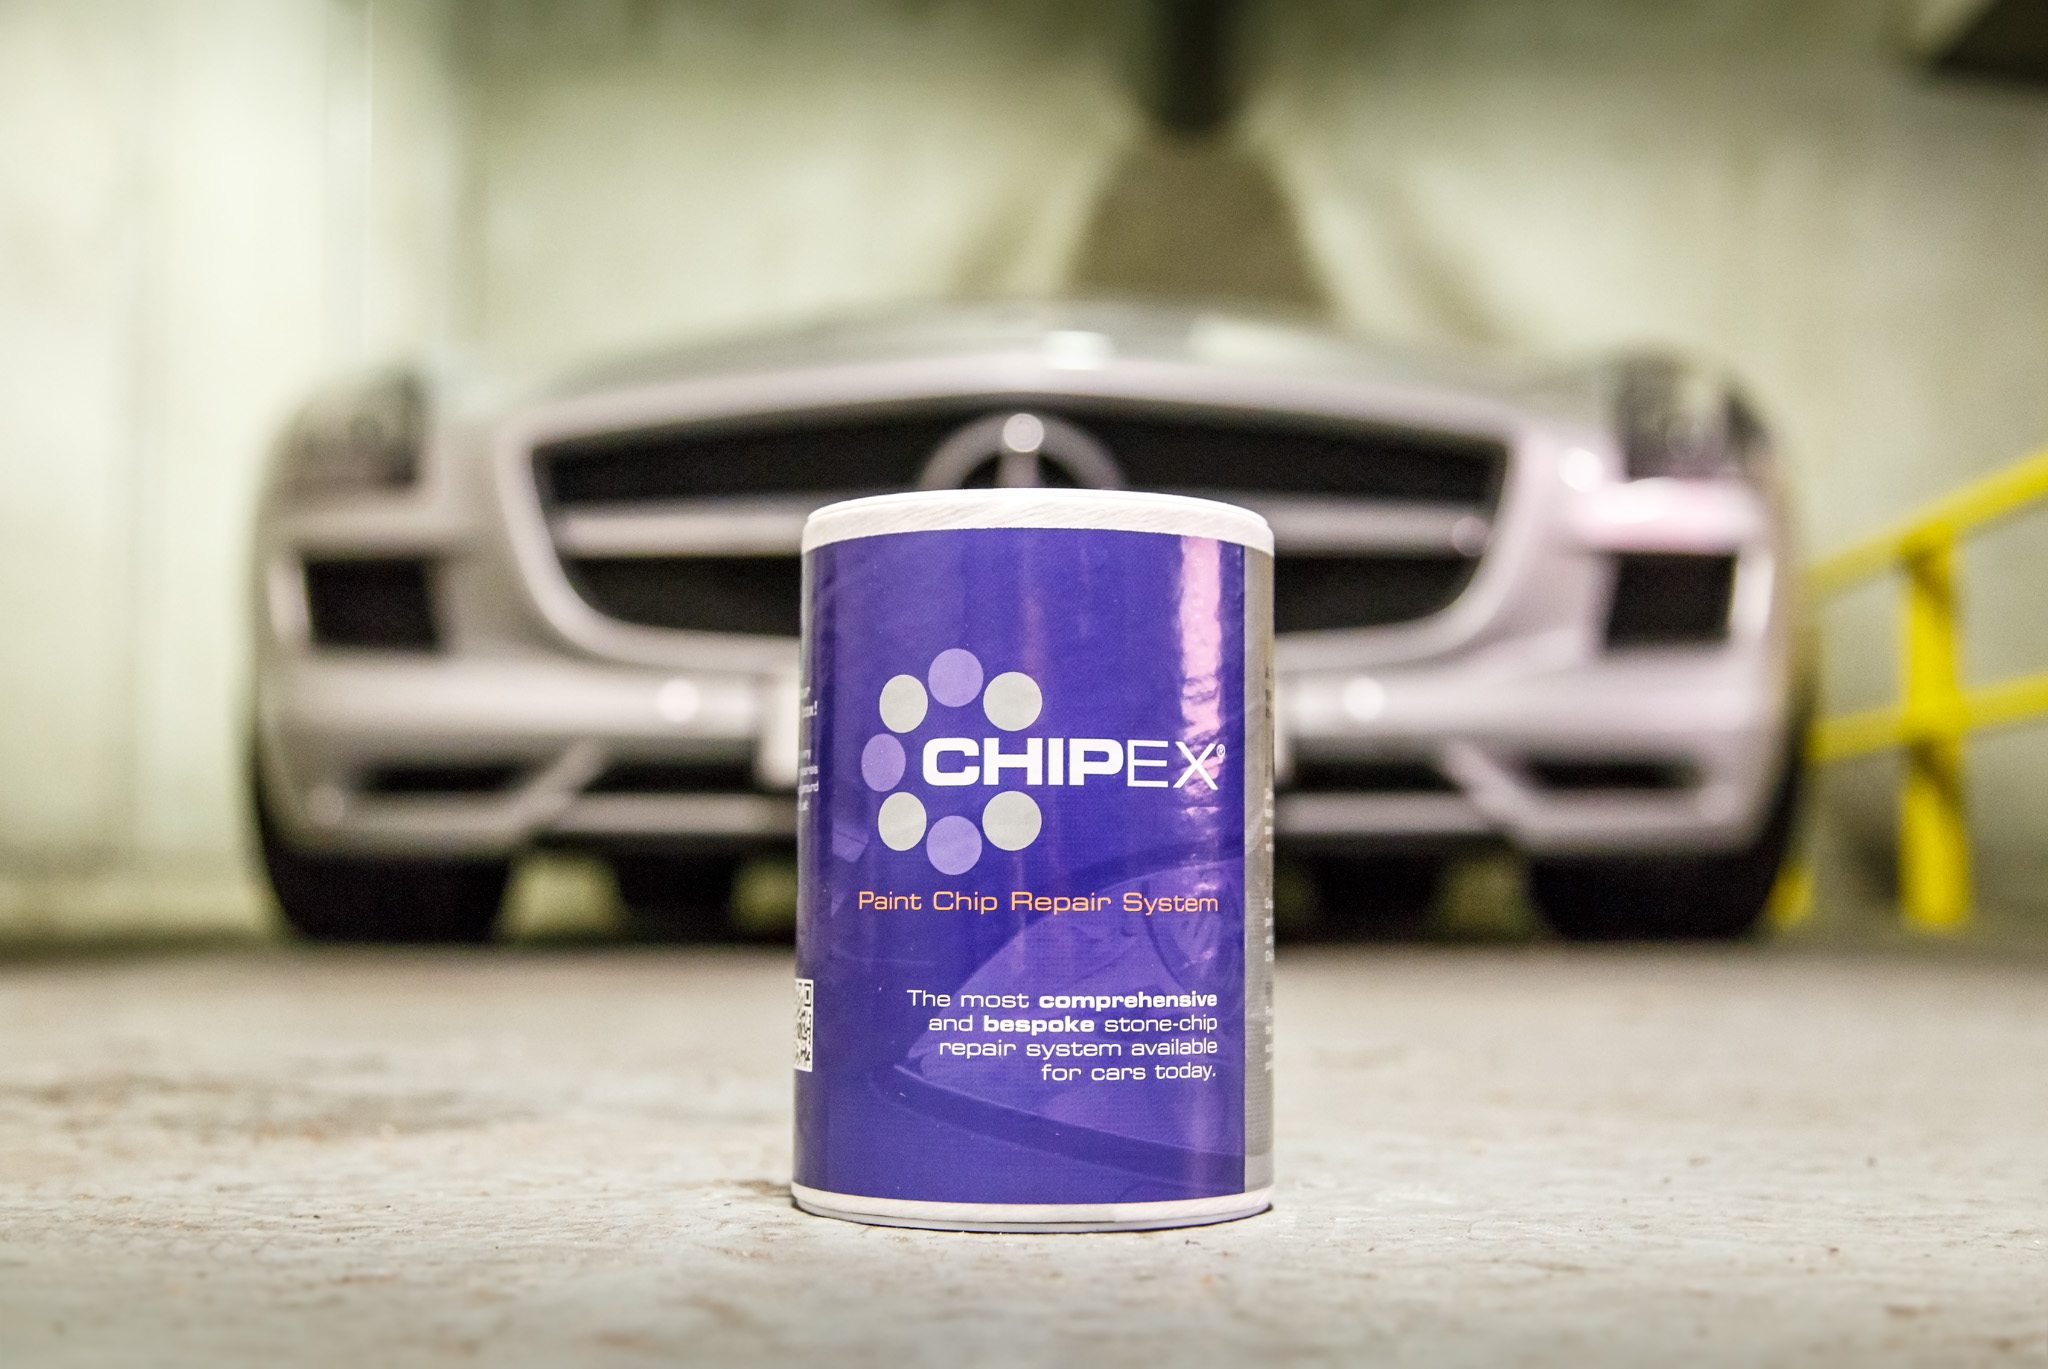
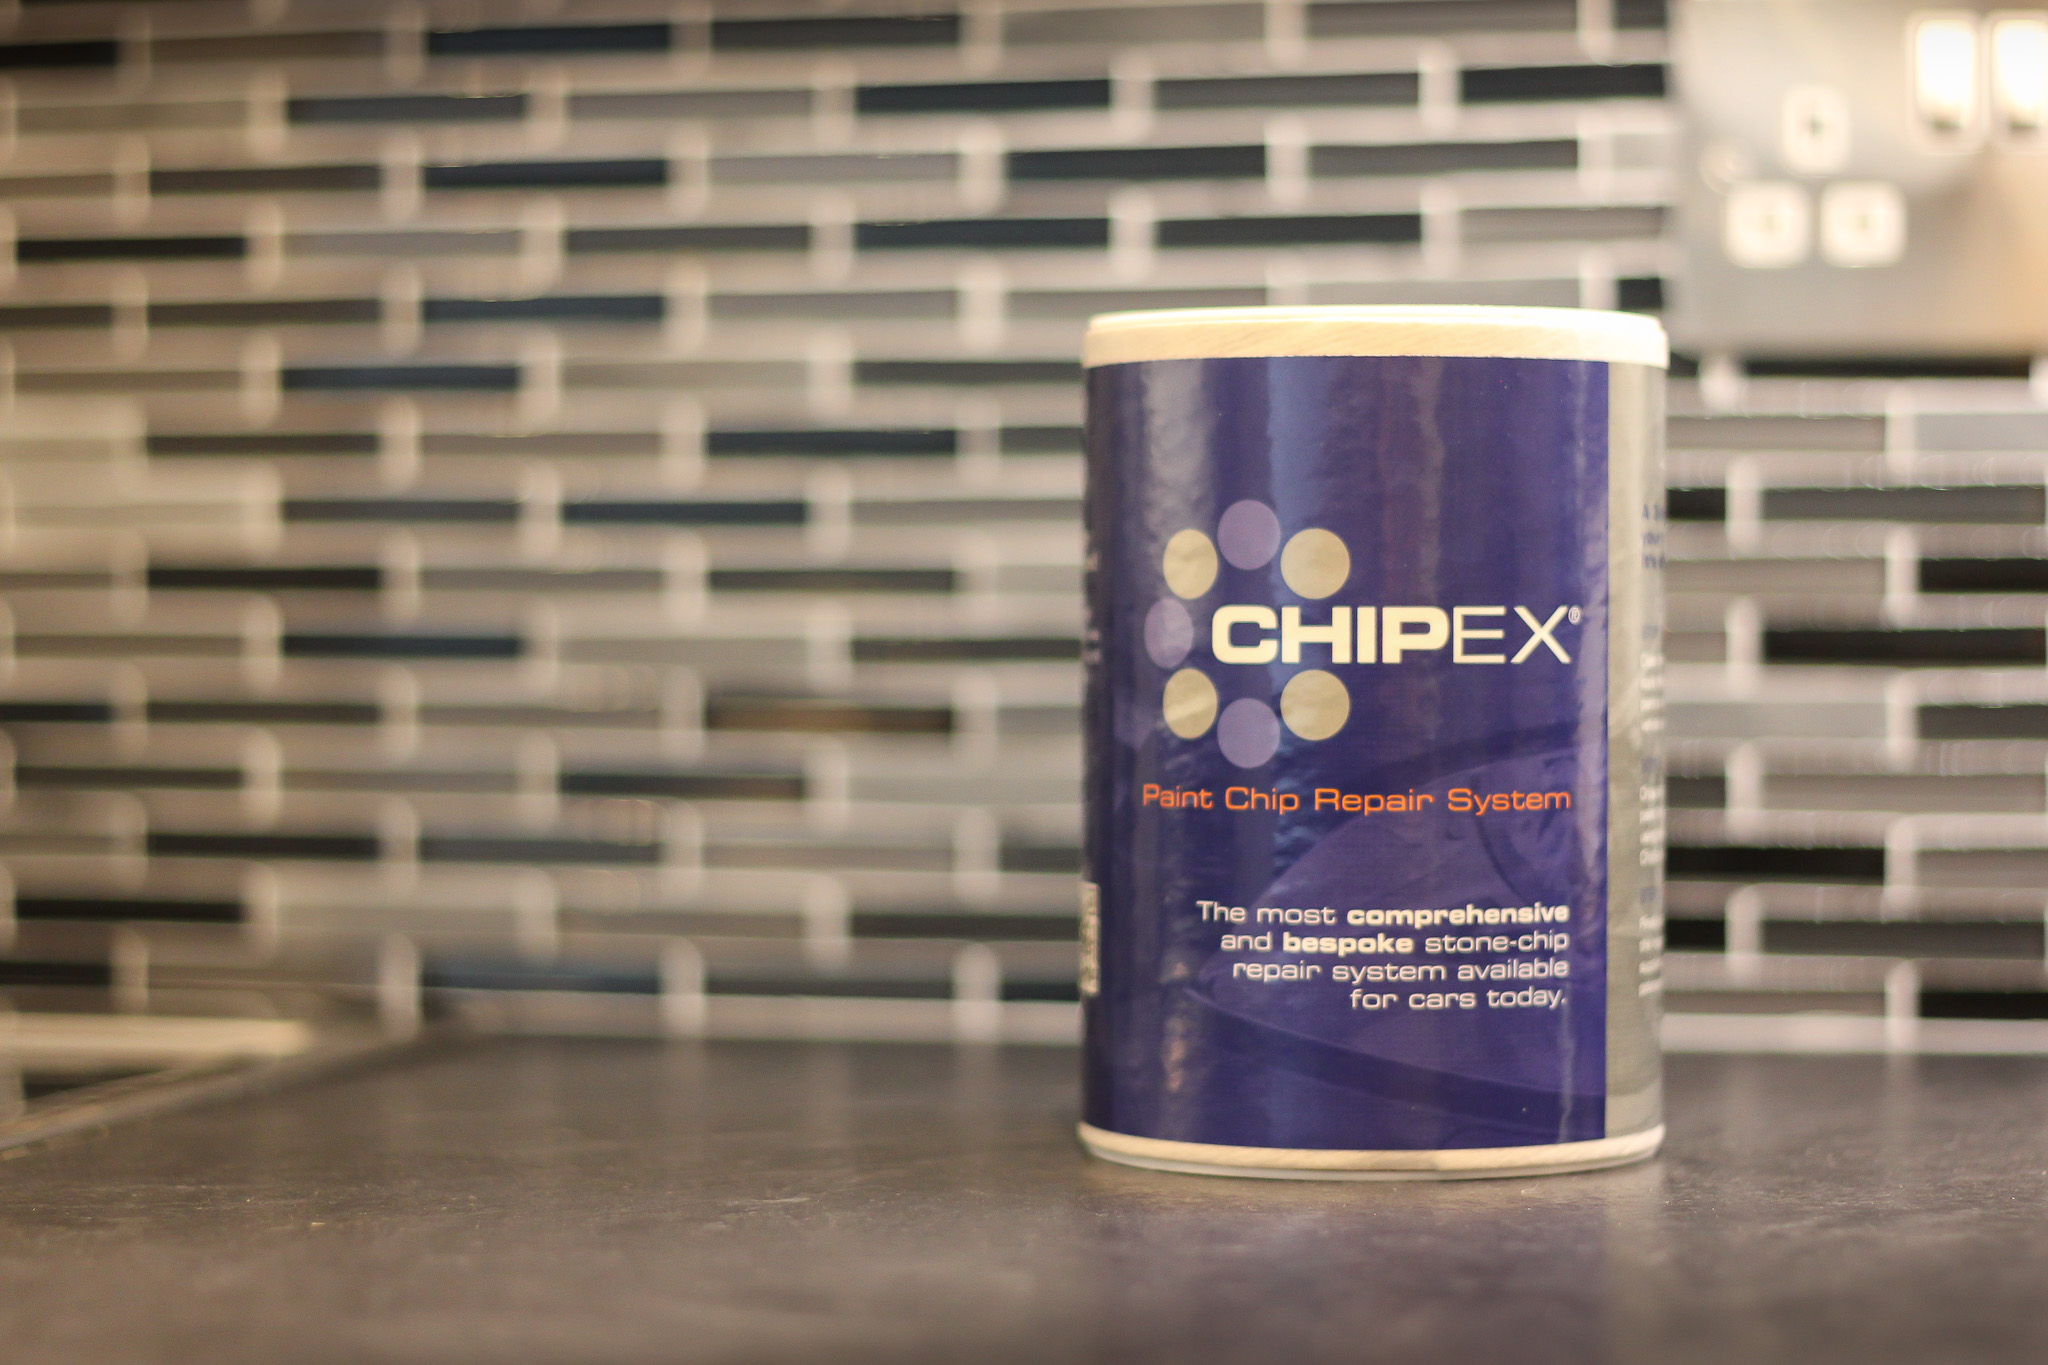
Chipex Paint Repair Kit
However, there are other solutions out there. We recently tested Chipex, a modern paint repair kit that guarantees 100% colour match. The quality kit is a simple three bottle repair solution that is able to repair even the deepest scratches and get your paintwork back into good condition.
Real Life Testing With a Only A Single Application
Take a look at the video below repairing a deep stone chip in the test car paintwork. You will see how simple the application process is to protect the paintwork and bring it back up to its original colour. For deep chips and scratches building the layers up will bring the paintwork level and get your car looking back in top condition. Here is an example showing how effective just one layer is.
Chipex – Gallery

If your car is a year or more old, chances are you will have started to notice a nick or two in the paintwork. It doesn’t matter how hard you try, it is impossible to keep the paintwork perfect. Over time, the more you use your car, the more scratches and stone chips will occur. For any car owner, this can be a big problem.
Chipex – How to Repair Car Paintwork
There is a solution out there for you though. Chipex have created a paint repair kit that has a 100% paint match. This simple 3 bottle kit is able to repair even the deepest scratches and get your paintwork back into good condition.
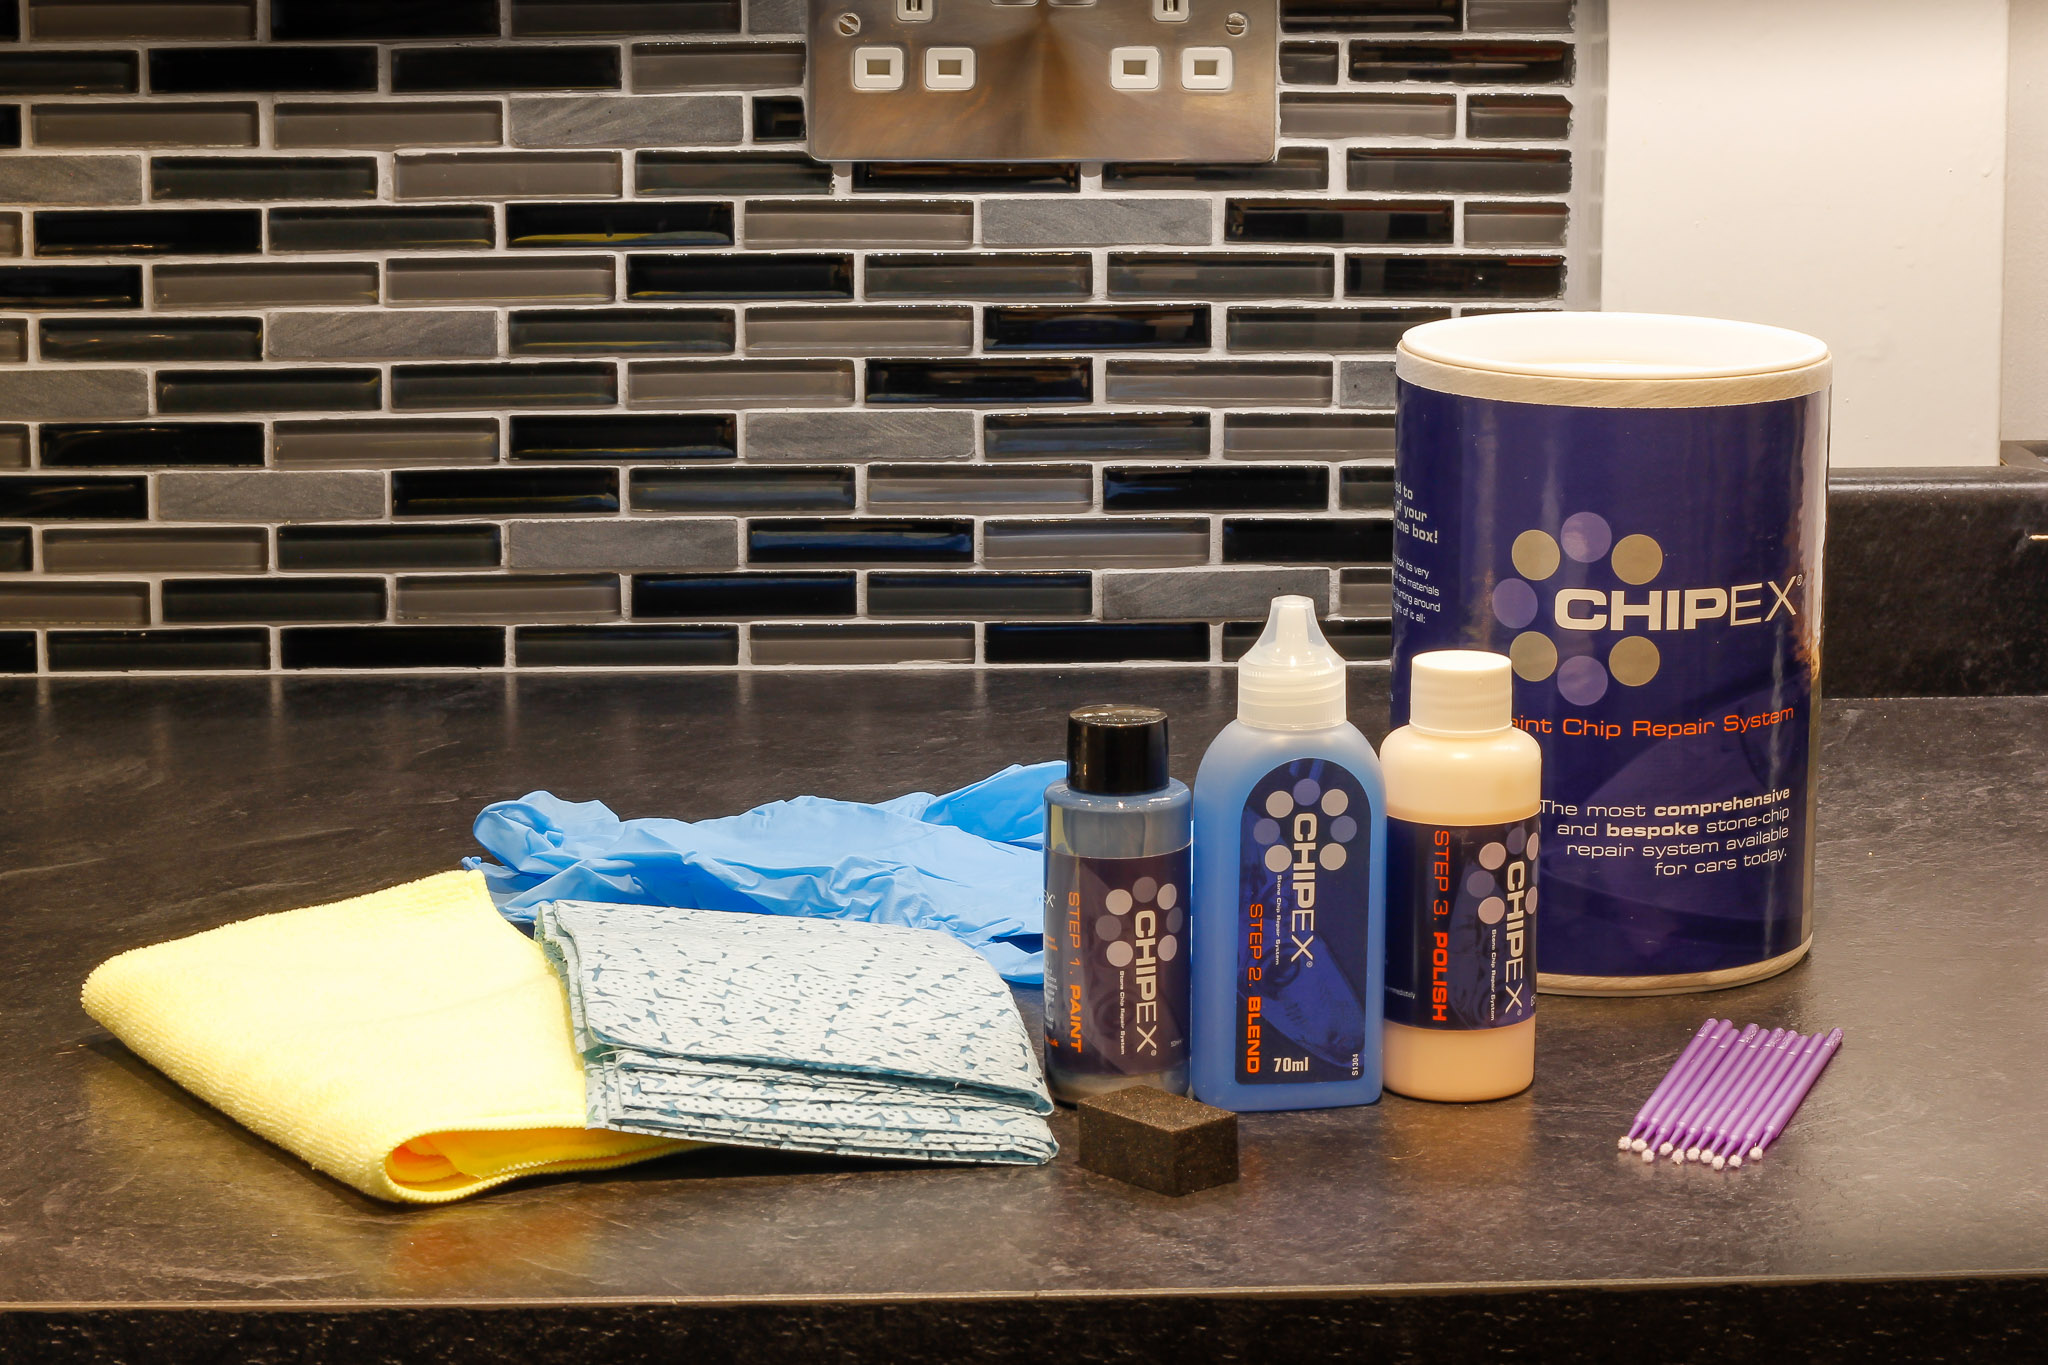
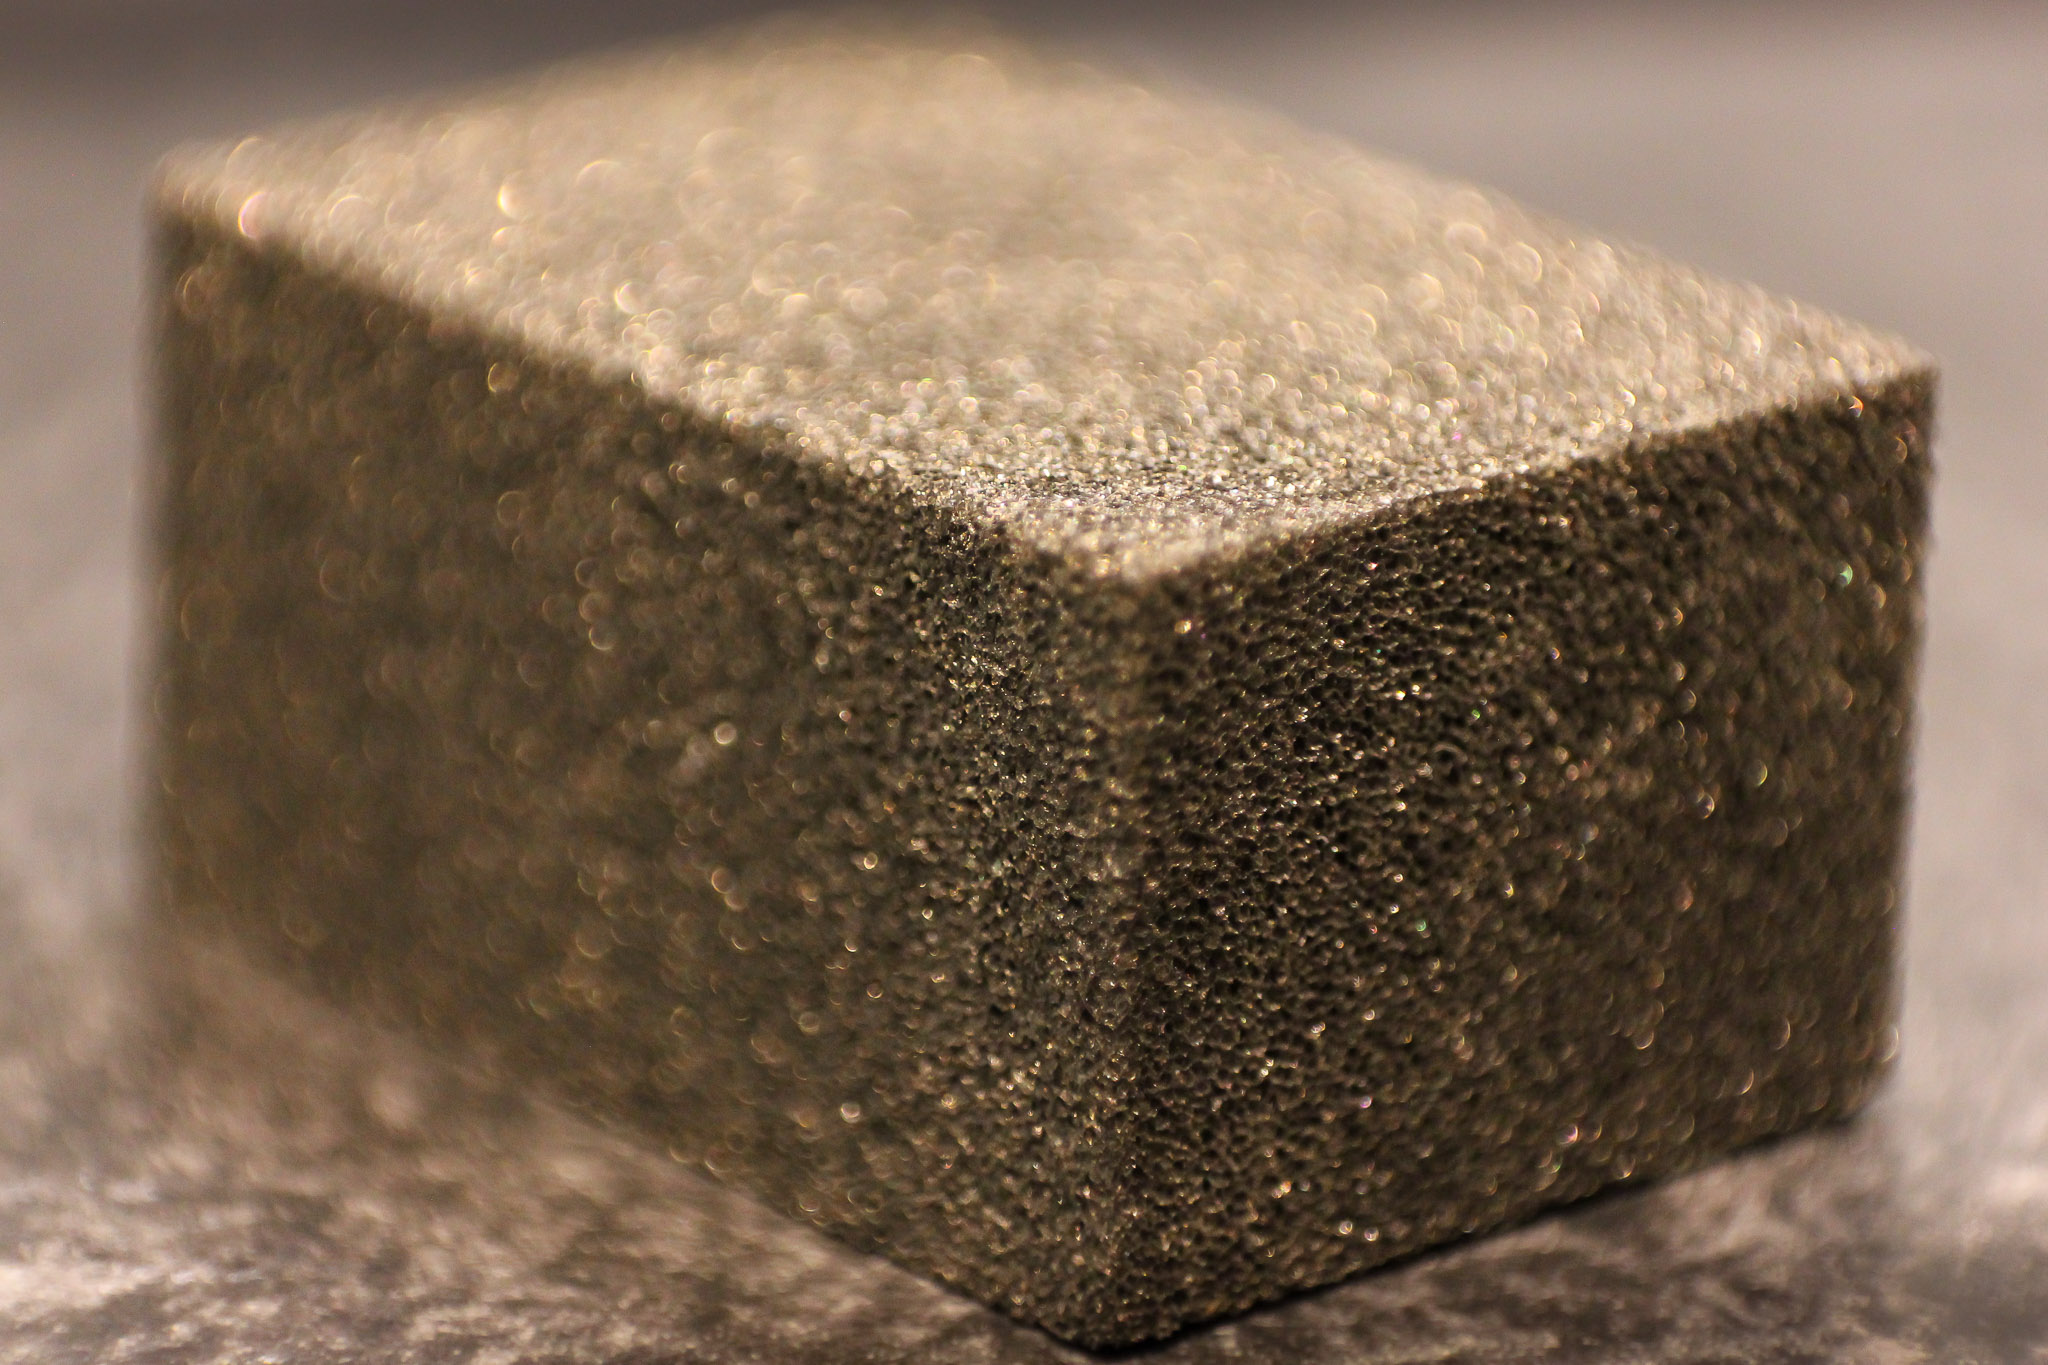
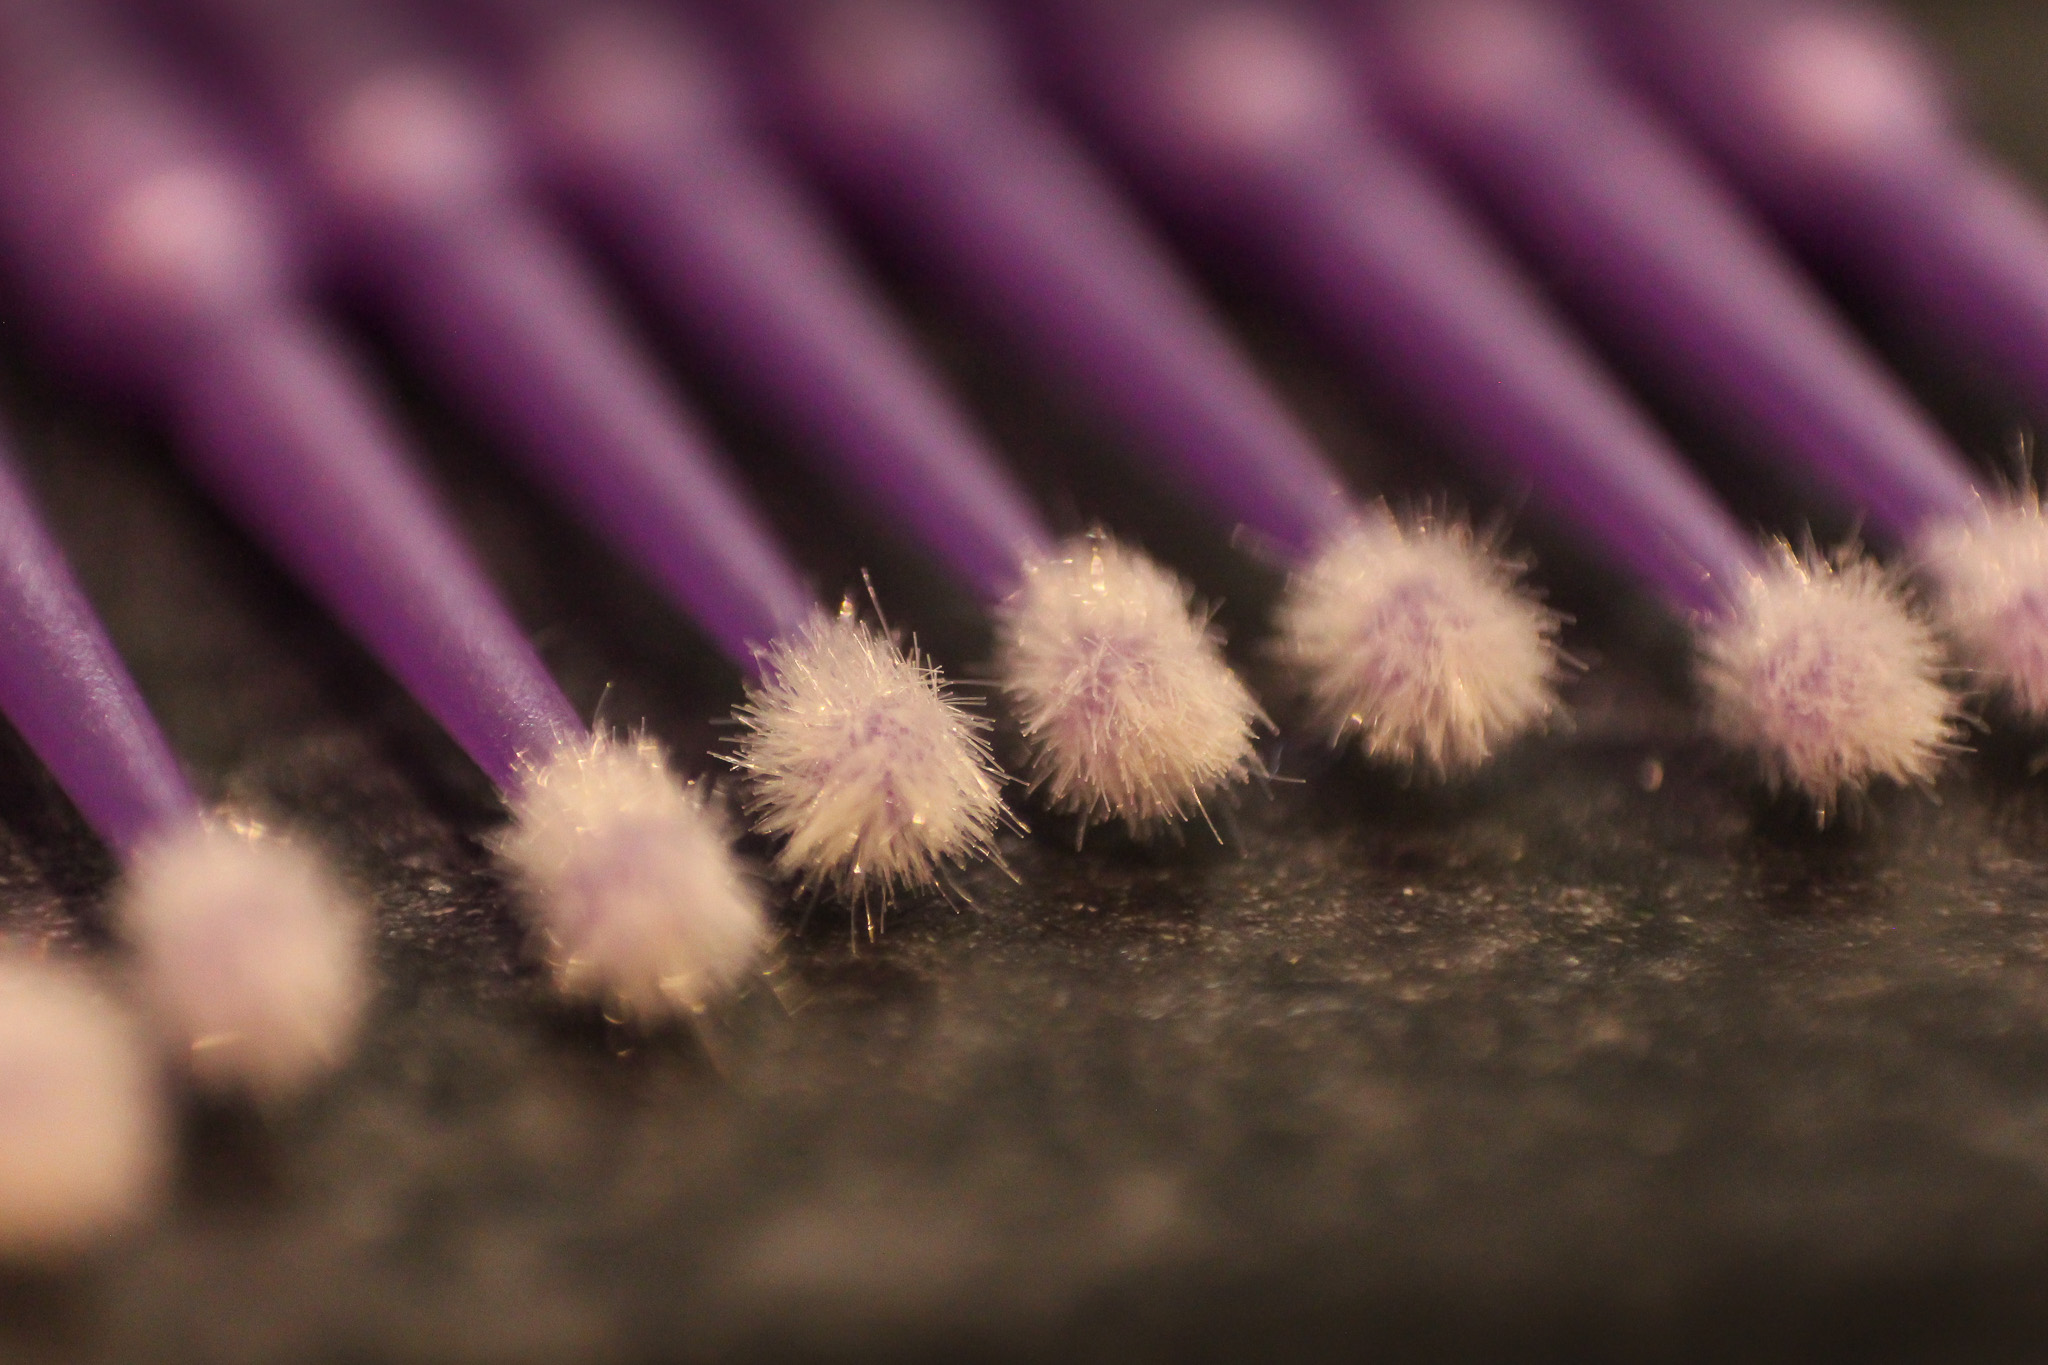
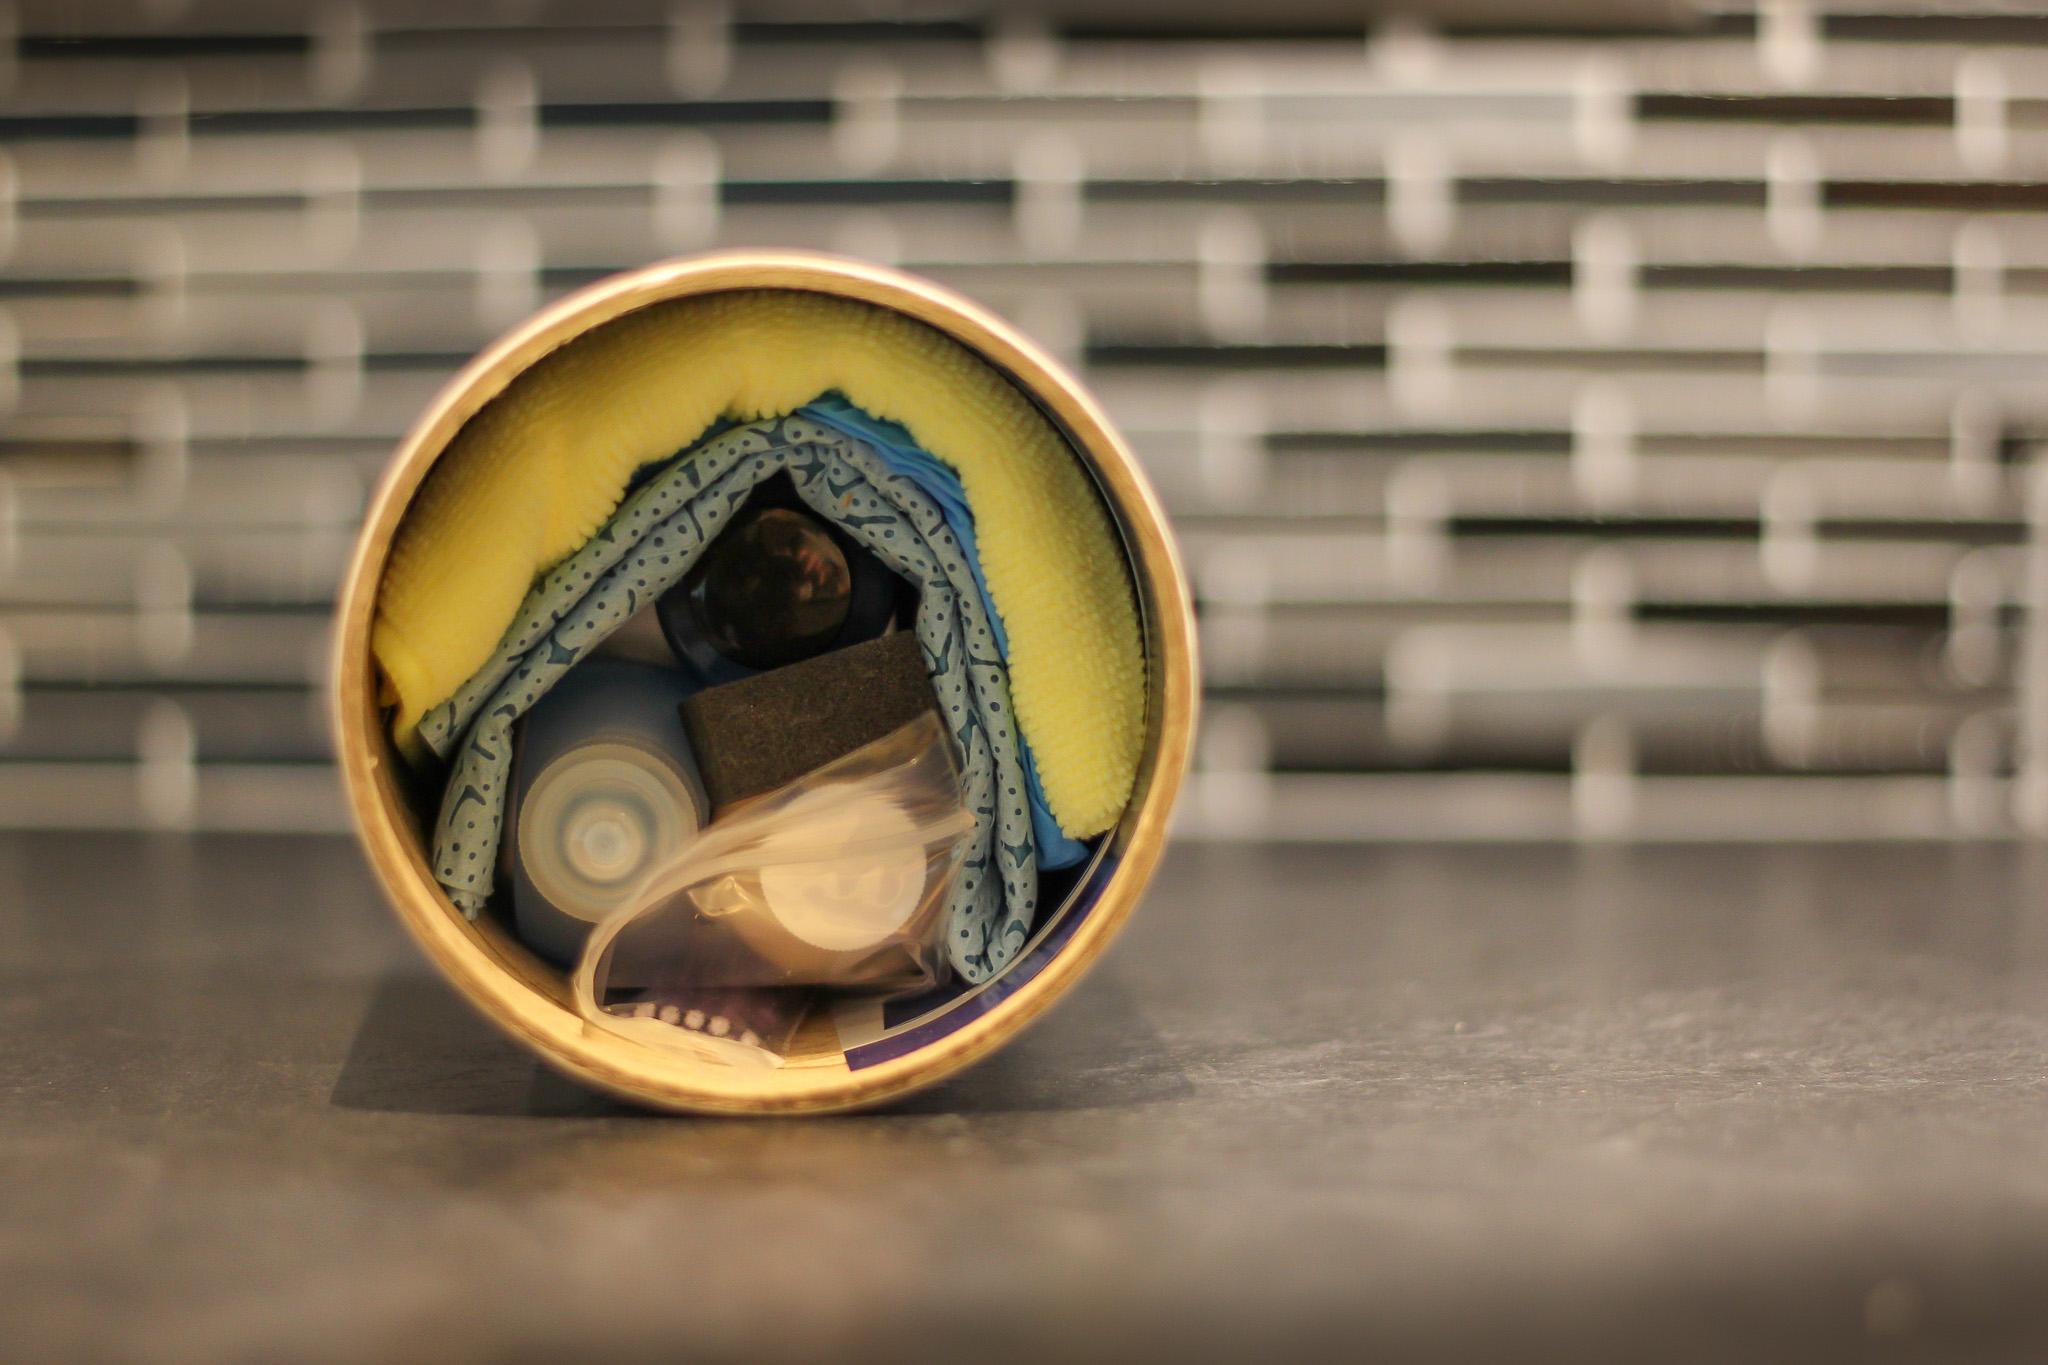
I tested the product out myself and worked on two different areas with paint damage caused by stone chips. The kit contains colour matched paint, blend solution, polish, gloves, a microfibre cloth, paint removal cloth with foam cube, and a set of micro brushes.
Area 1: Before
Here is an example of a harsh chip on the driver side of the front bumper. You can see the paint has been removed down to the plastic, most likely caused by debris on the road.
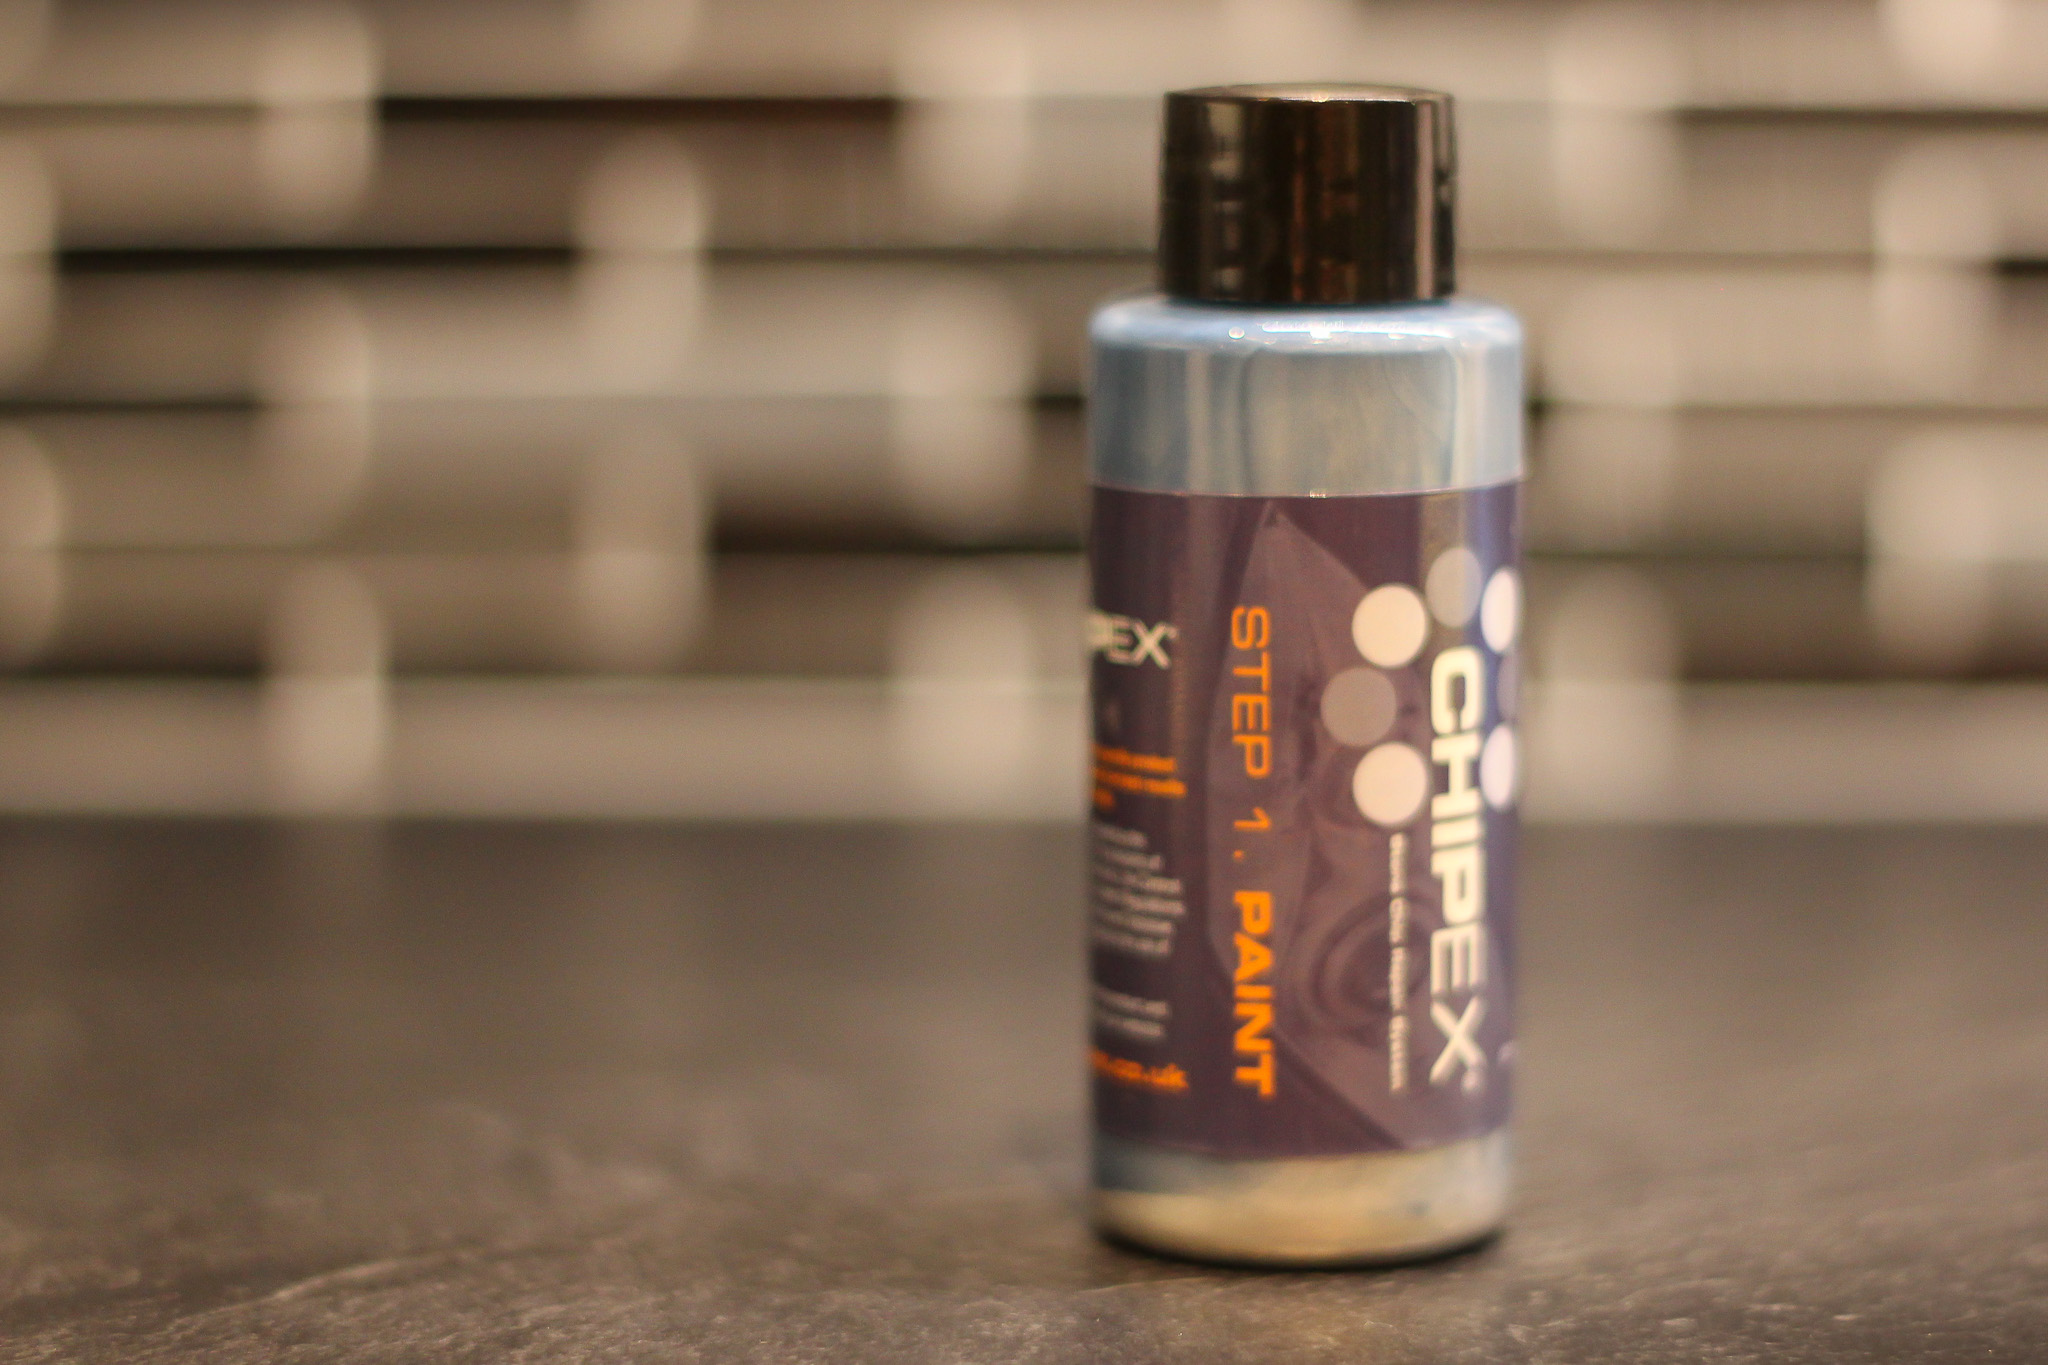
Step 1 – Paint
Before you start, it is best to clean the chip up with some blend solution to remove any grime from the marking. The first part of the application is to use the micro brush to apply a small amount of paint into the chip.
As you can see in the picture below, the colour match is perfect.
I left the paint to cure for around five minutes before starting the next step.
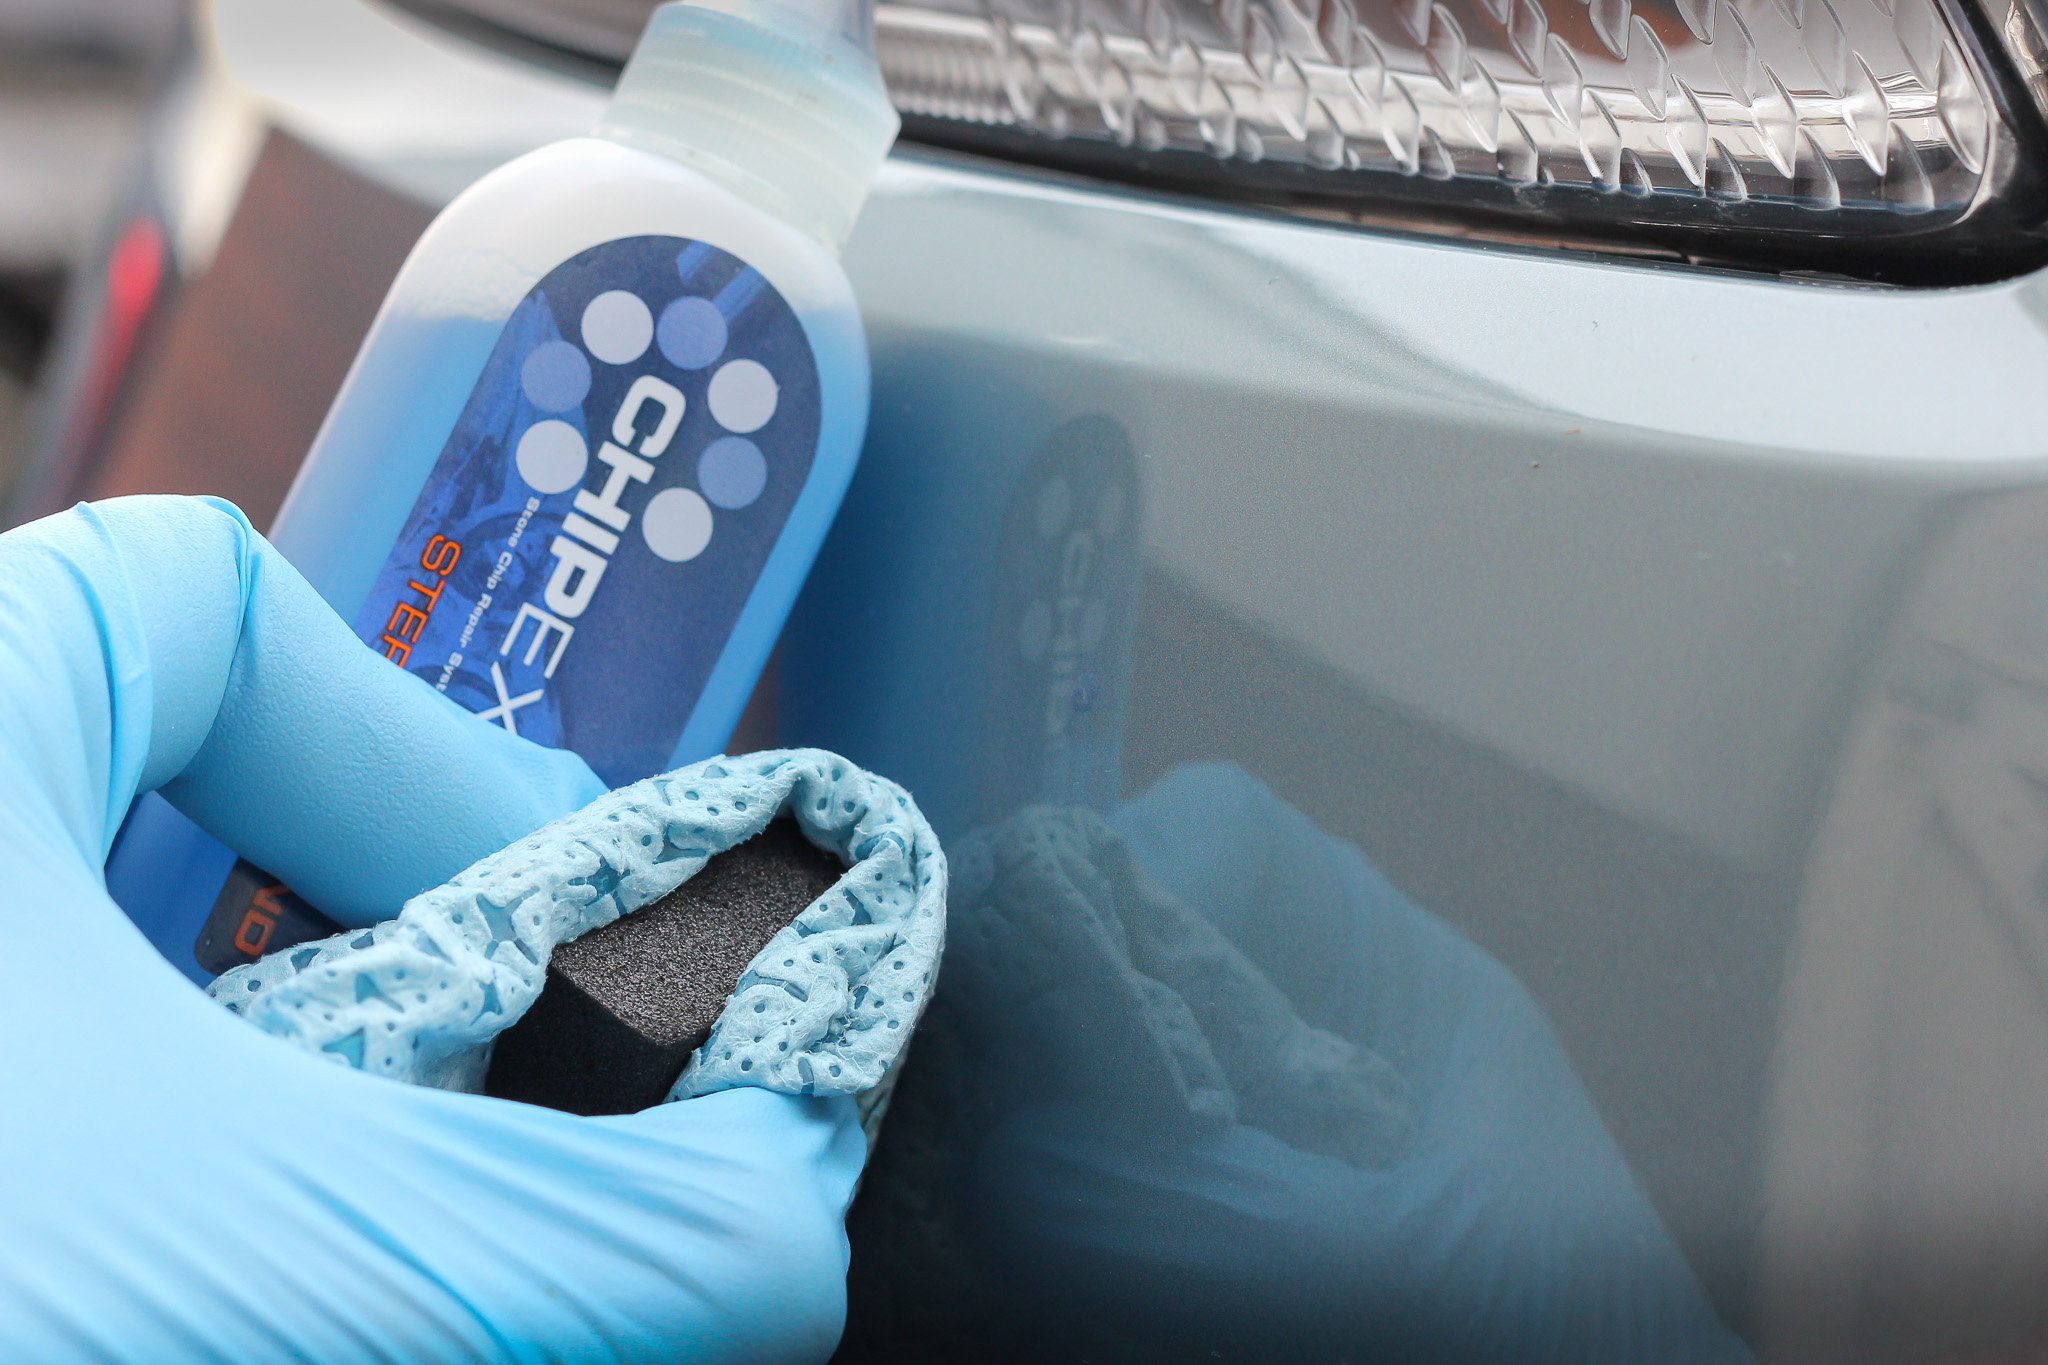
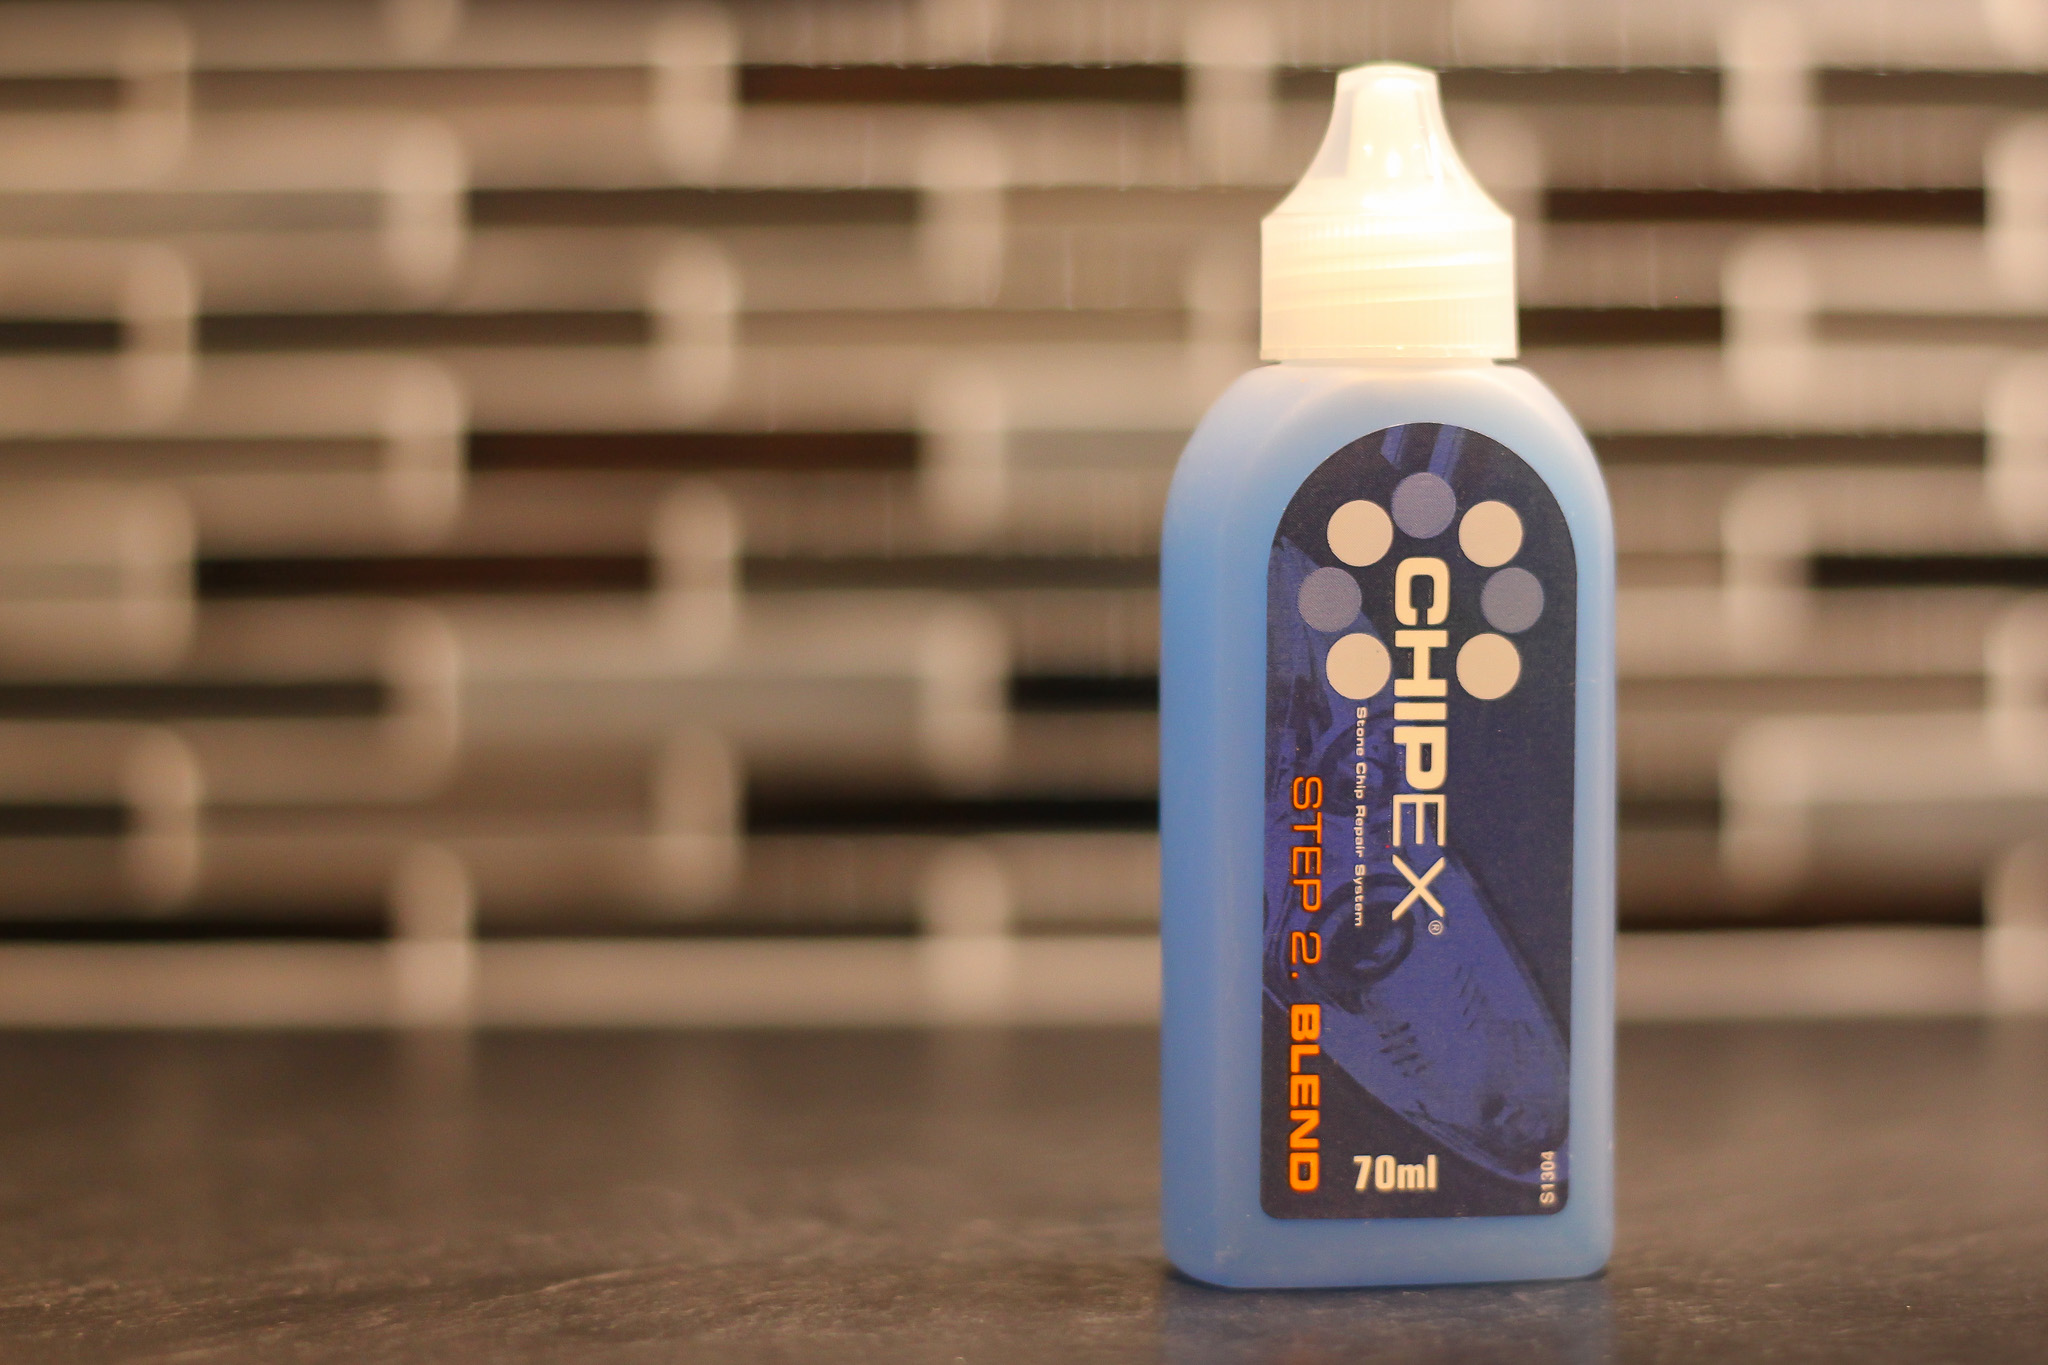
Step 2- Blend
The next stage was to use the paint removal cloth and foam cube to remove excess paint from the paintwork. Simply apply some blending solution to the cloth, then apply the cloth to the paintwork using minimal downward pressure and allowing the blending solution to remove any excess paint.
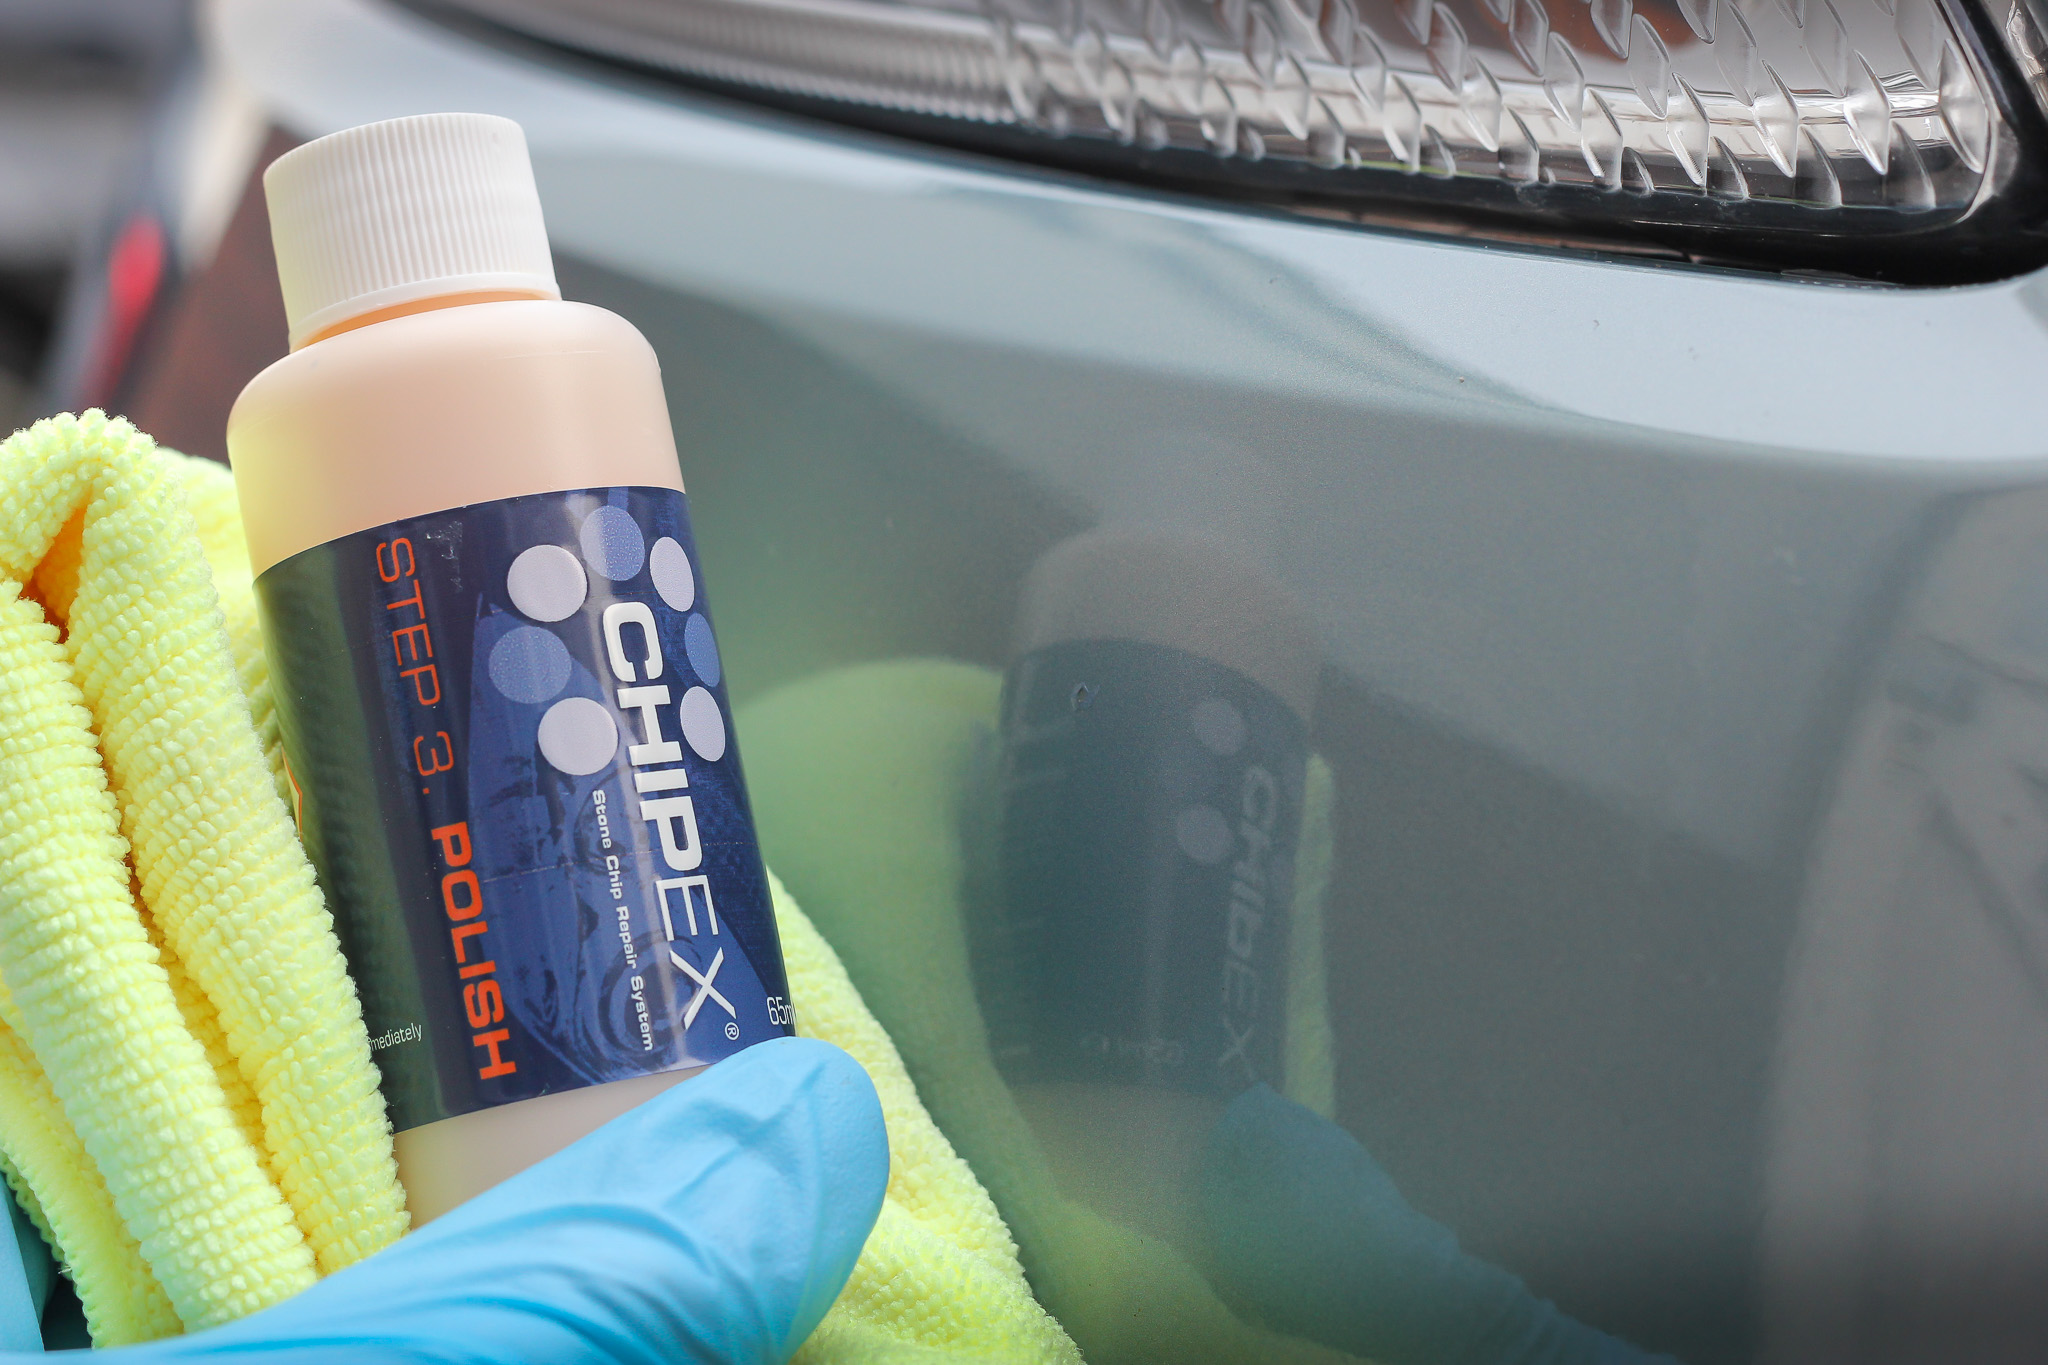
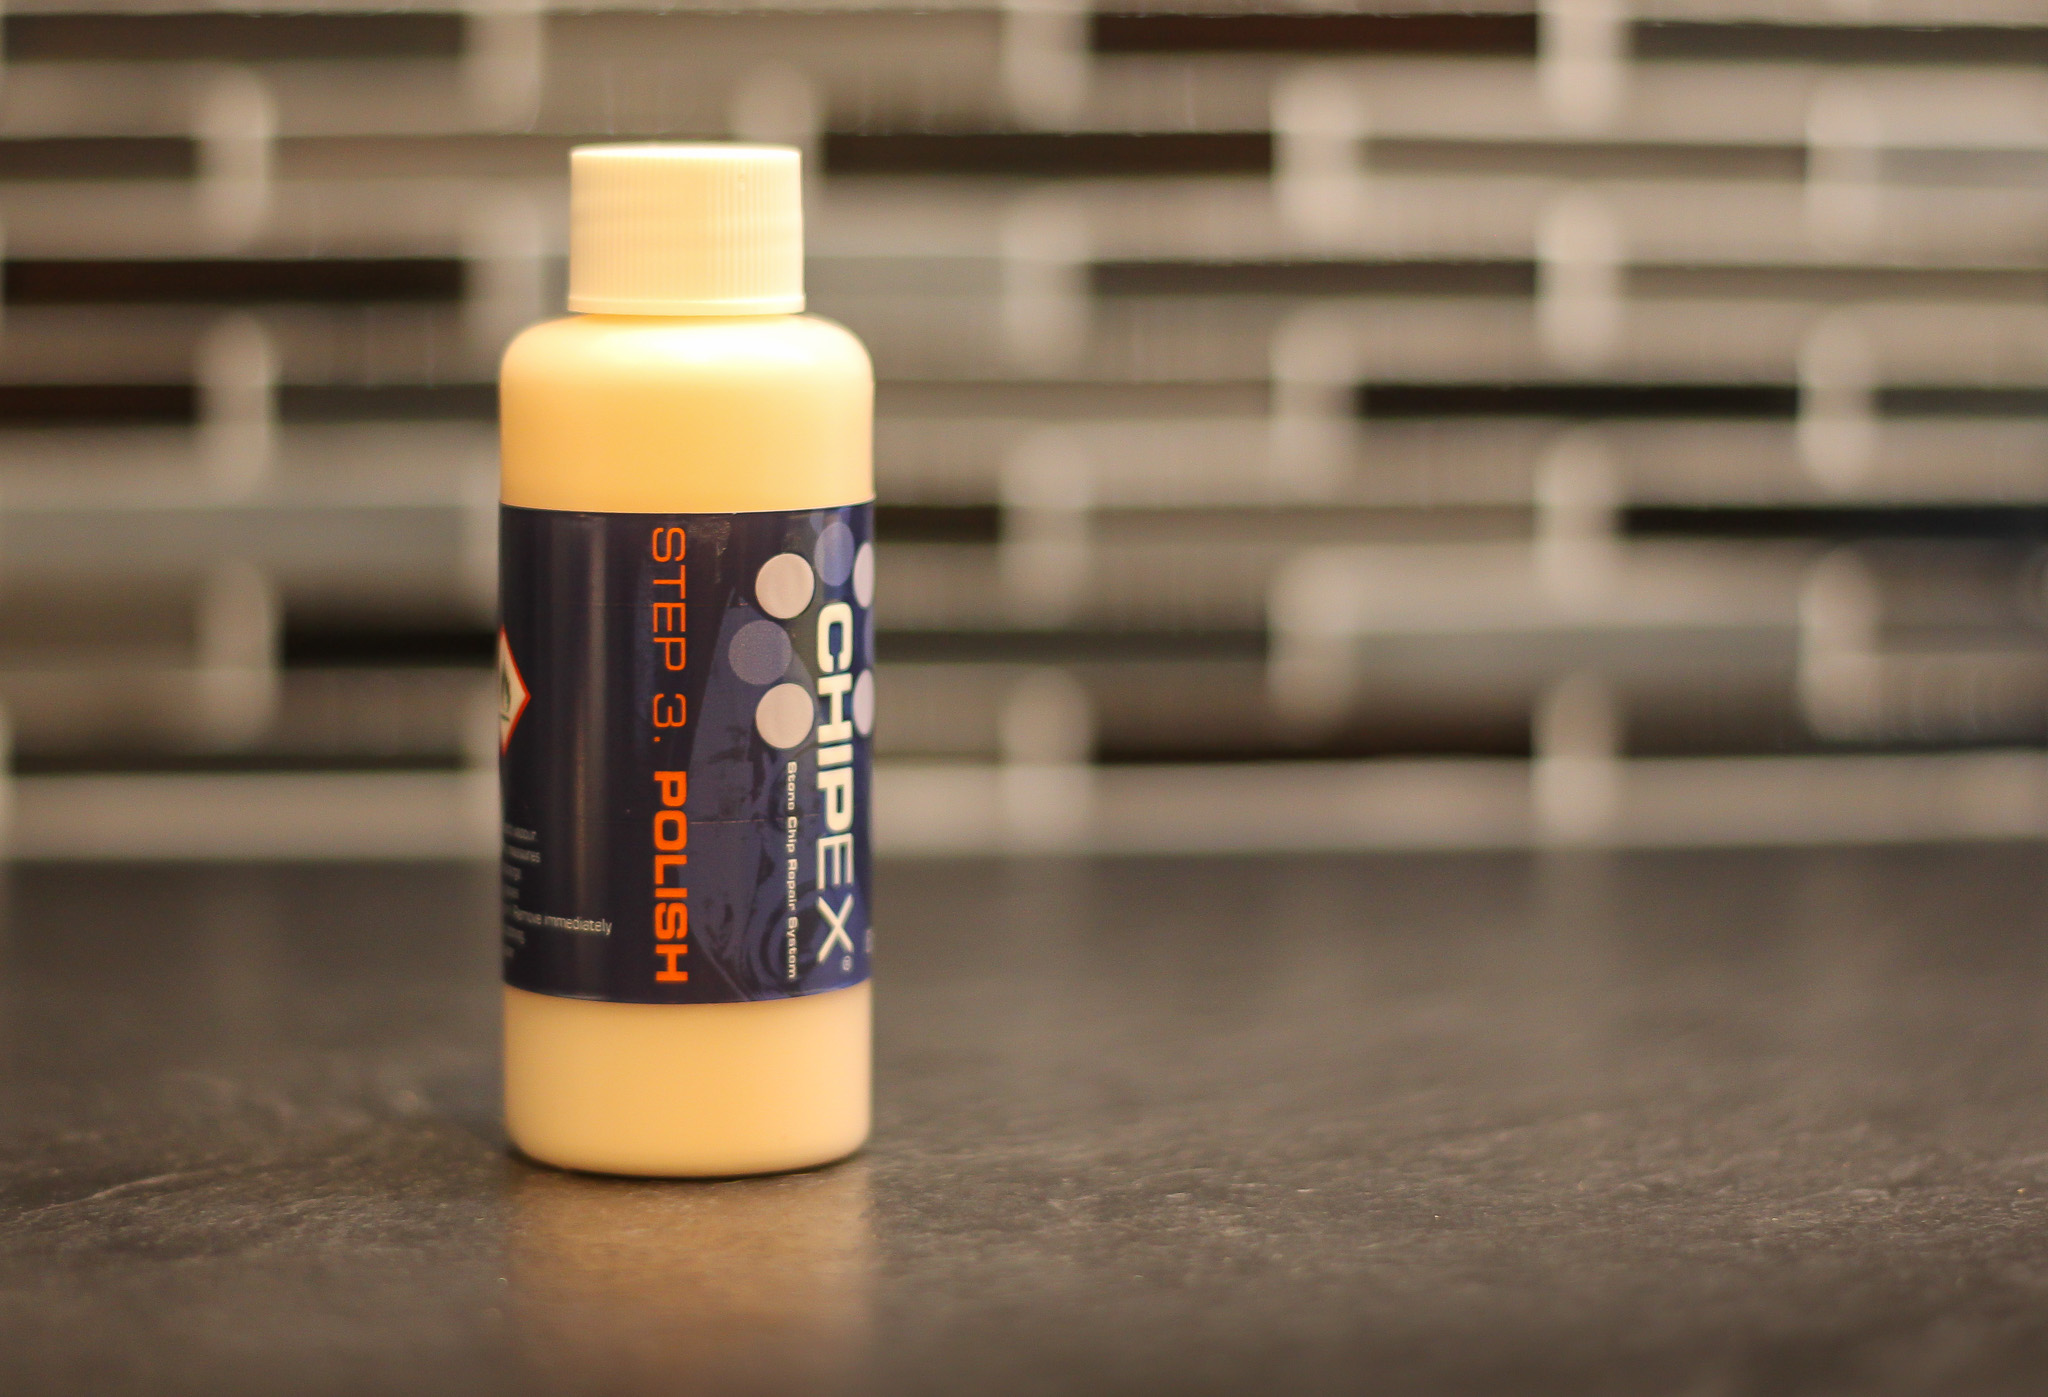
Step 3 – Polish
After the excess paint has been removed and the paint leveled out, use the polish on the surrounding area to smooth the paint in with the existing bodywork.
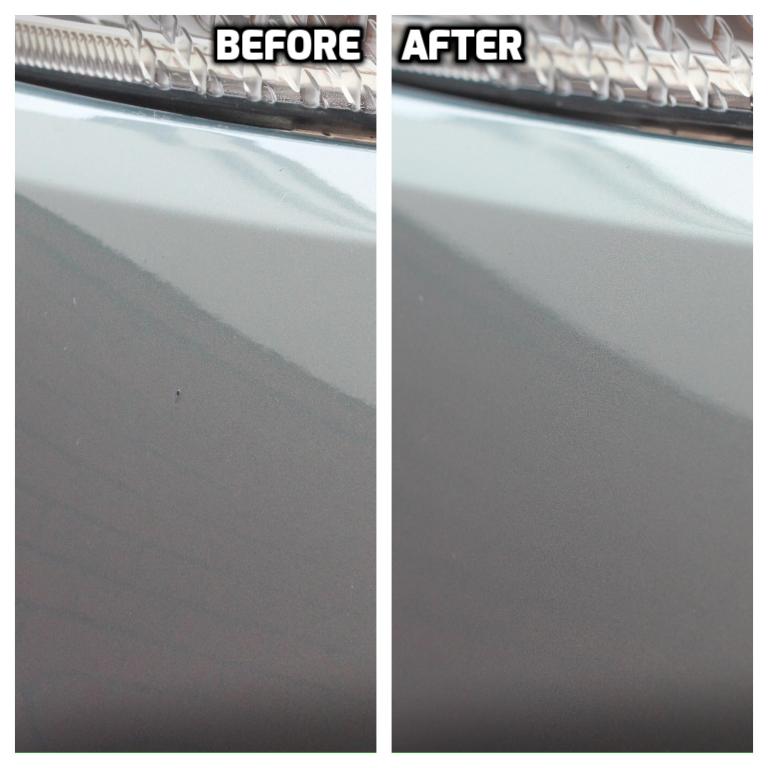
Area 1: After
This chip was pretty bad to begin with and now I can’t even see where the it was. I was very happy with the affordable repair and I doubt anyone other than me would spot it now.
Application Video
Take a look at the video where I show the products a little closer and the application process from start to finish.
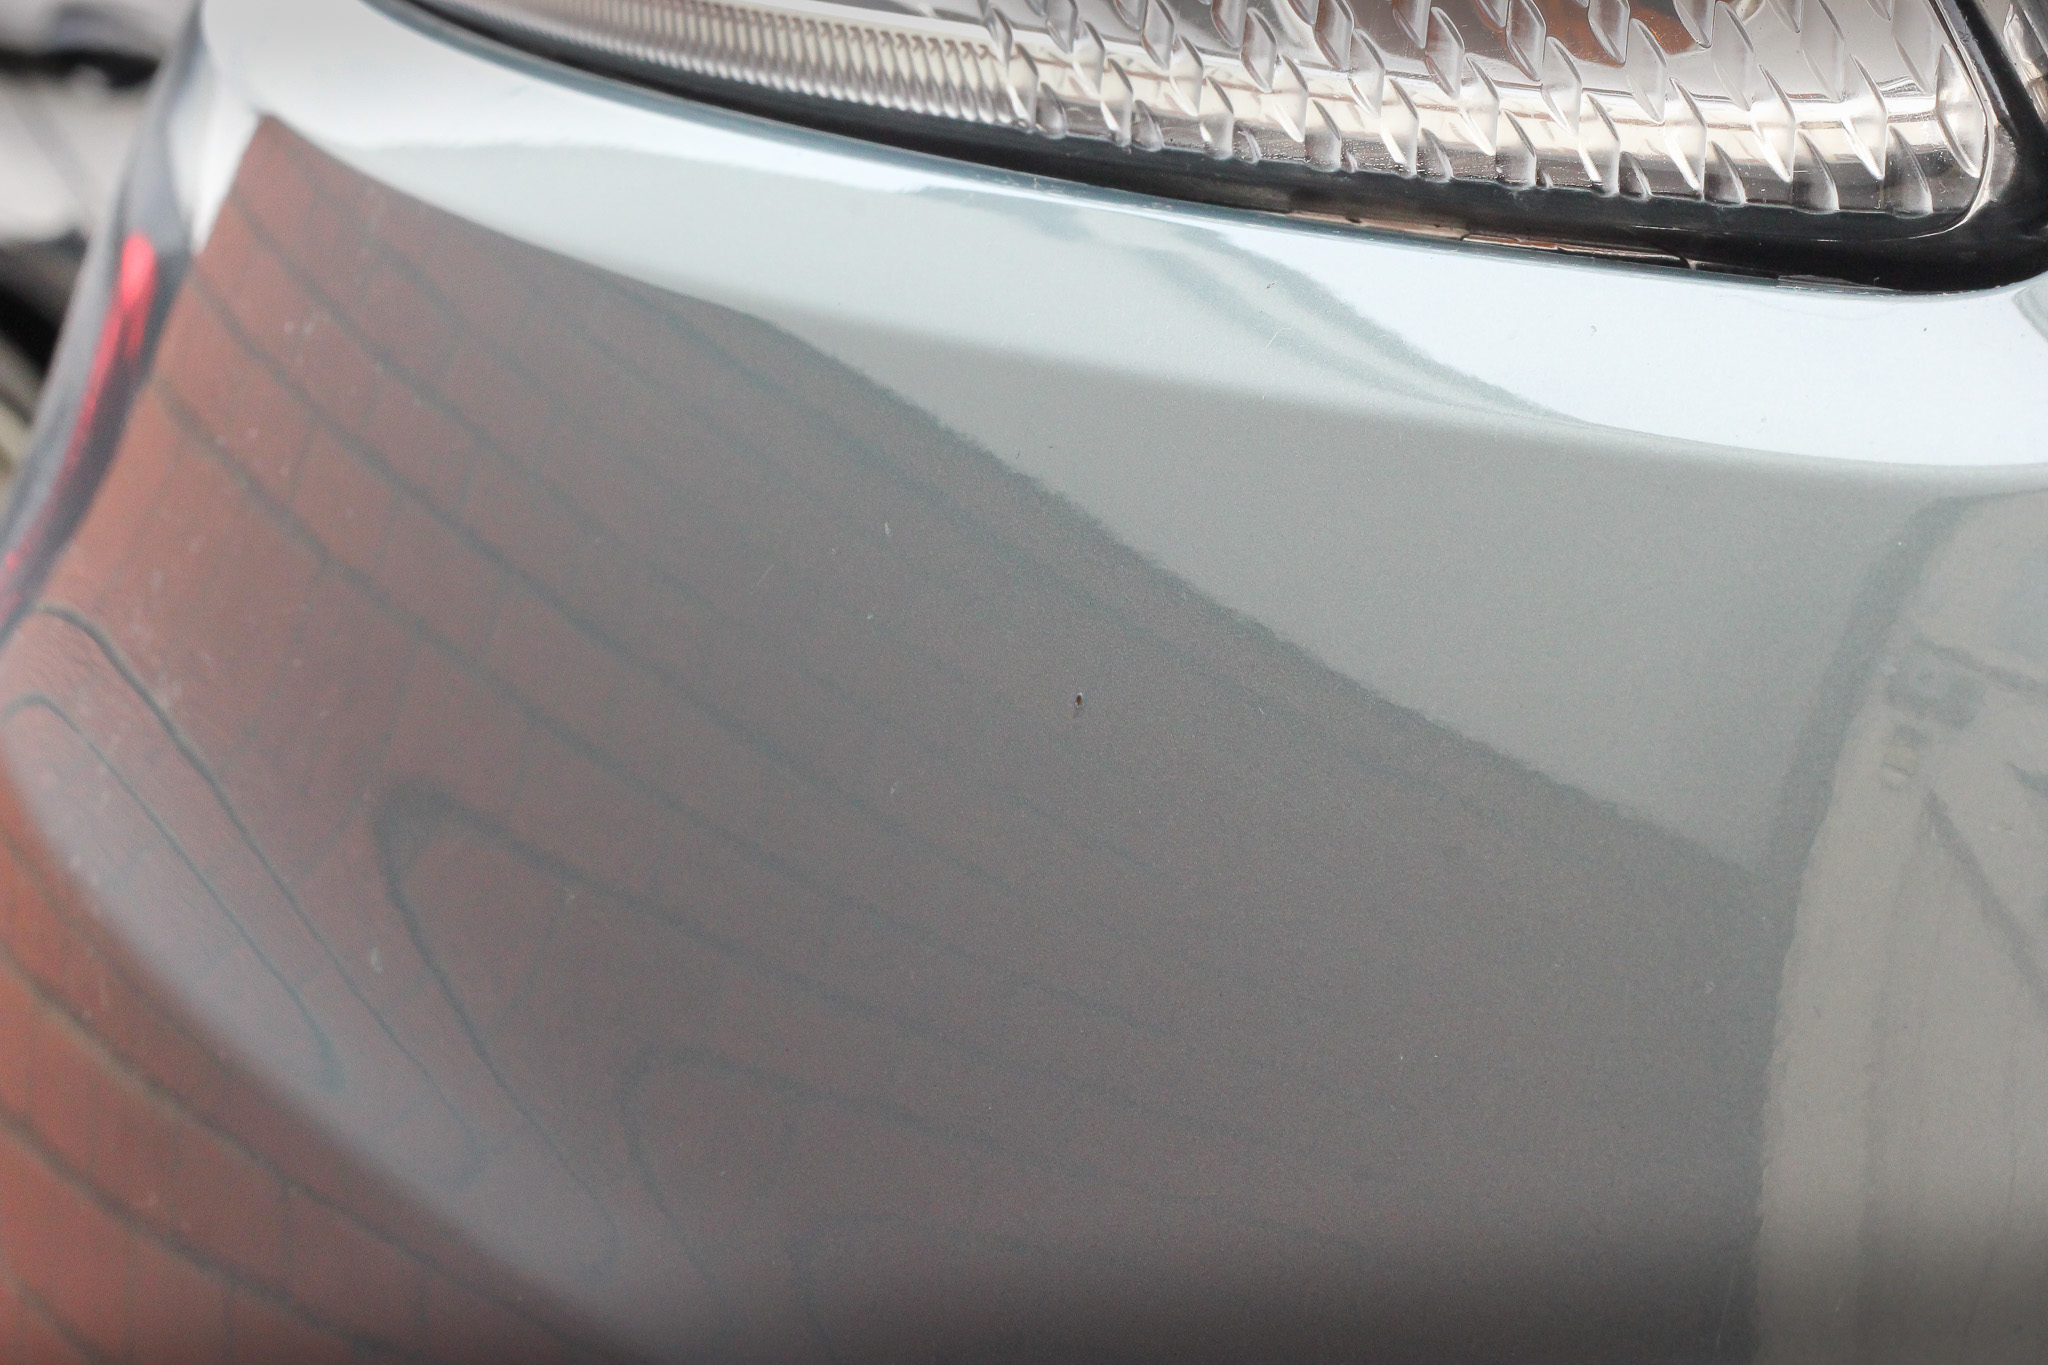
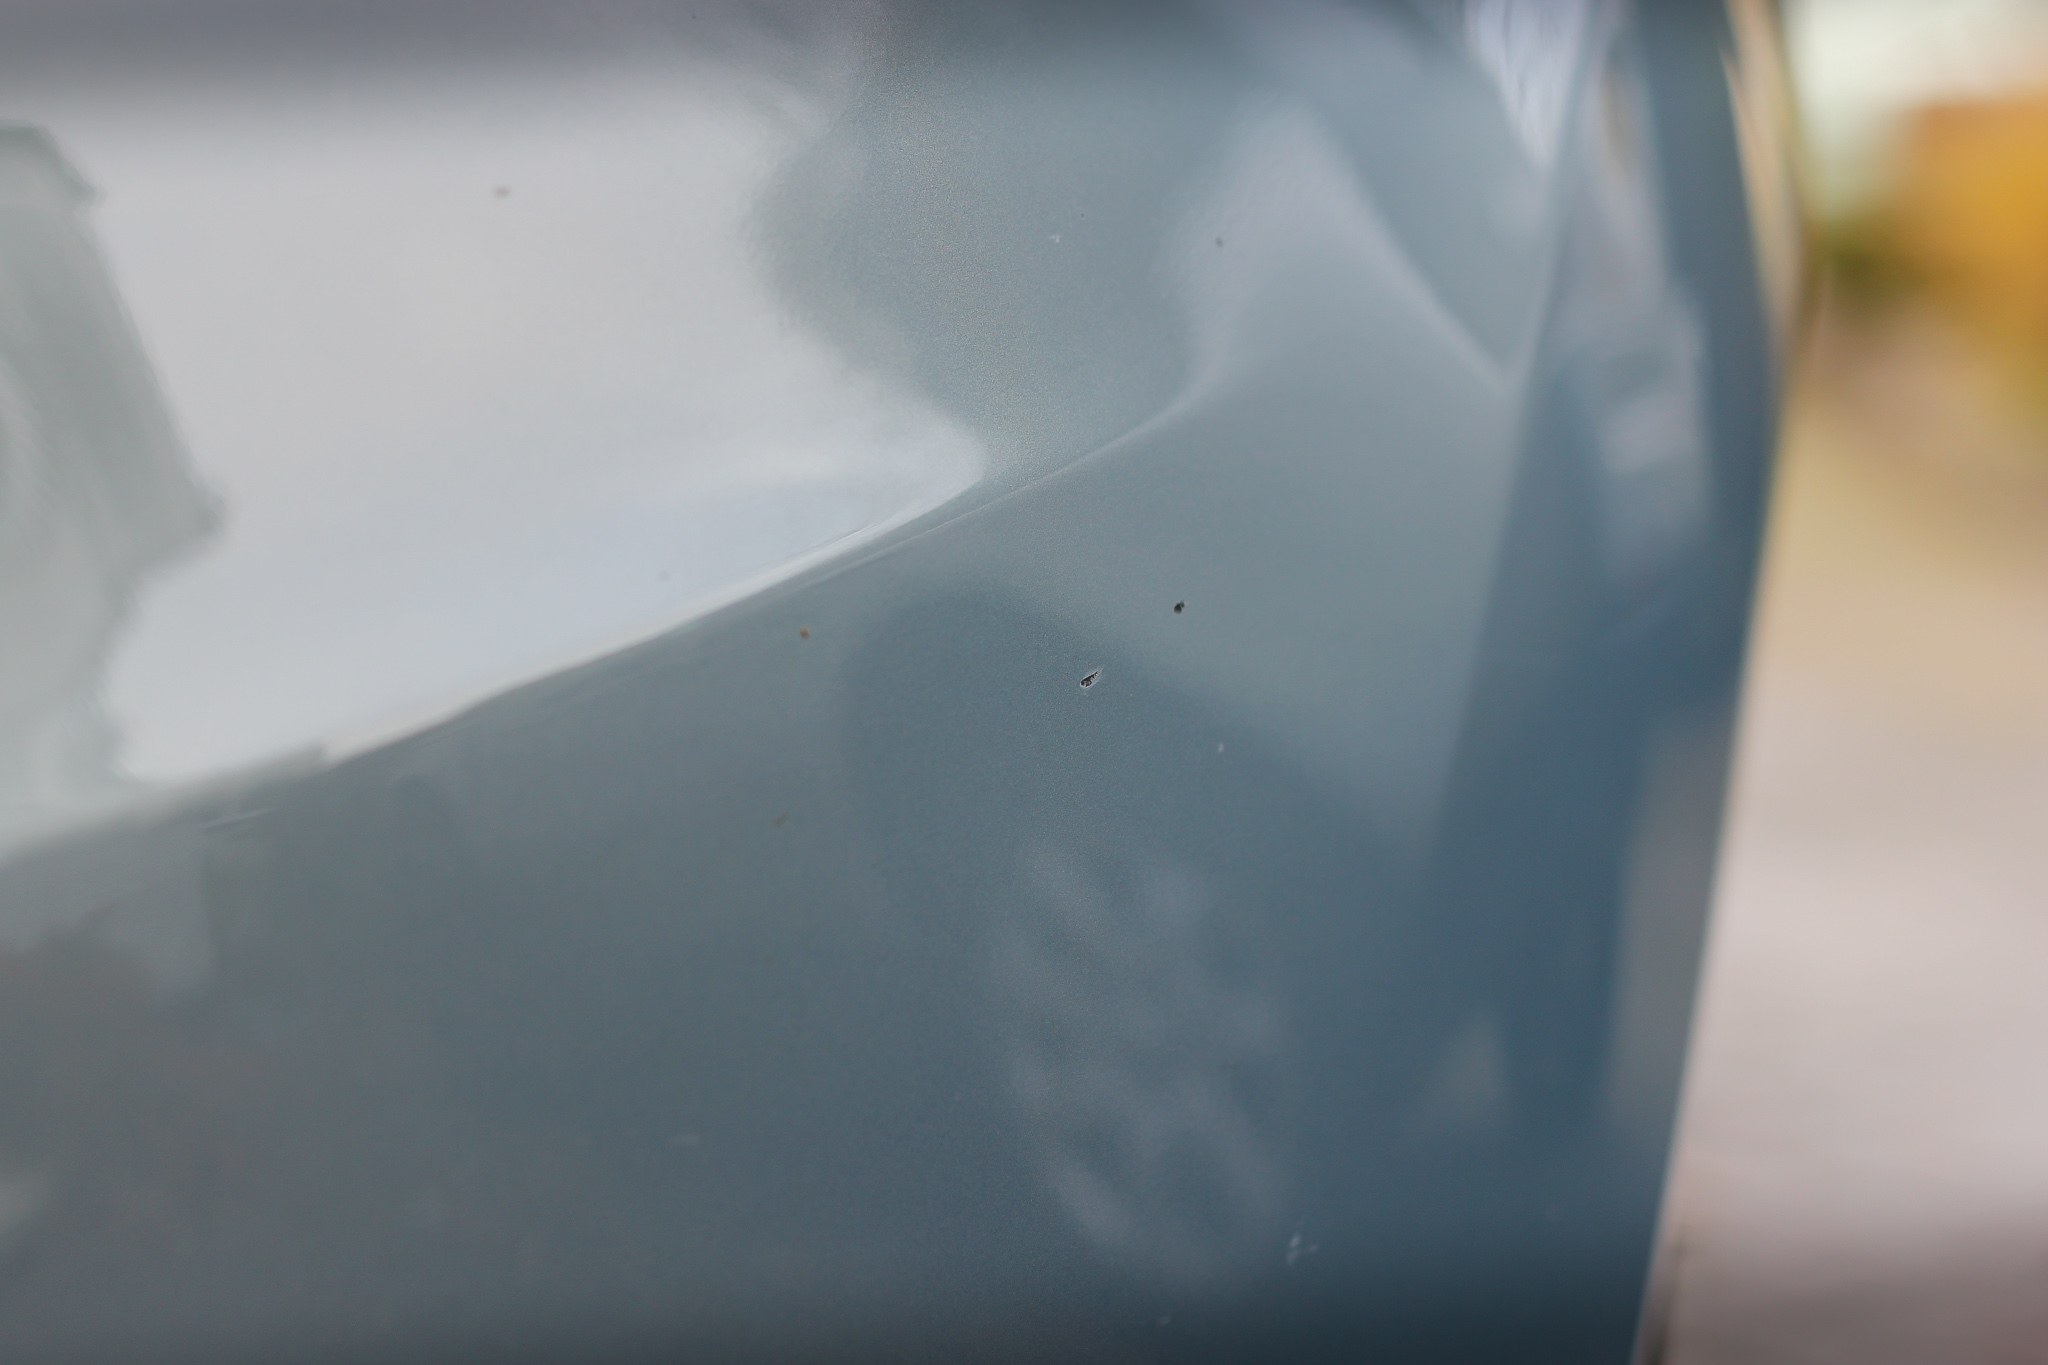
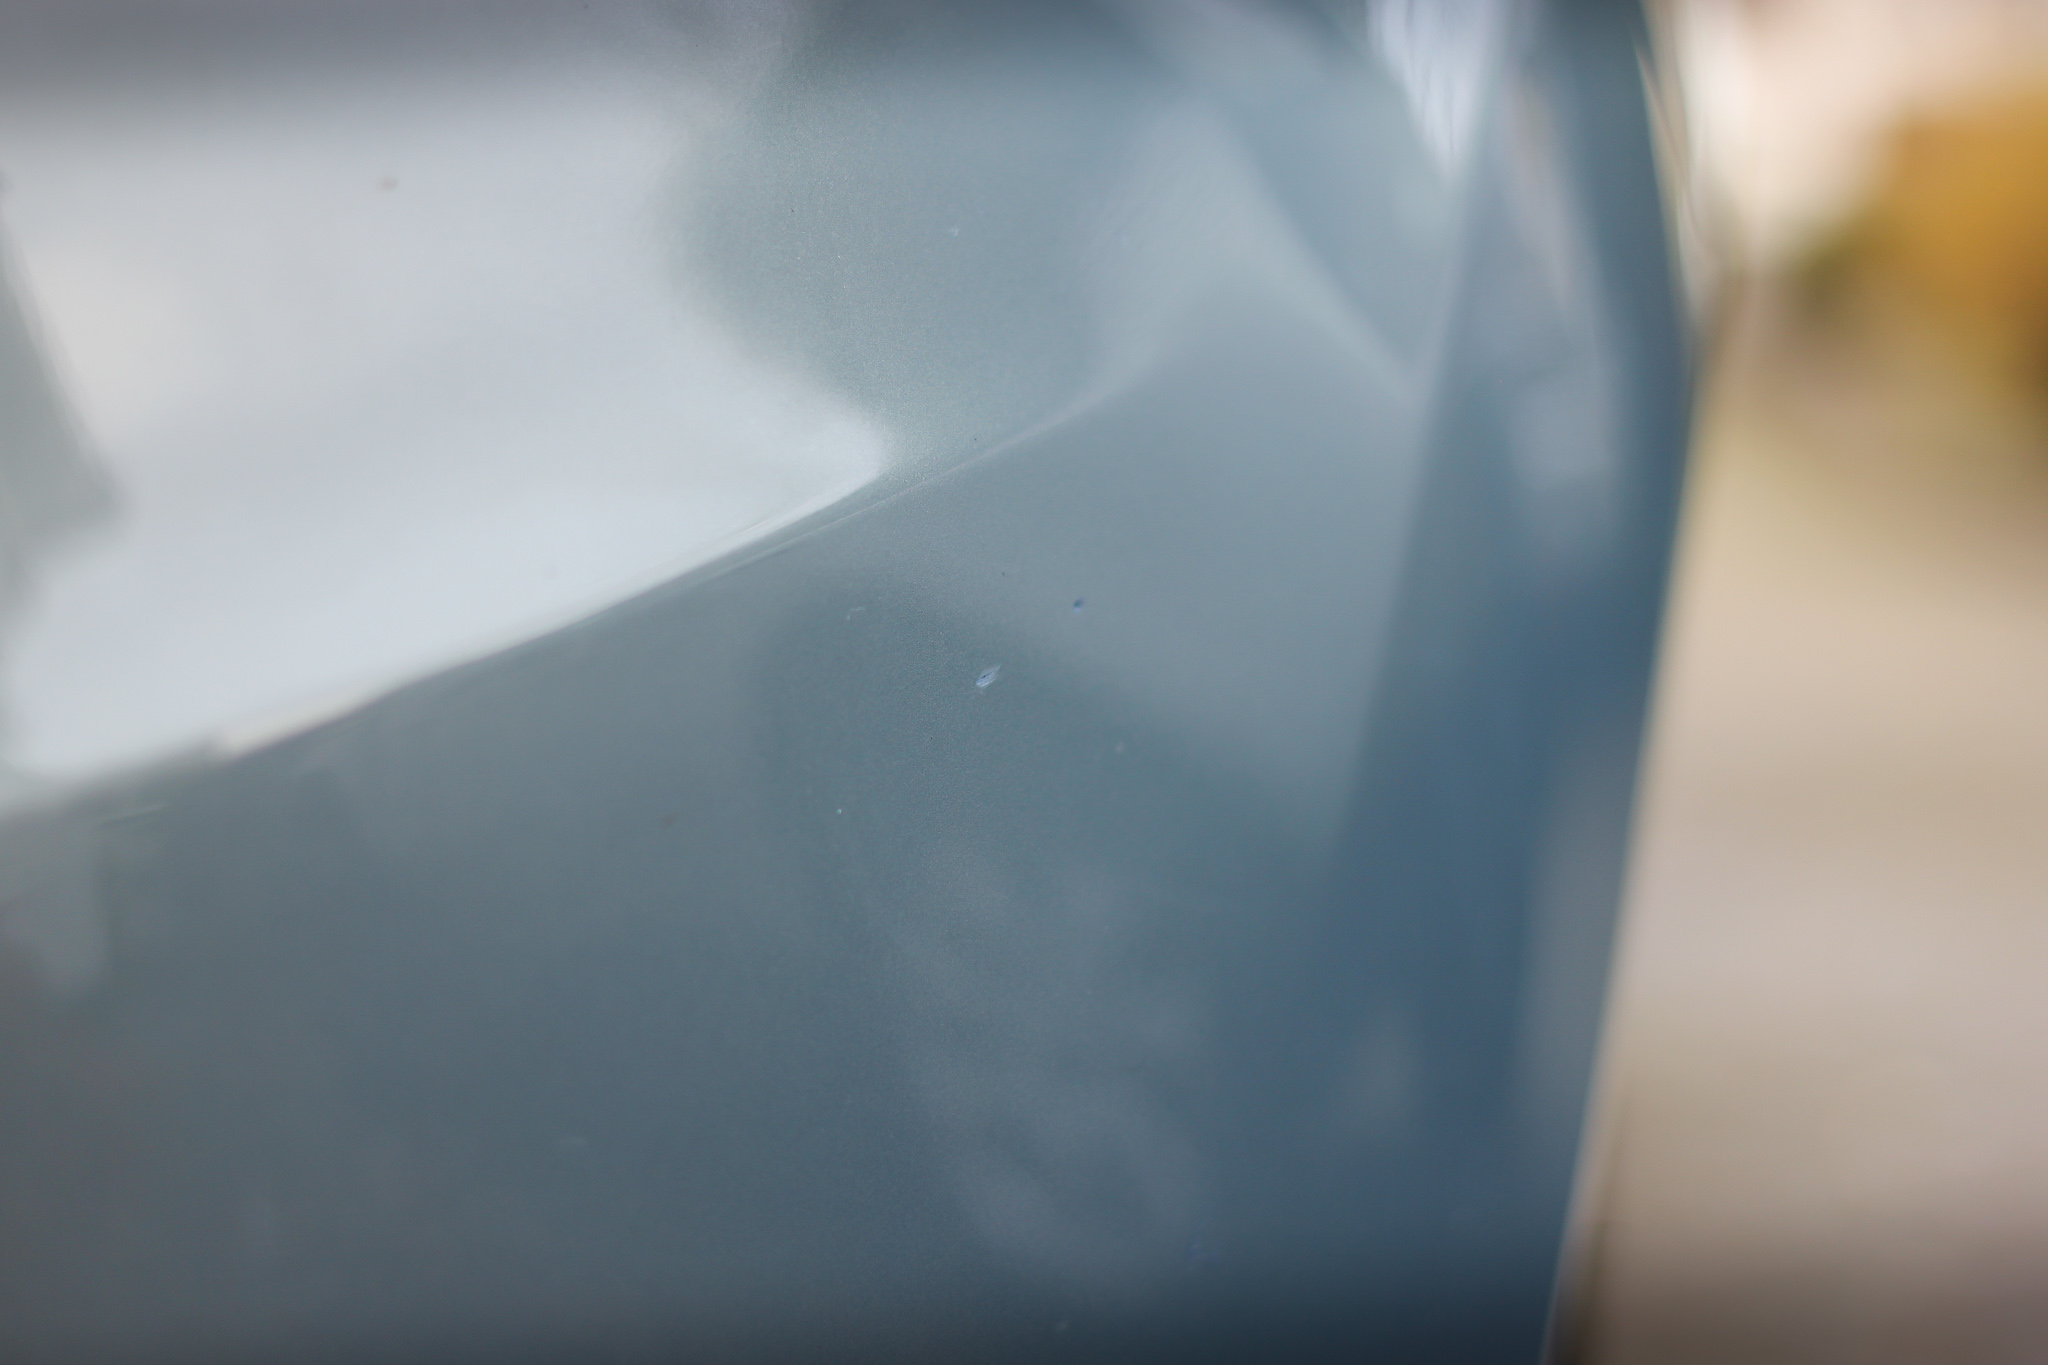
Area 2: Before
To give an alternative example here are some smaller and more common stone chips on the front bumper of the car that I will try to repair.
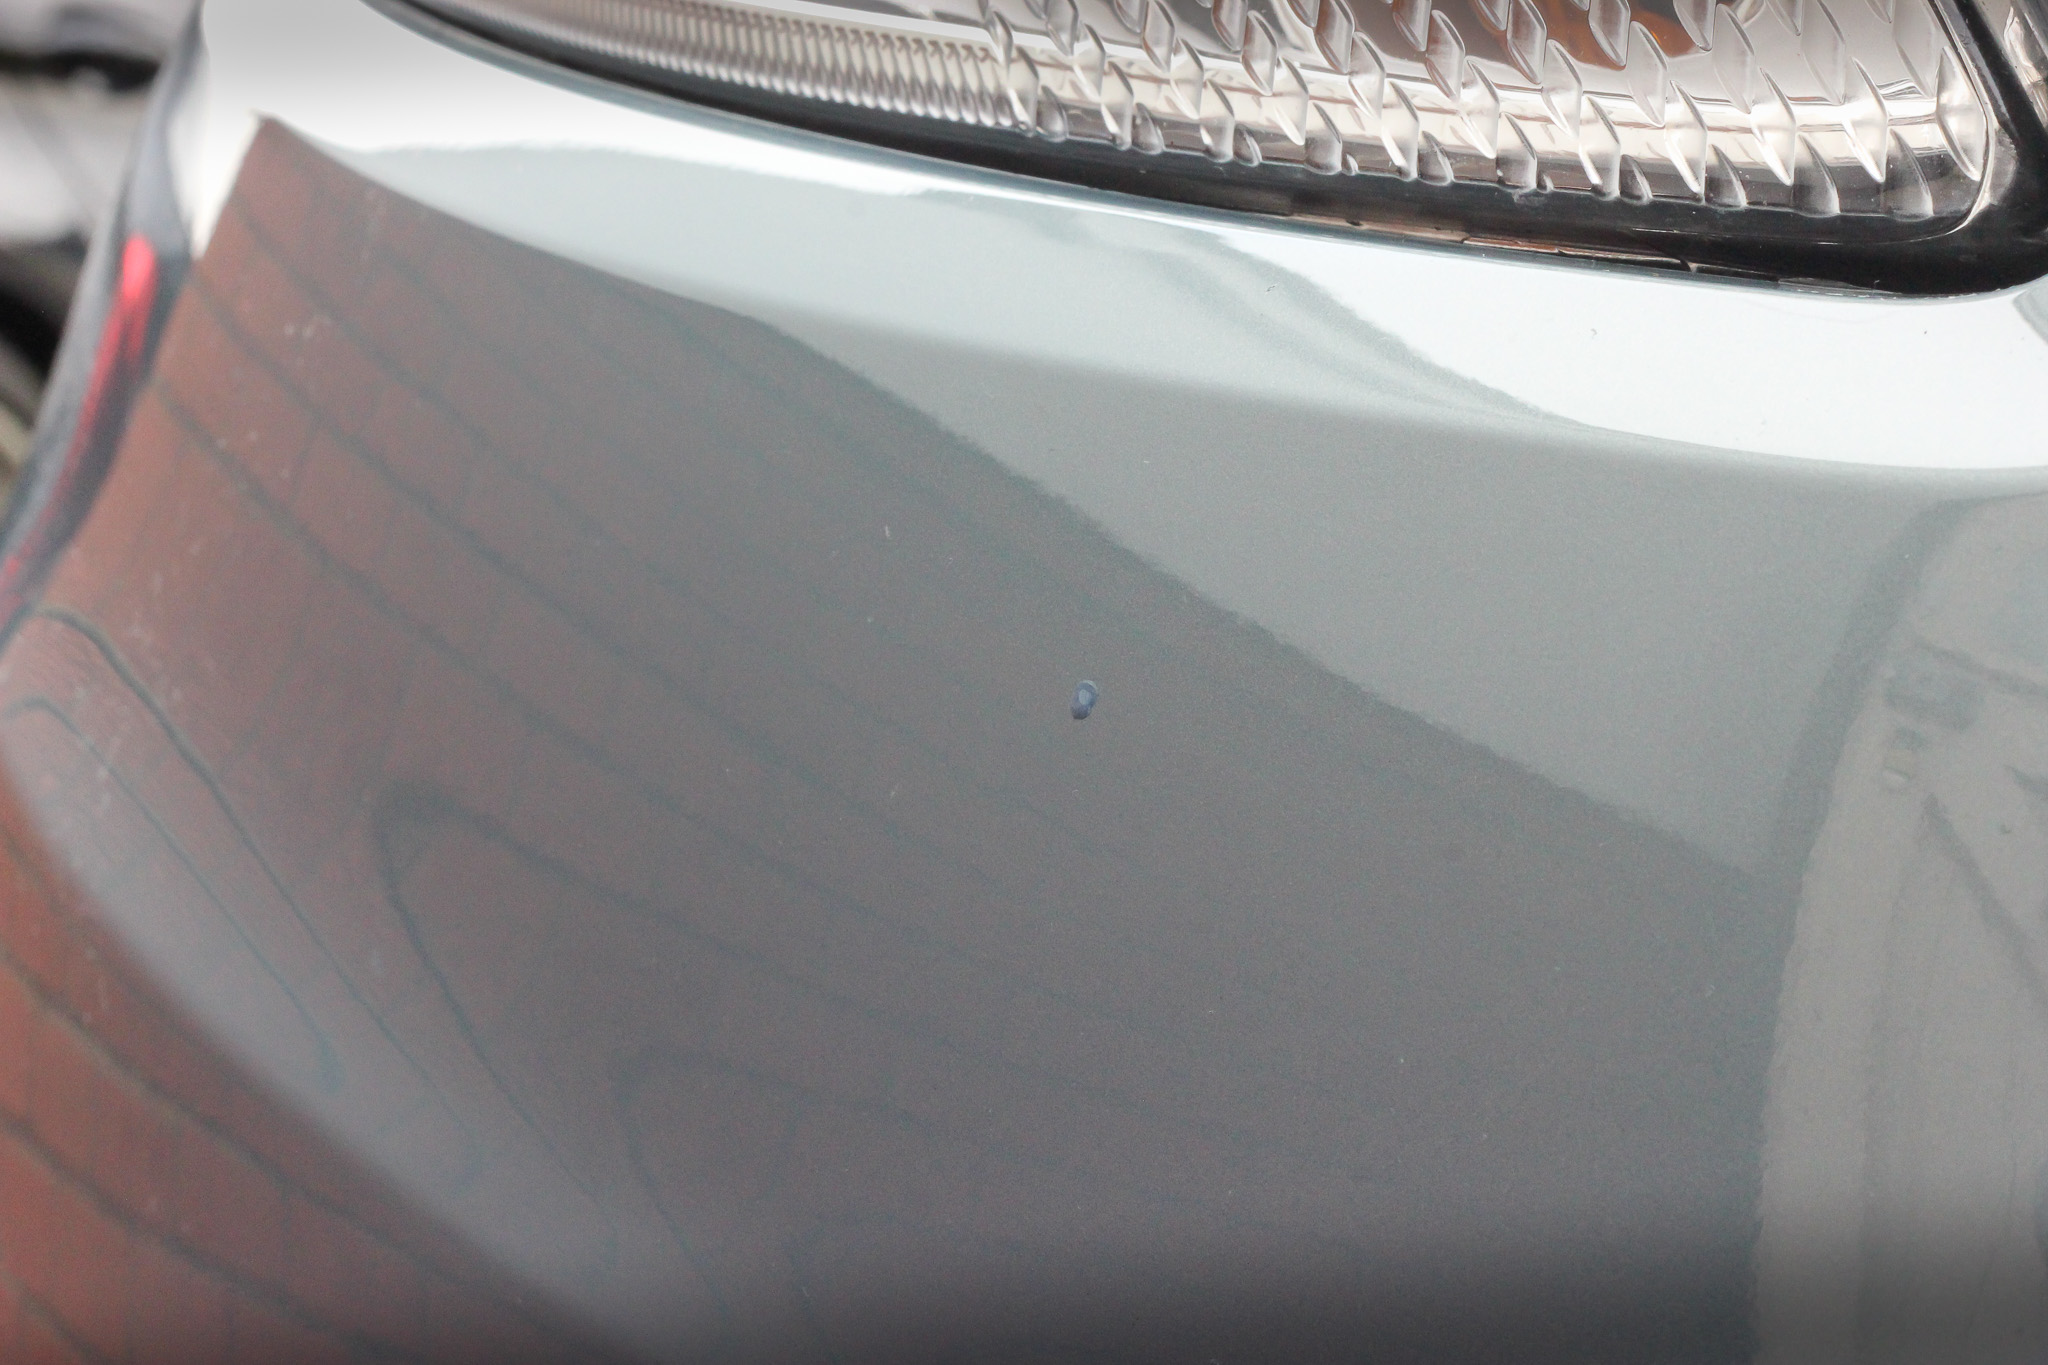
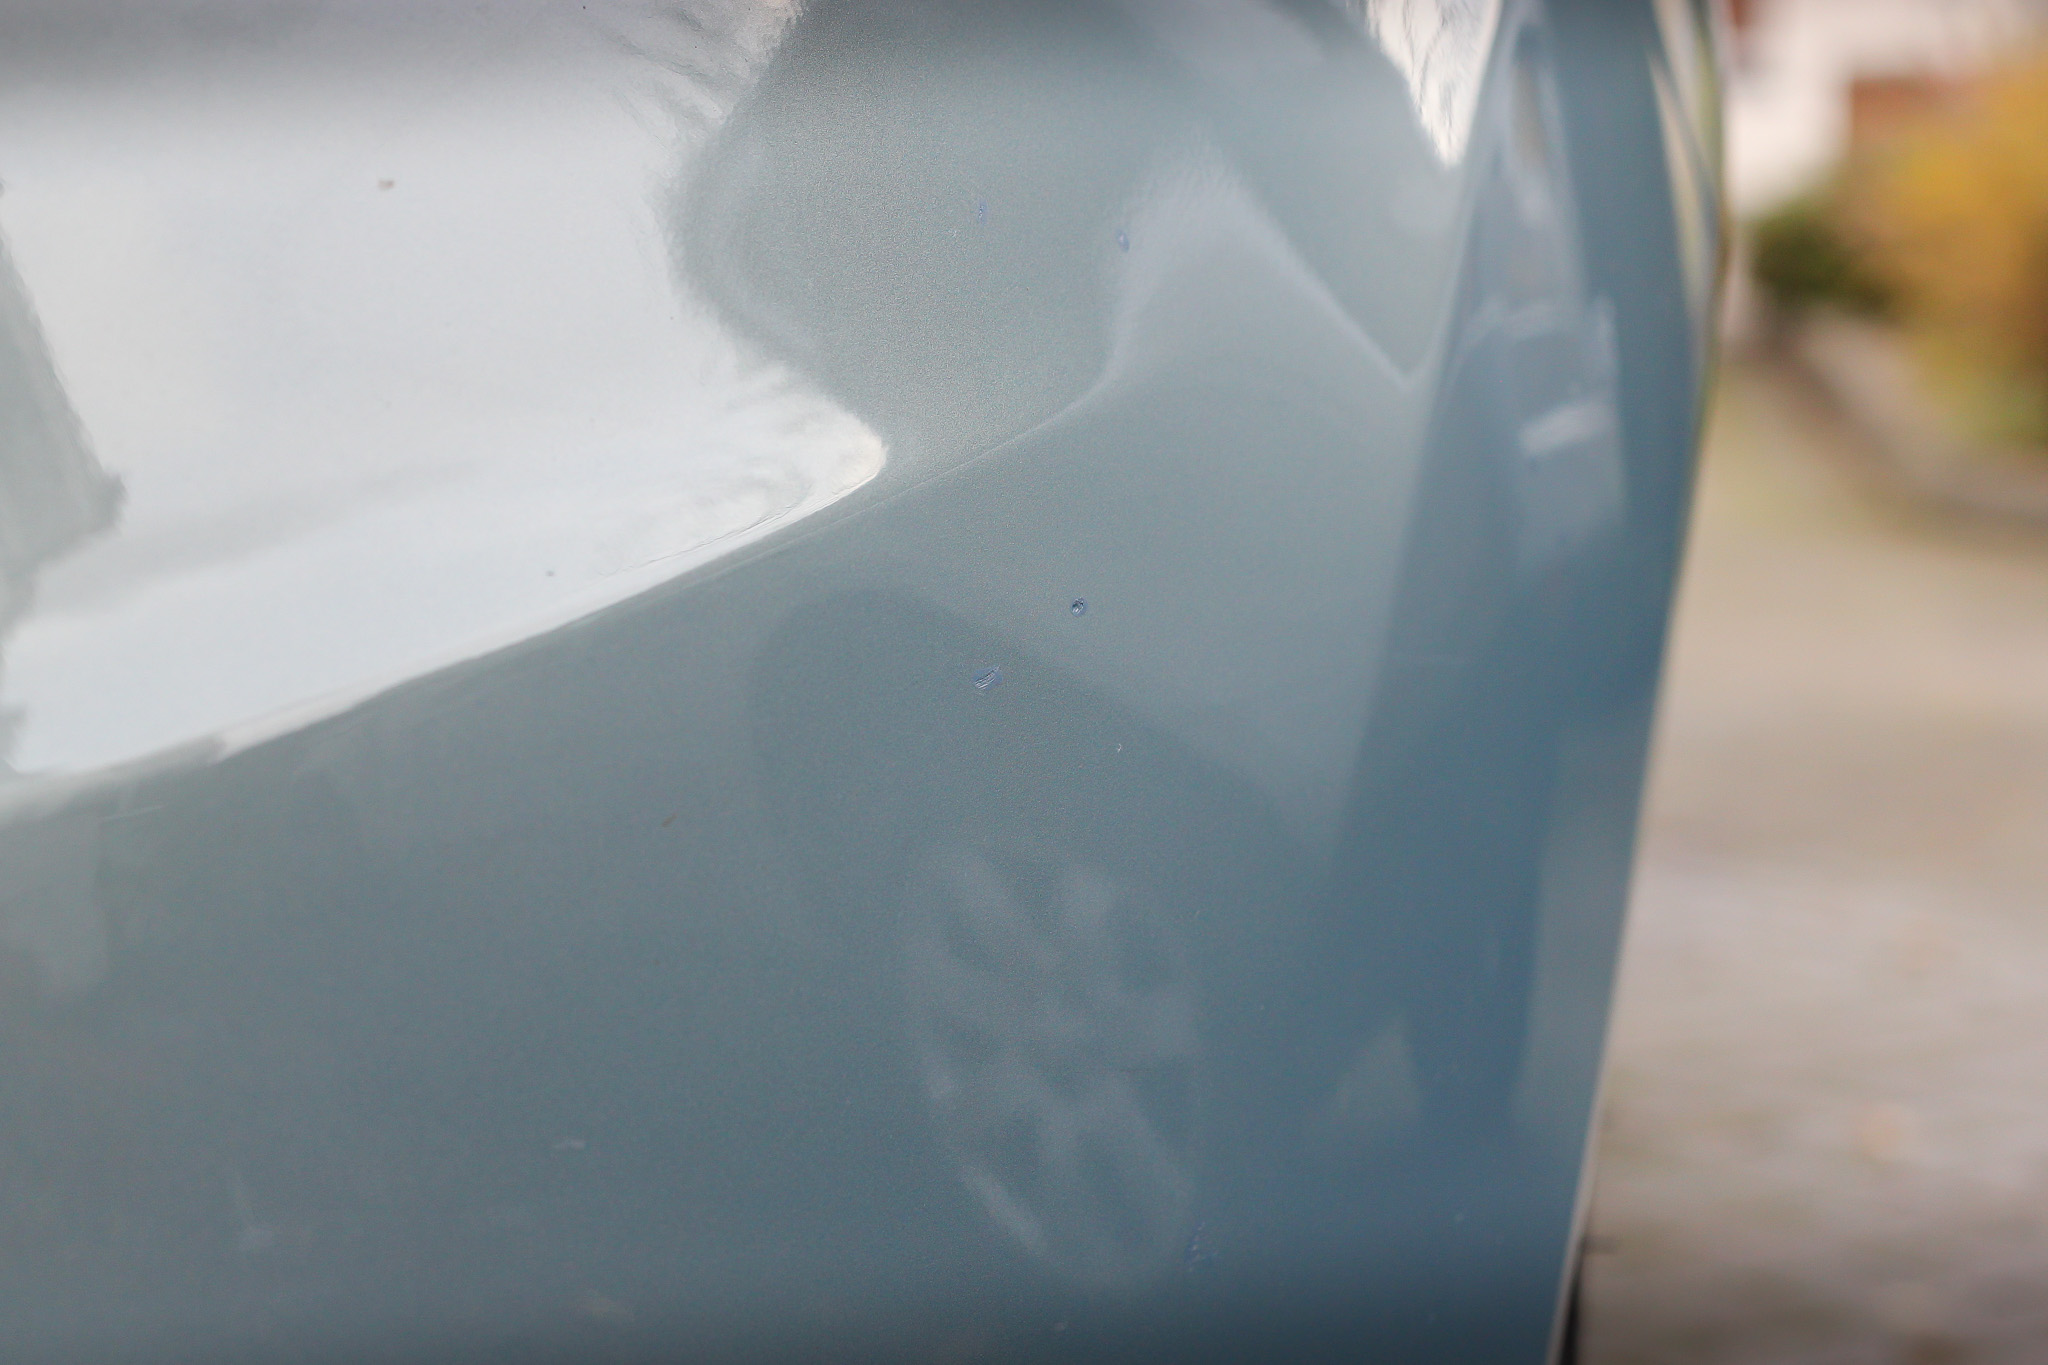
Step 1 – Paint
Once again before applying the paint it is always best to clean out the chips using the blending solution. Once the chips have dried out apply a small dab of paint to each chip using the micro brush.
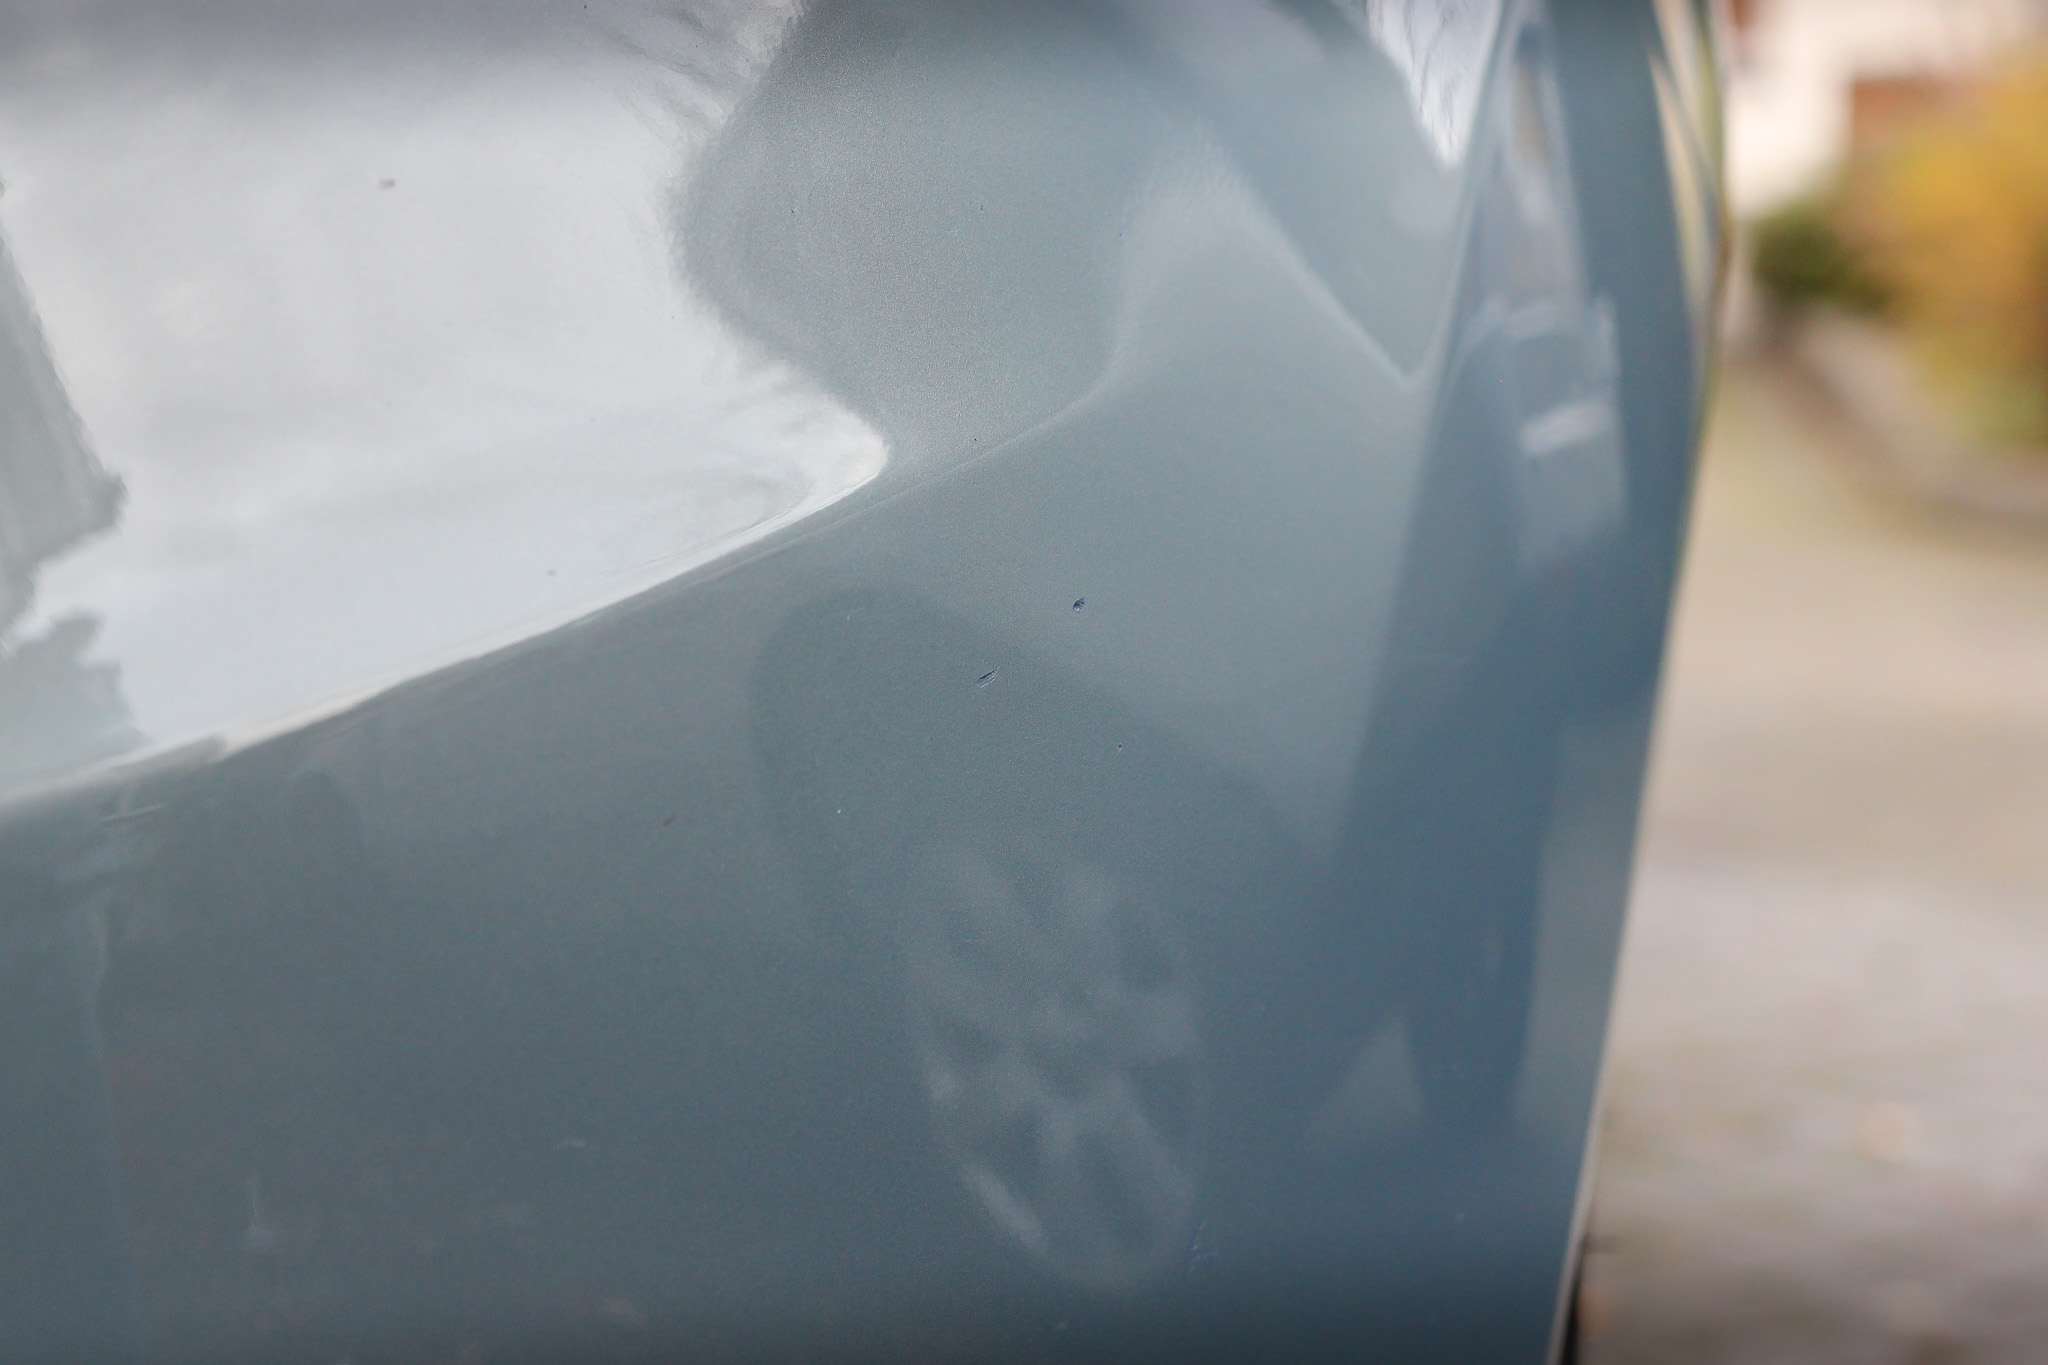
Looking at the picture below you can see again just how good the colour match is, the stone chips are already less obvious.
As the quantity of paint applied was relatively small I left the paint to cure for around only 3 minutes before starting the next step.
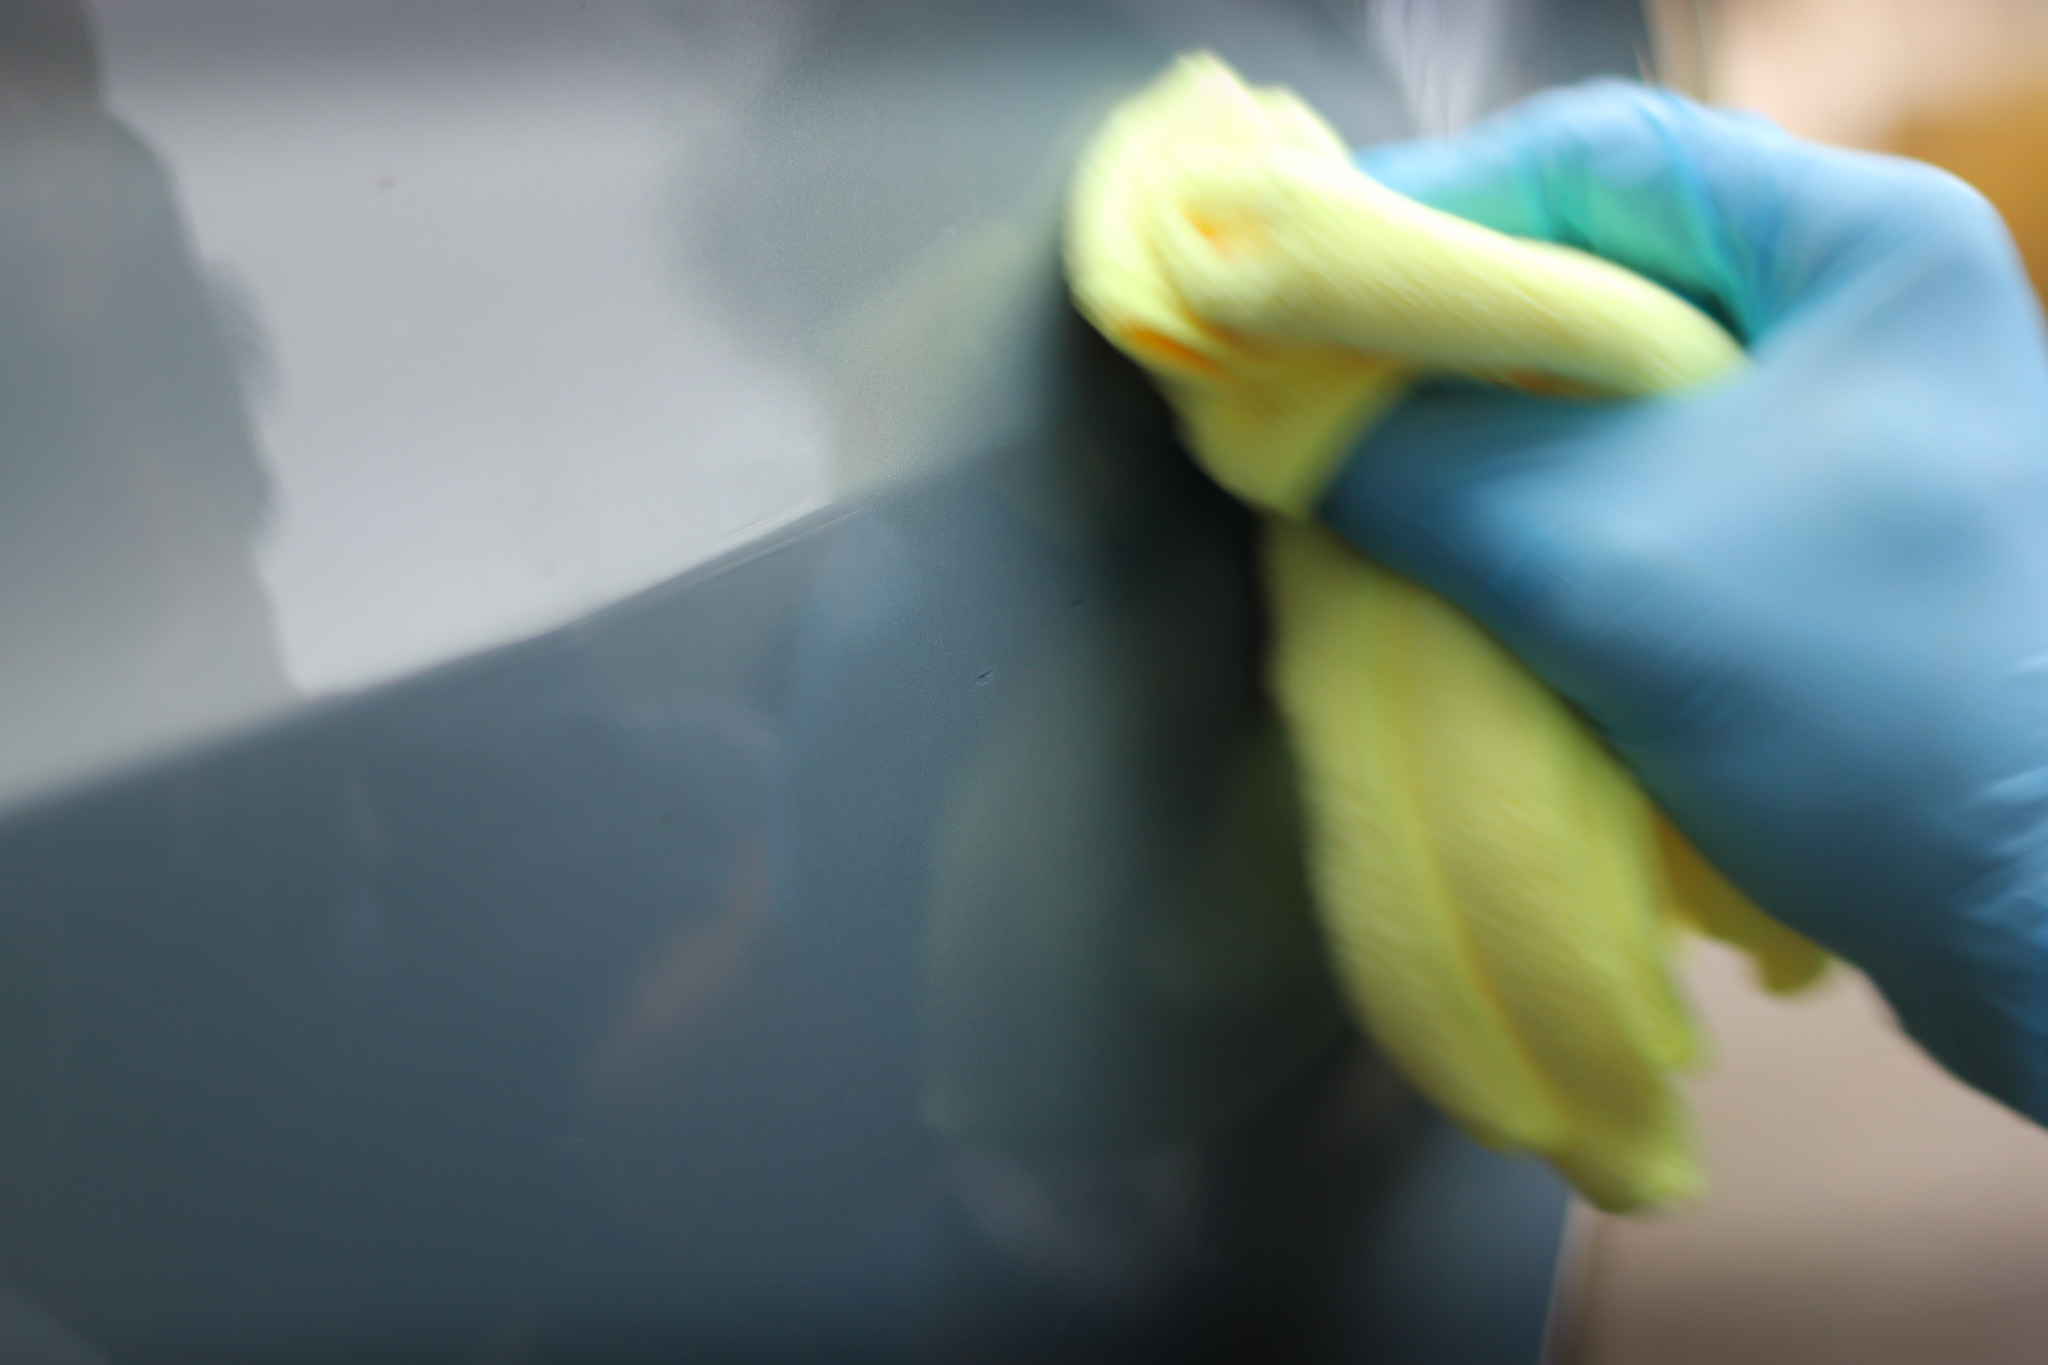
Step 2- Blend
Next up I used the foam cube and paint removal cloth to remove any excess paint with the blending solution. I was careful not to apply too much downward pressure.
Step 3 – Polish
Finally after the excess paint was removed, I applied the polish using the microfibre cloth.
I spent a fair bit of time working the polish over the area gently balancing the chips’ new paintwork with the car’s original paintwork.
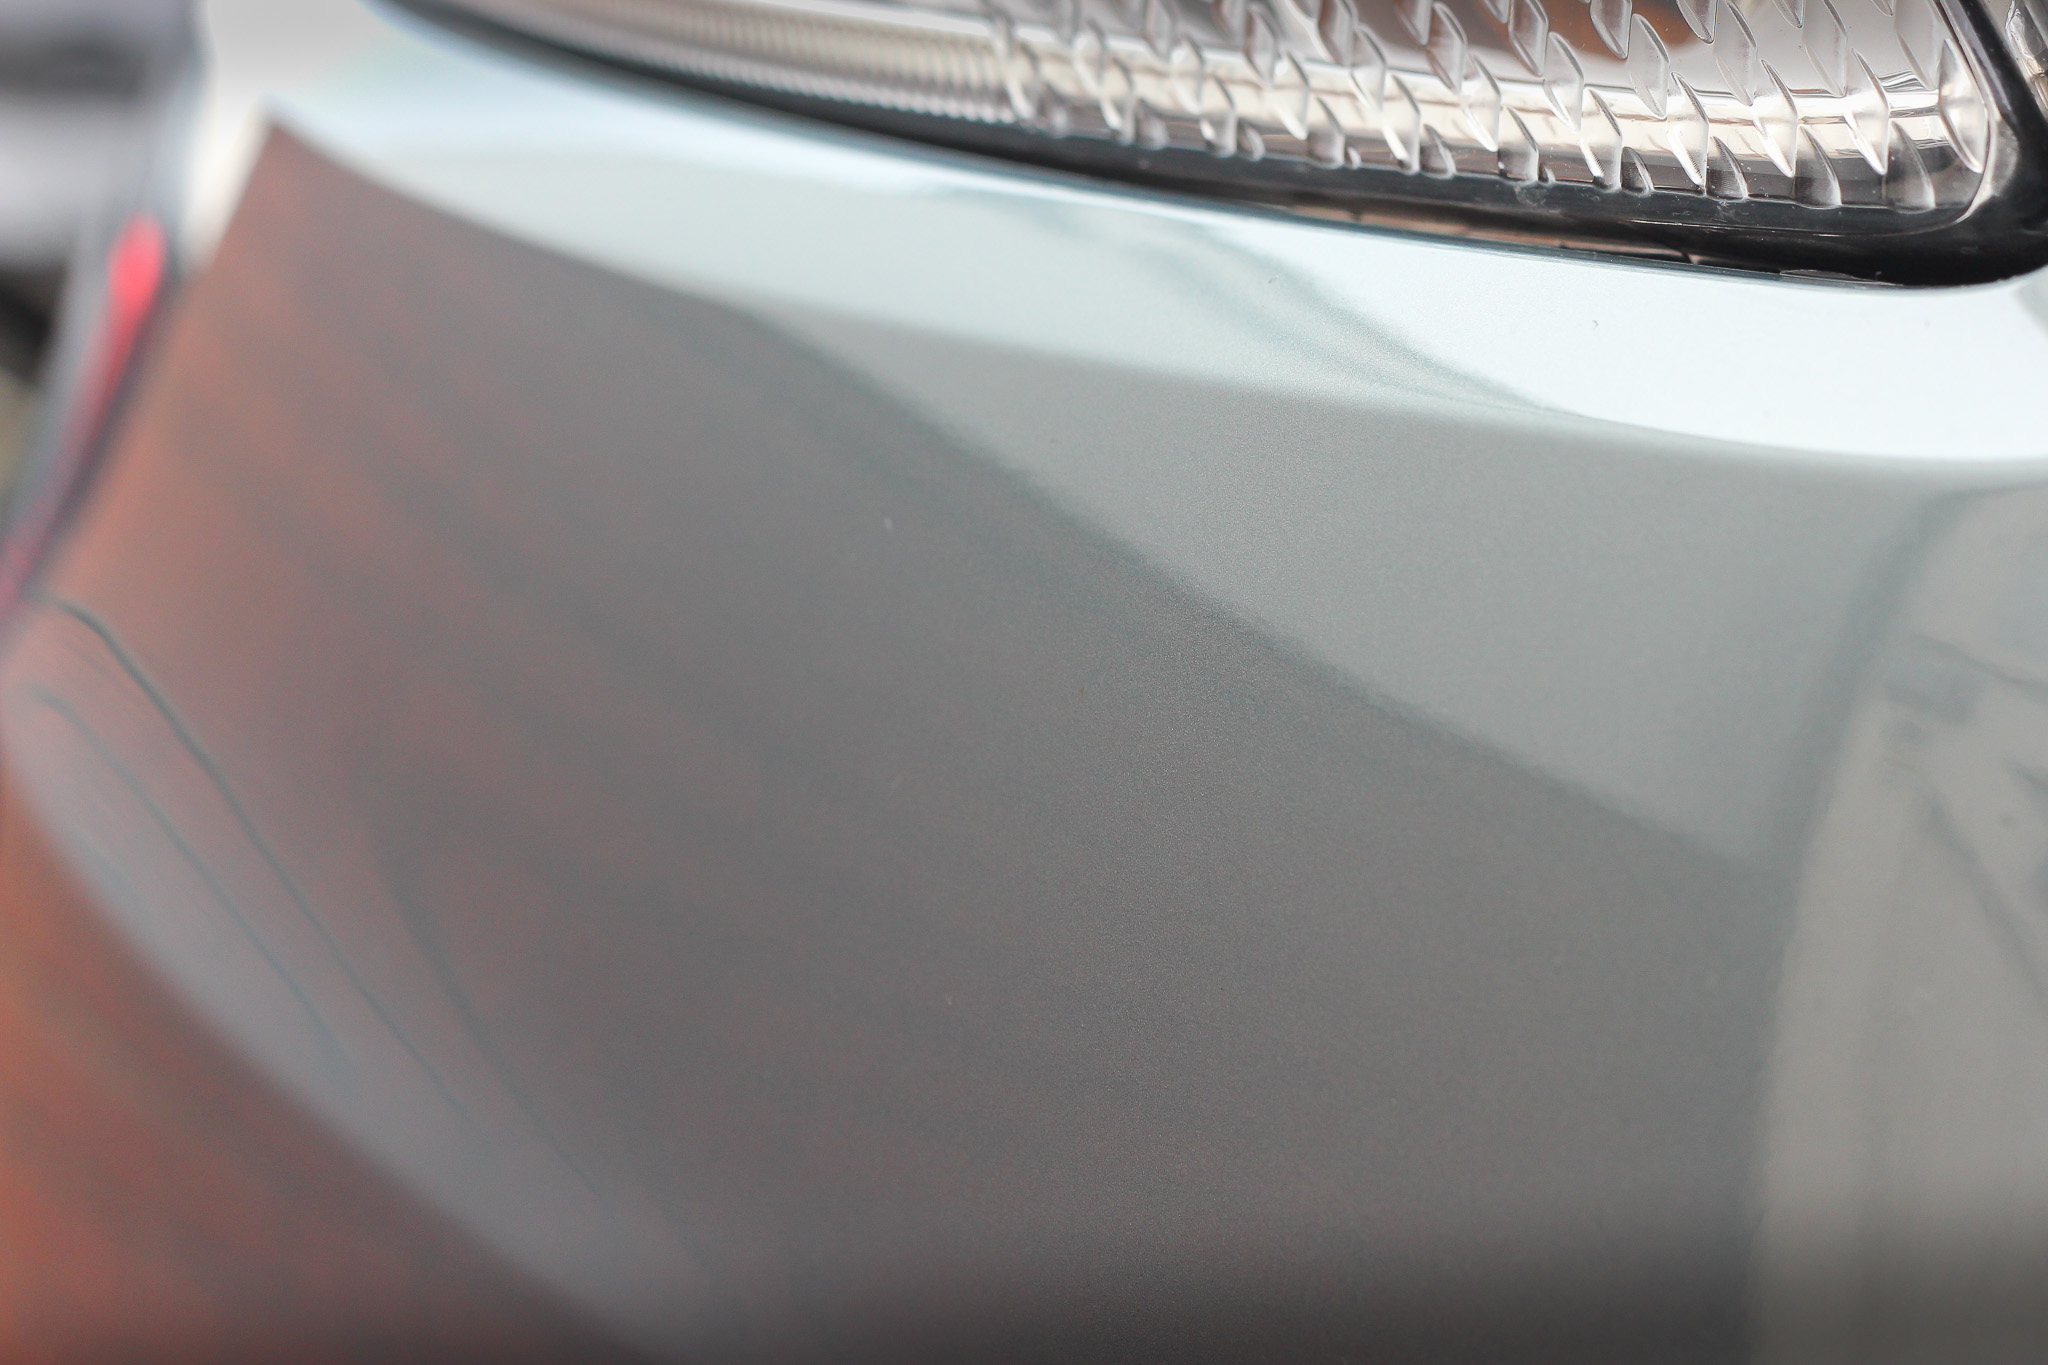
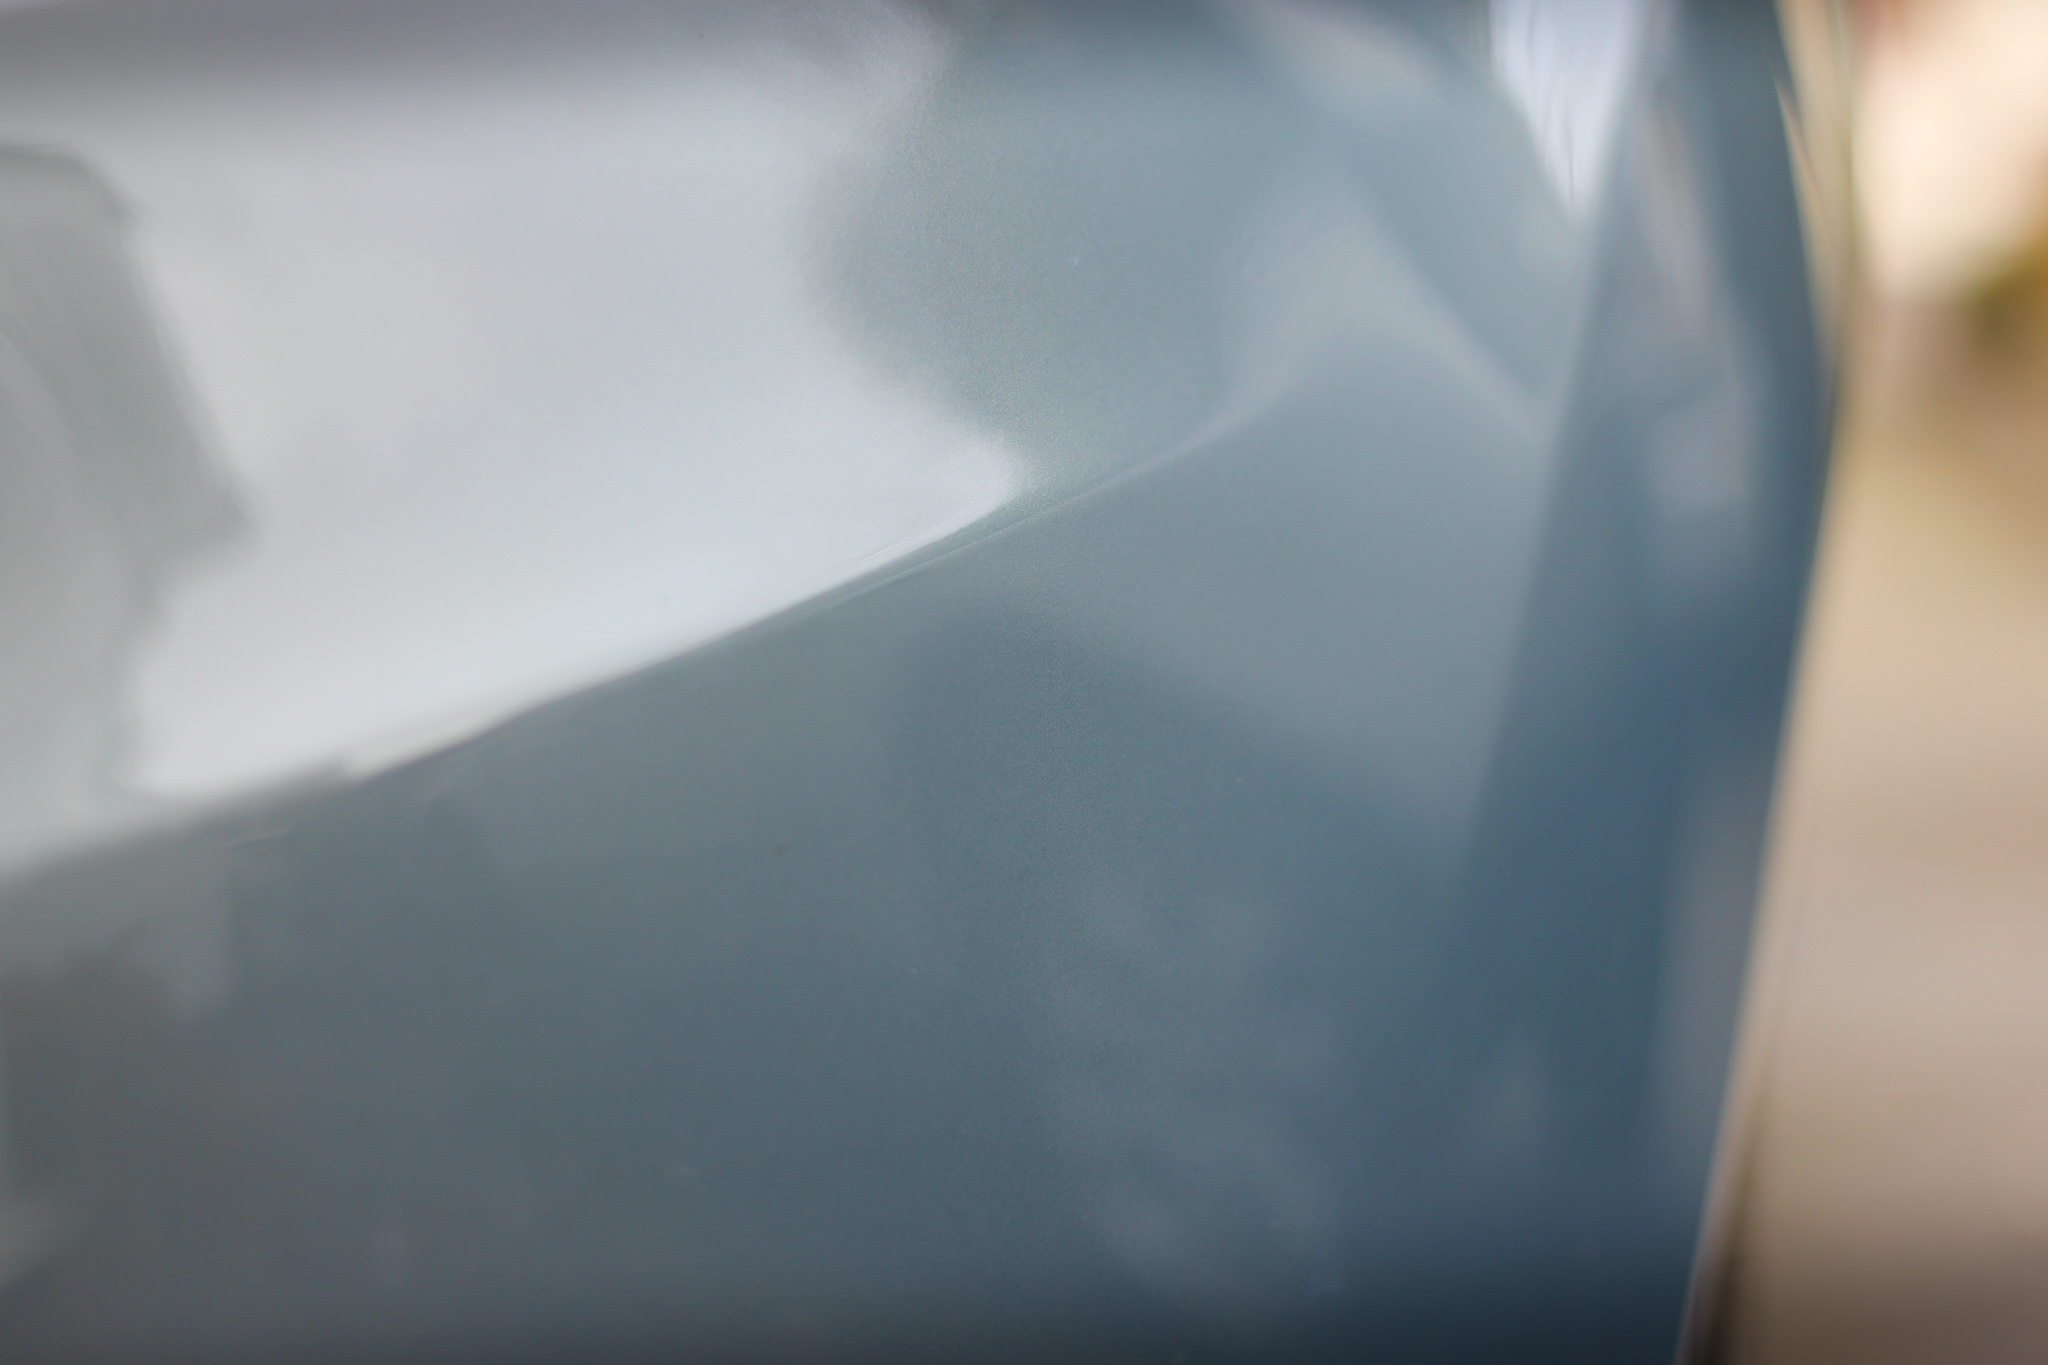
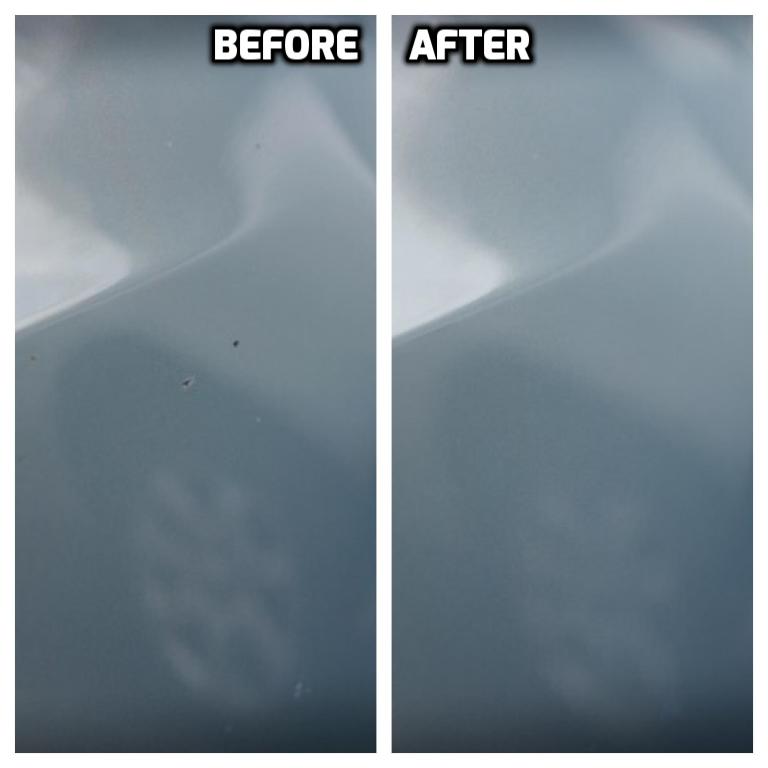
Area 2: After
Once complete I was really impressed with the repair, as you can see from the picture below the stone chips are no longer visible. If you take a closer look, from certain angles, you may be able to notice, but this is a remarkable repair.
Chipex – Summary
Chipex charge £45.99 for a paint repair kit that will be custom matched to your vehicle and, as you can see from the pictures, you would be able to cover plenty of chips or scratches with a single kit. The repair achieves great results without any specialist equipment, knowledge, or skill. I was certainly very impressed. Want to tidy up you car now you’ve seen how easy it is? You can get your kit from the link below.
Chipex – Gallery


It’s a very convenient thing. Now we do not have to go and pay a lot of money to repair some small scratches on our metal horses.